Cuddly Pals - Easter Edition Plush Toy PDF Sewing Pattern
Cuddly Pals - Easter Edition Plush Toy PDF Sewing Pattern
Couldn't load pickup availability
Cuddly Pals - Easter Edition PDF Sewing Pattern
Designed for Knit or Woven fabric
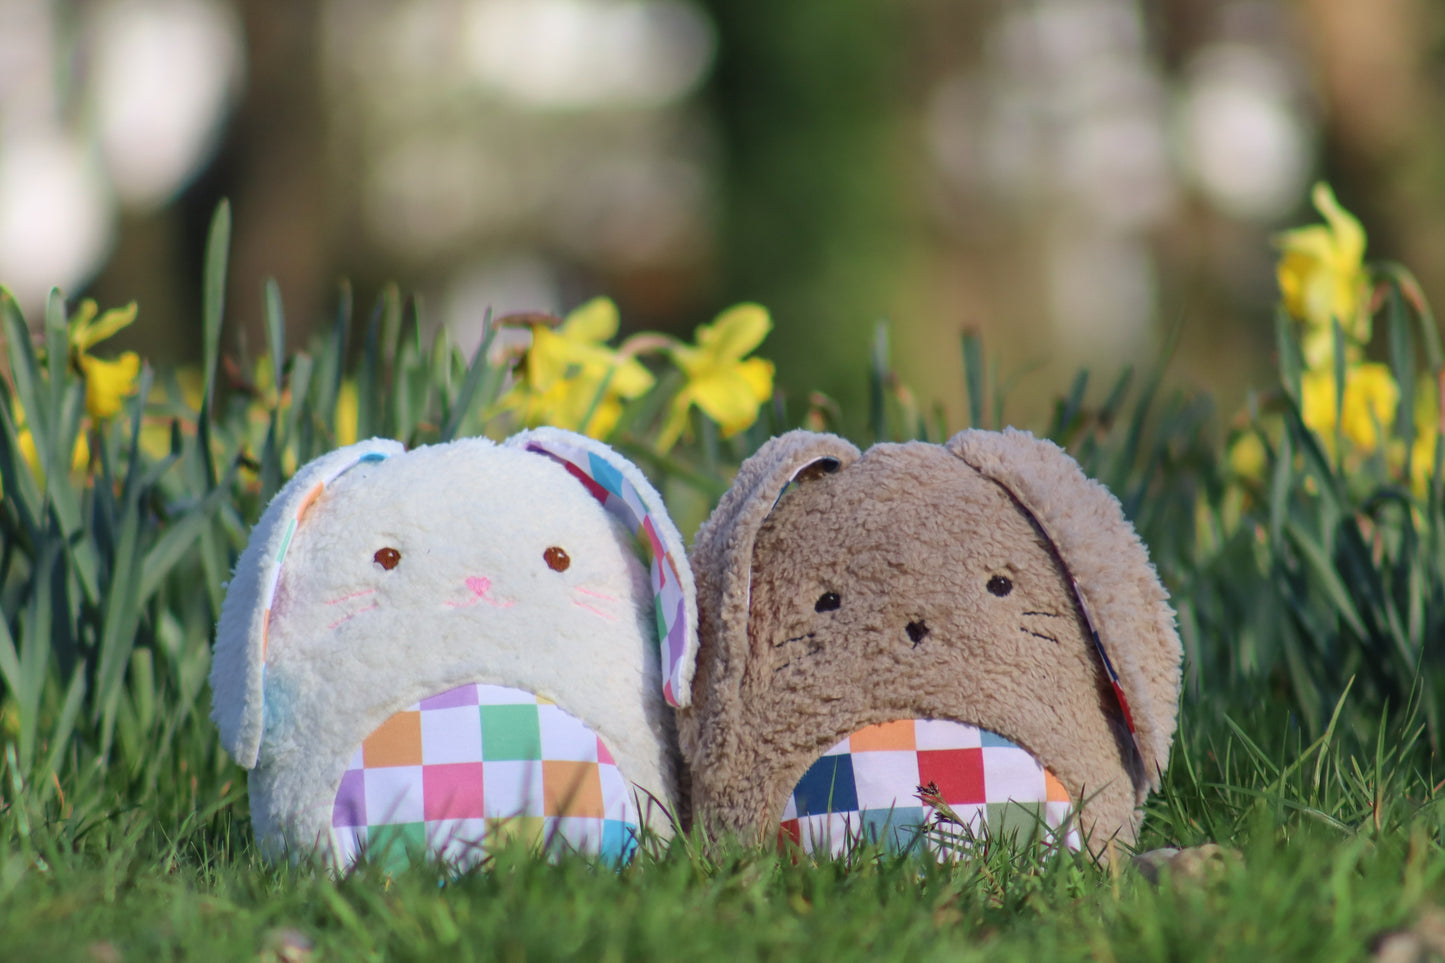
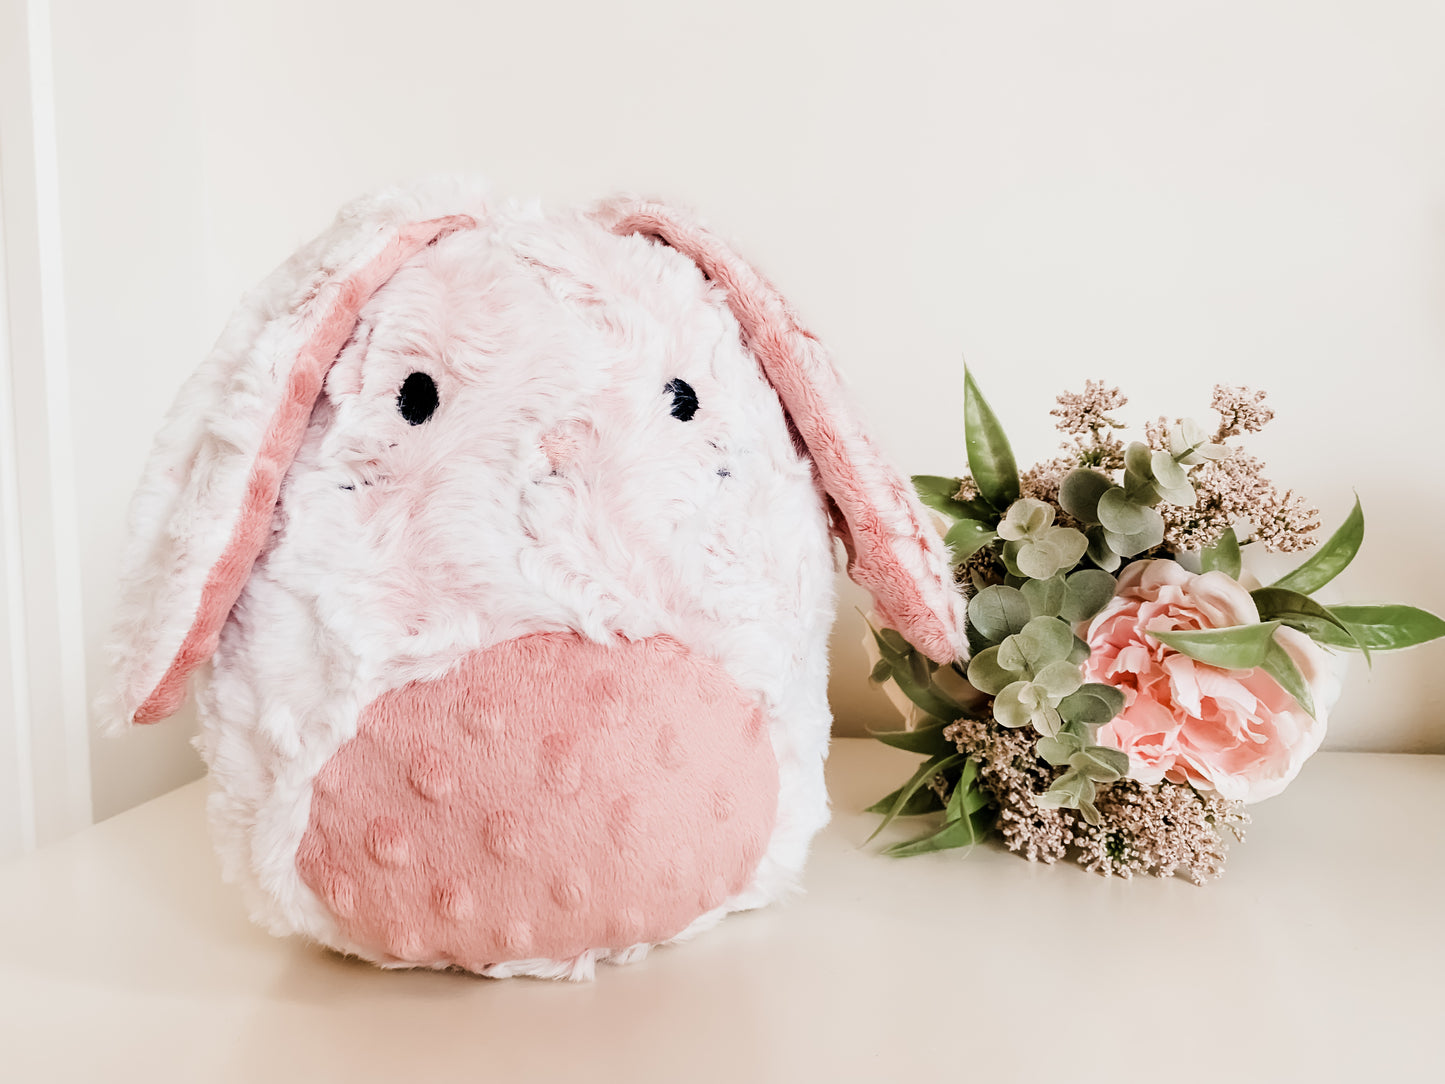
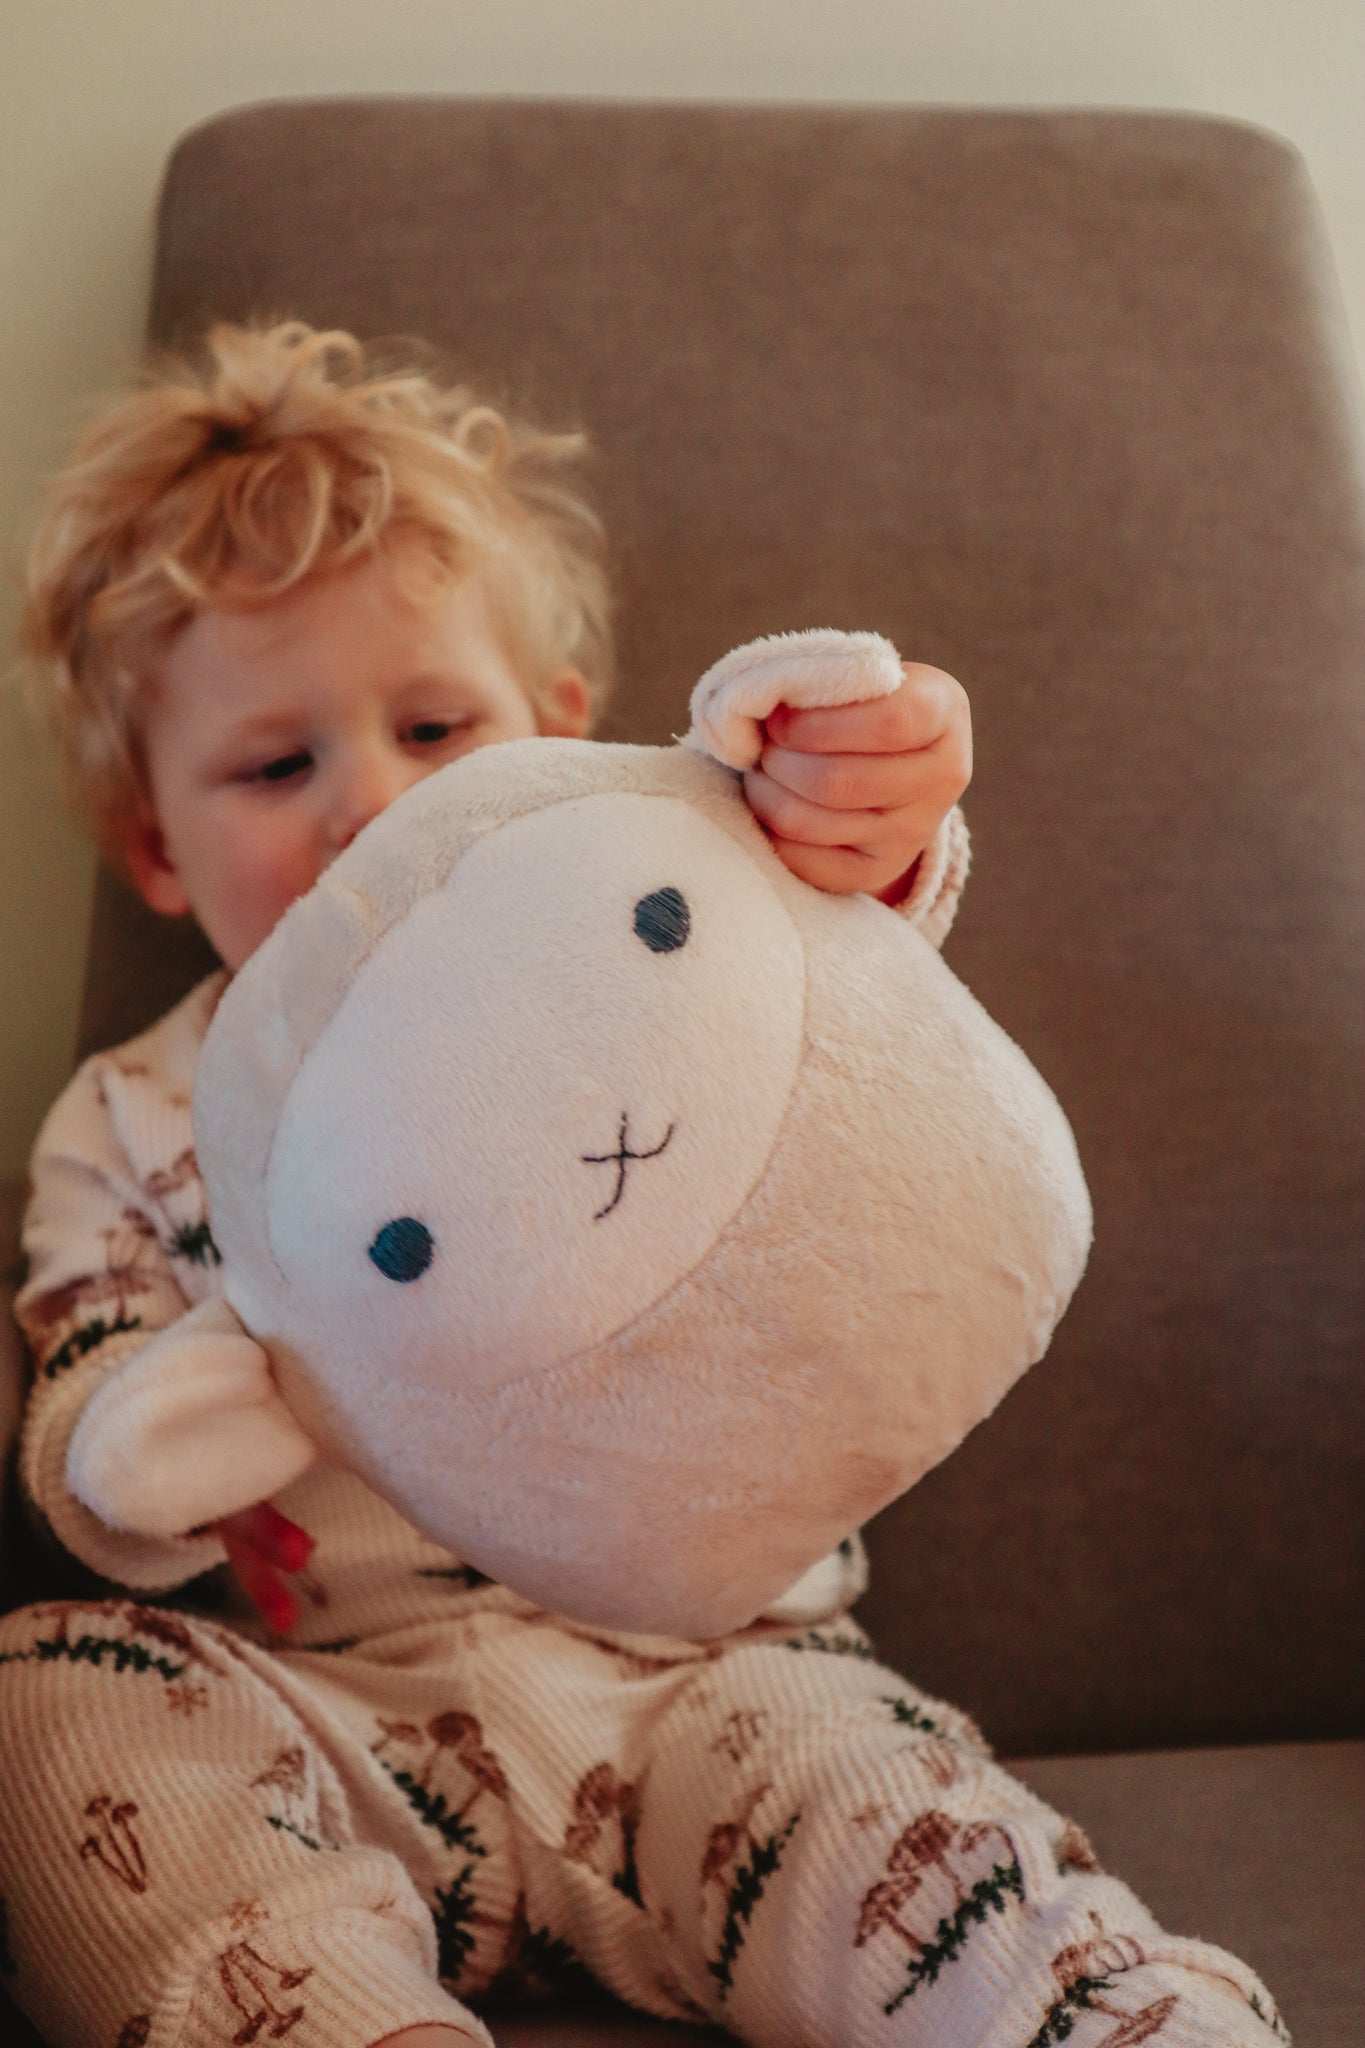
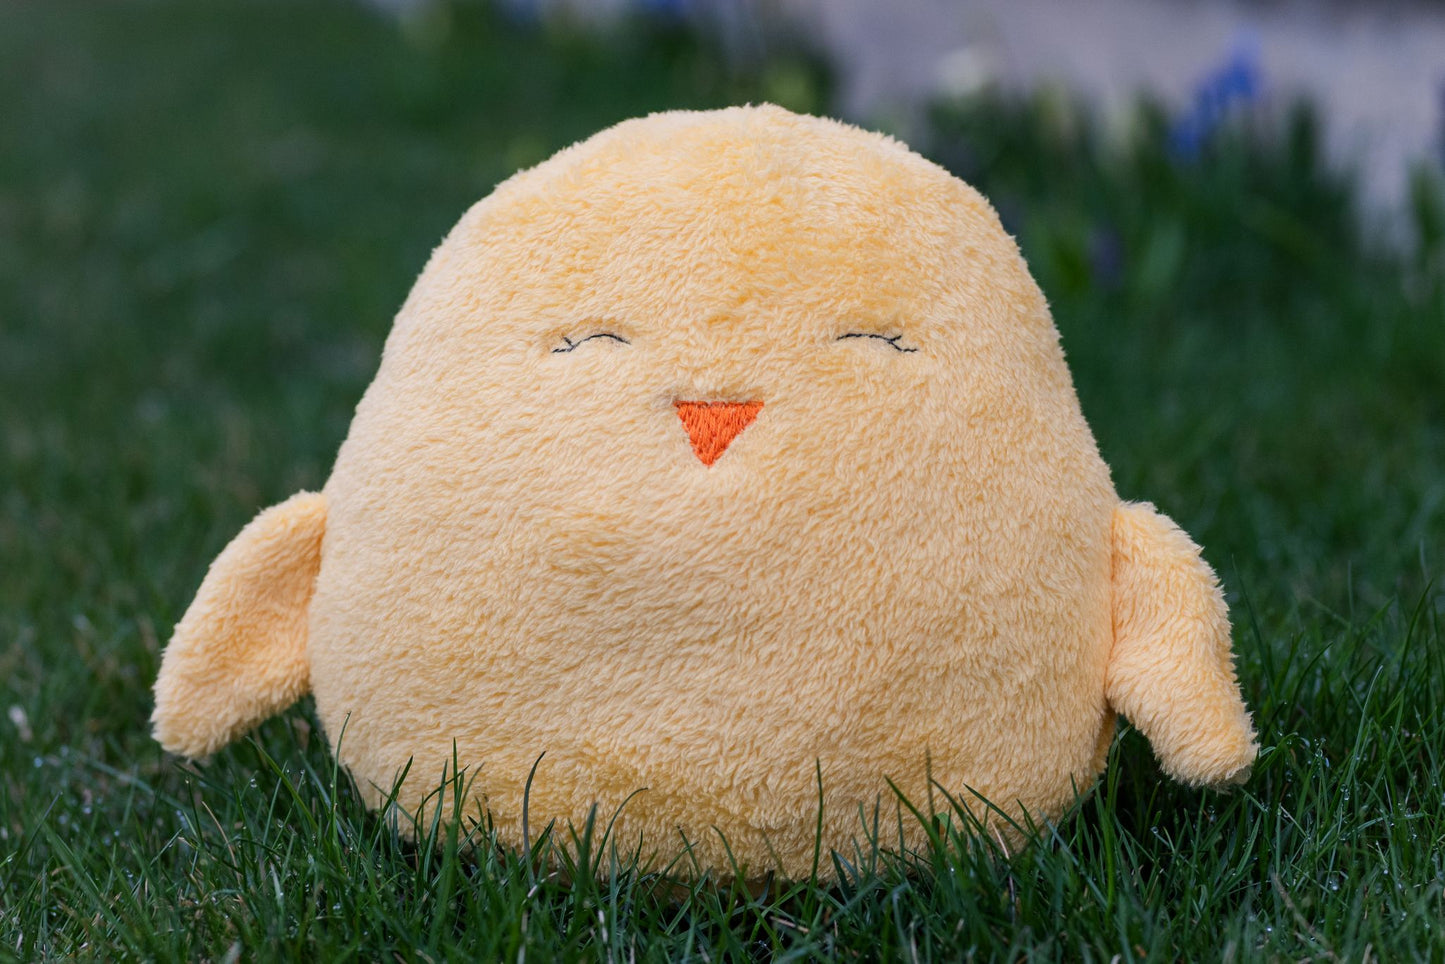
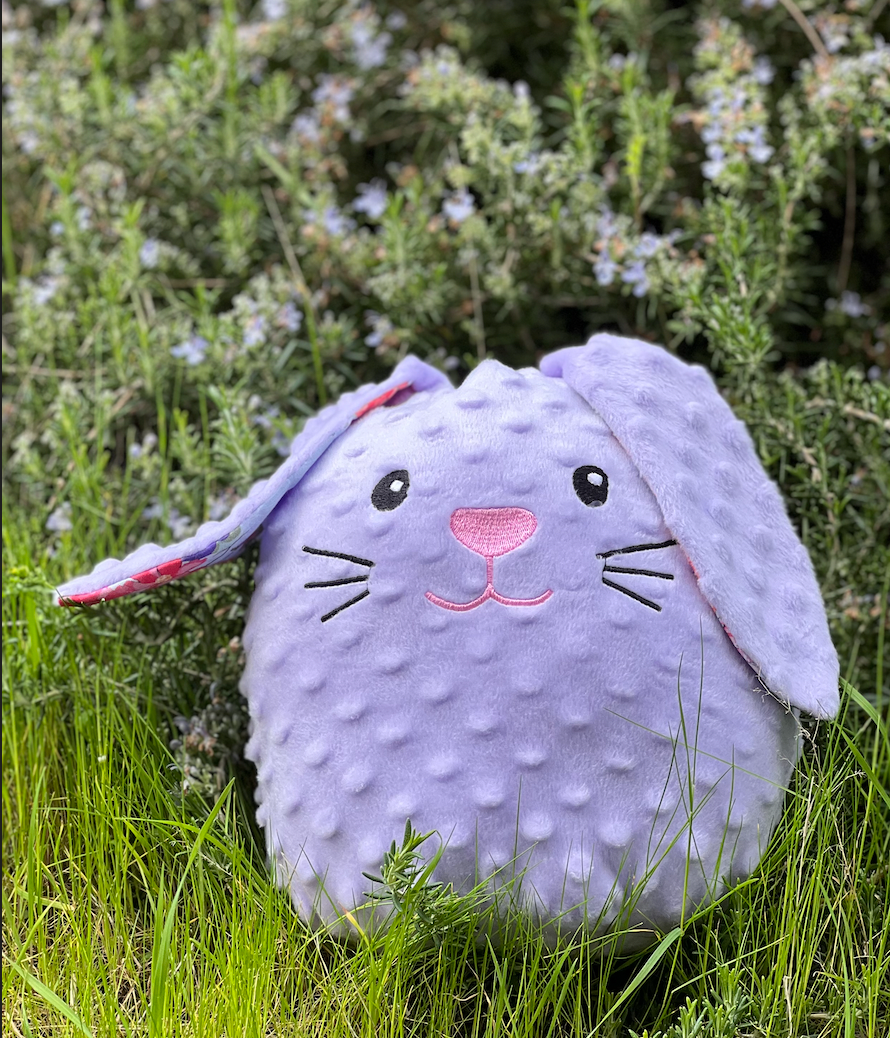
Create the ultimate snuggly Easter gift with the Cuddly Pals – Easter Edition PDF sewing pattern!
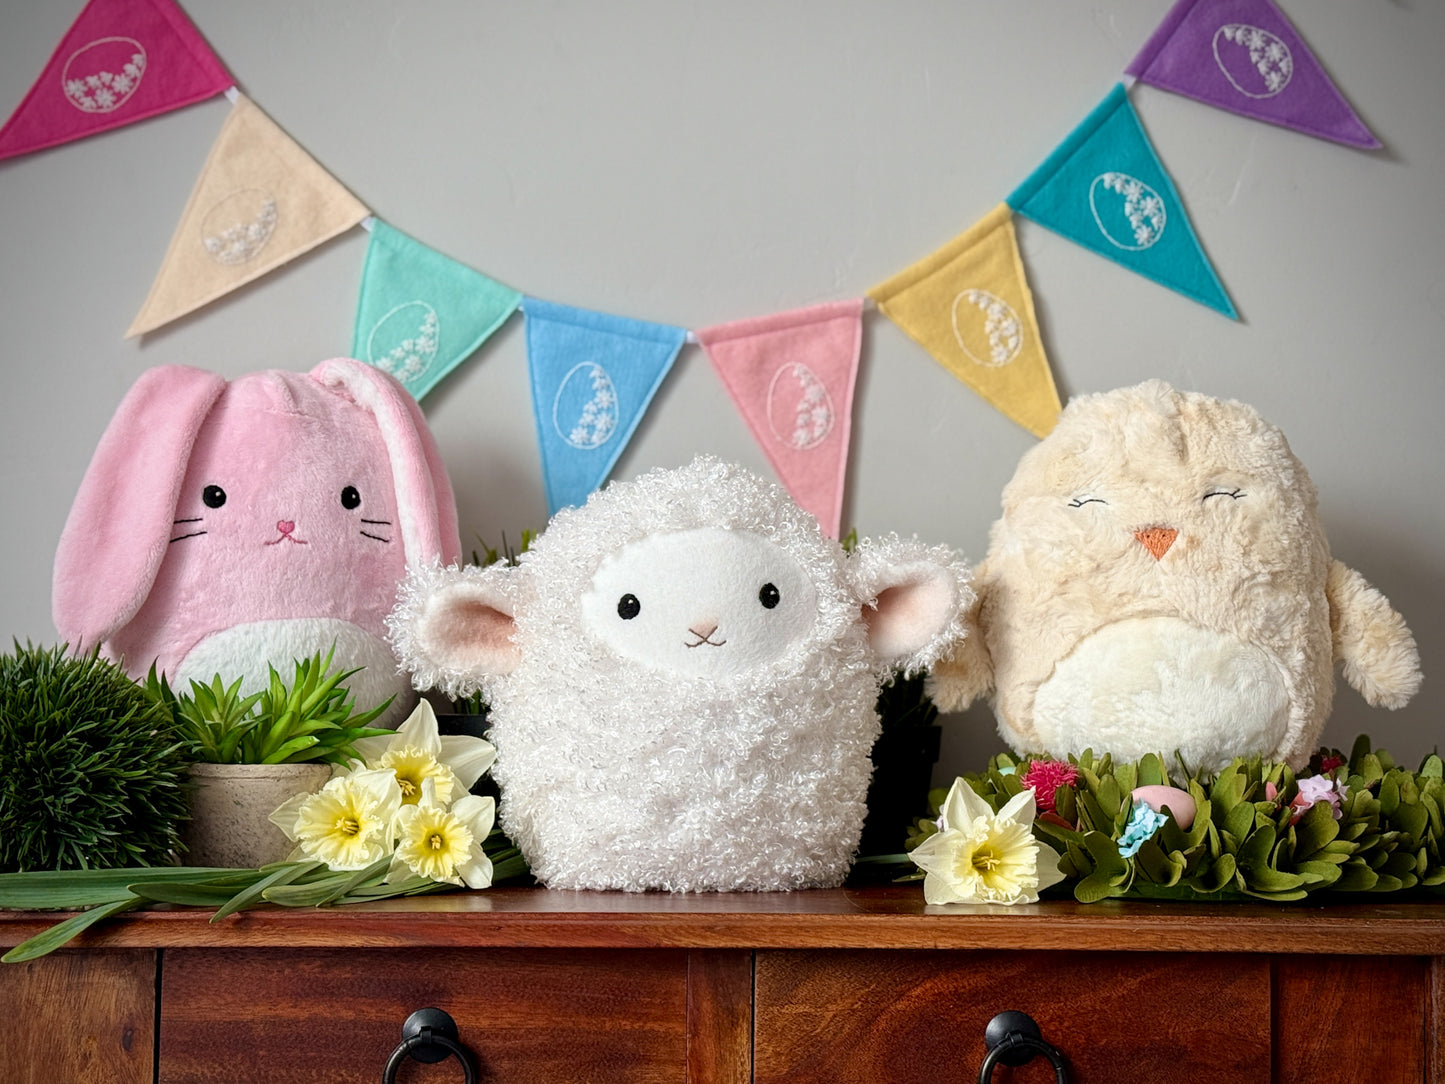
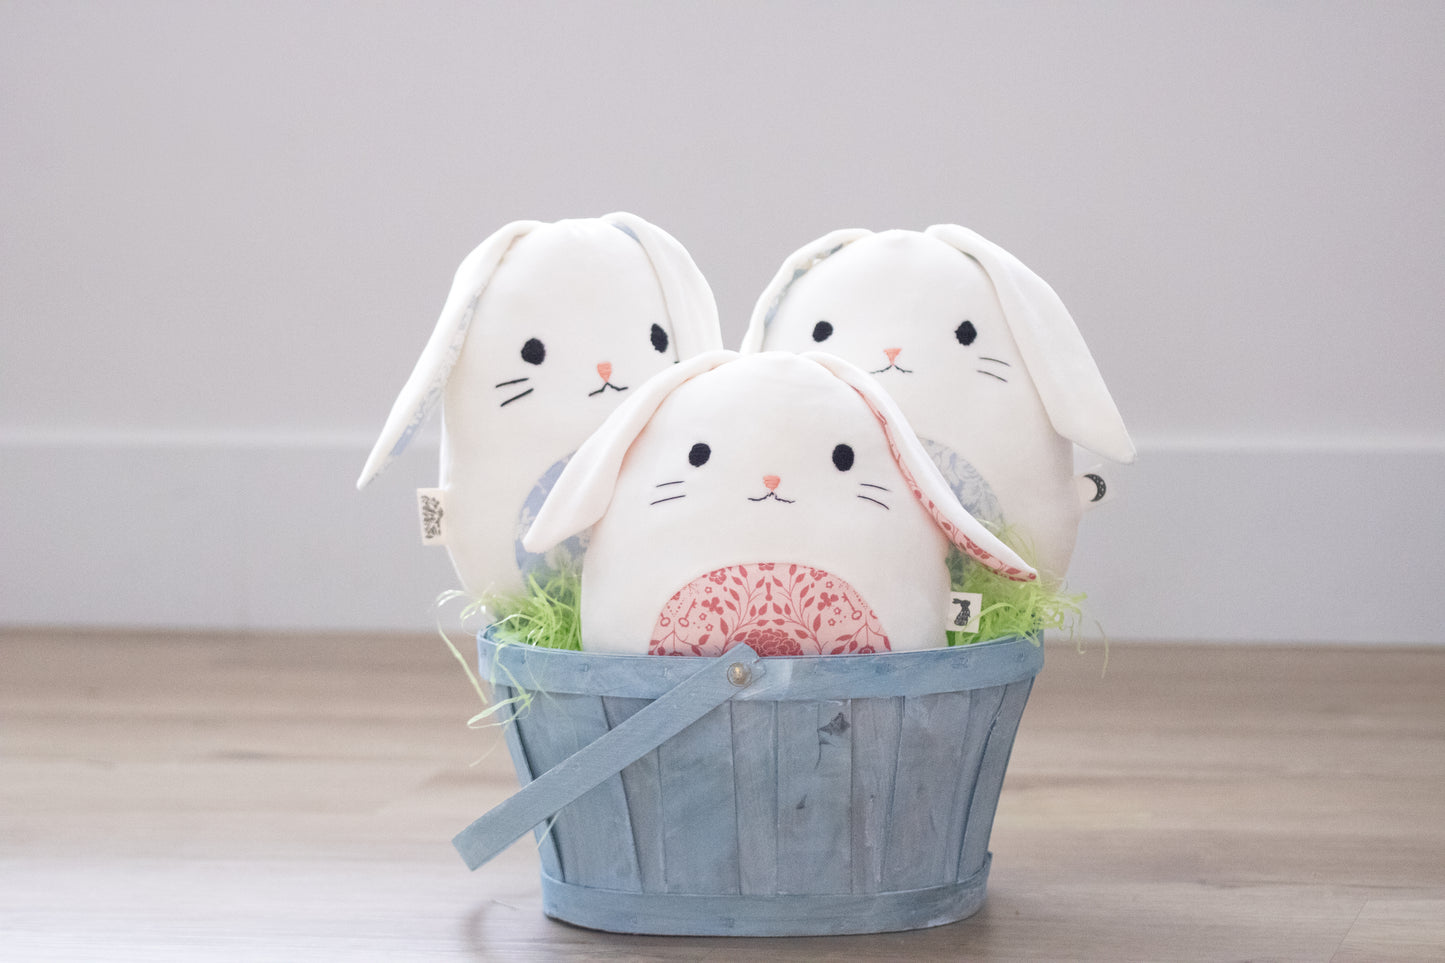
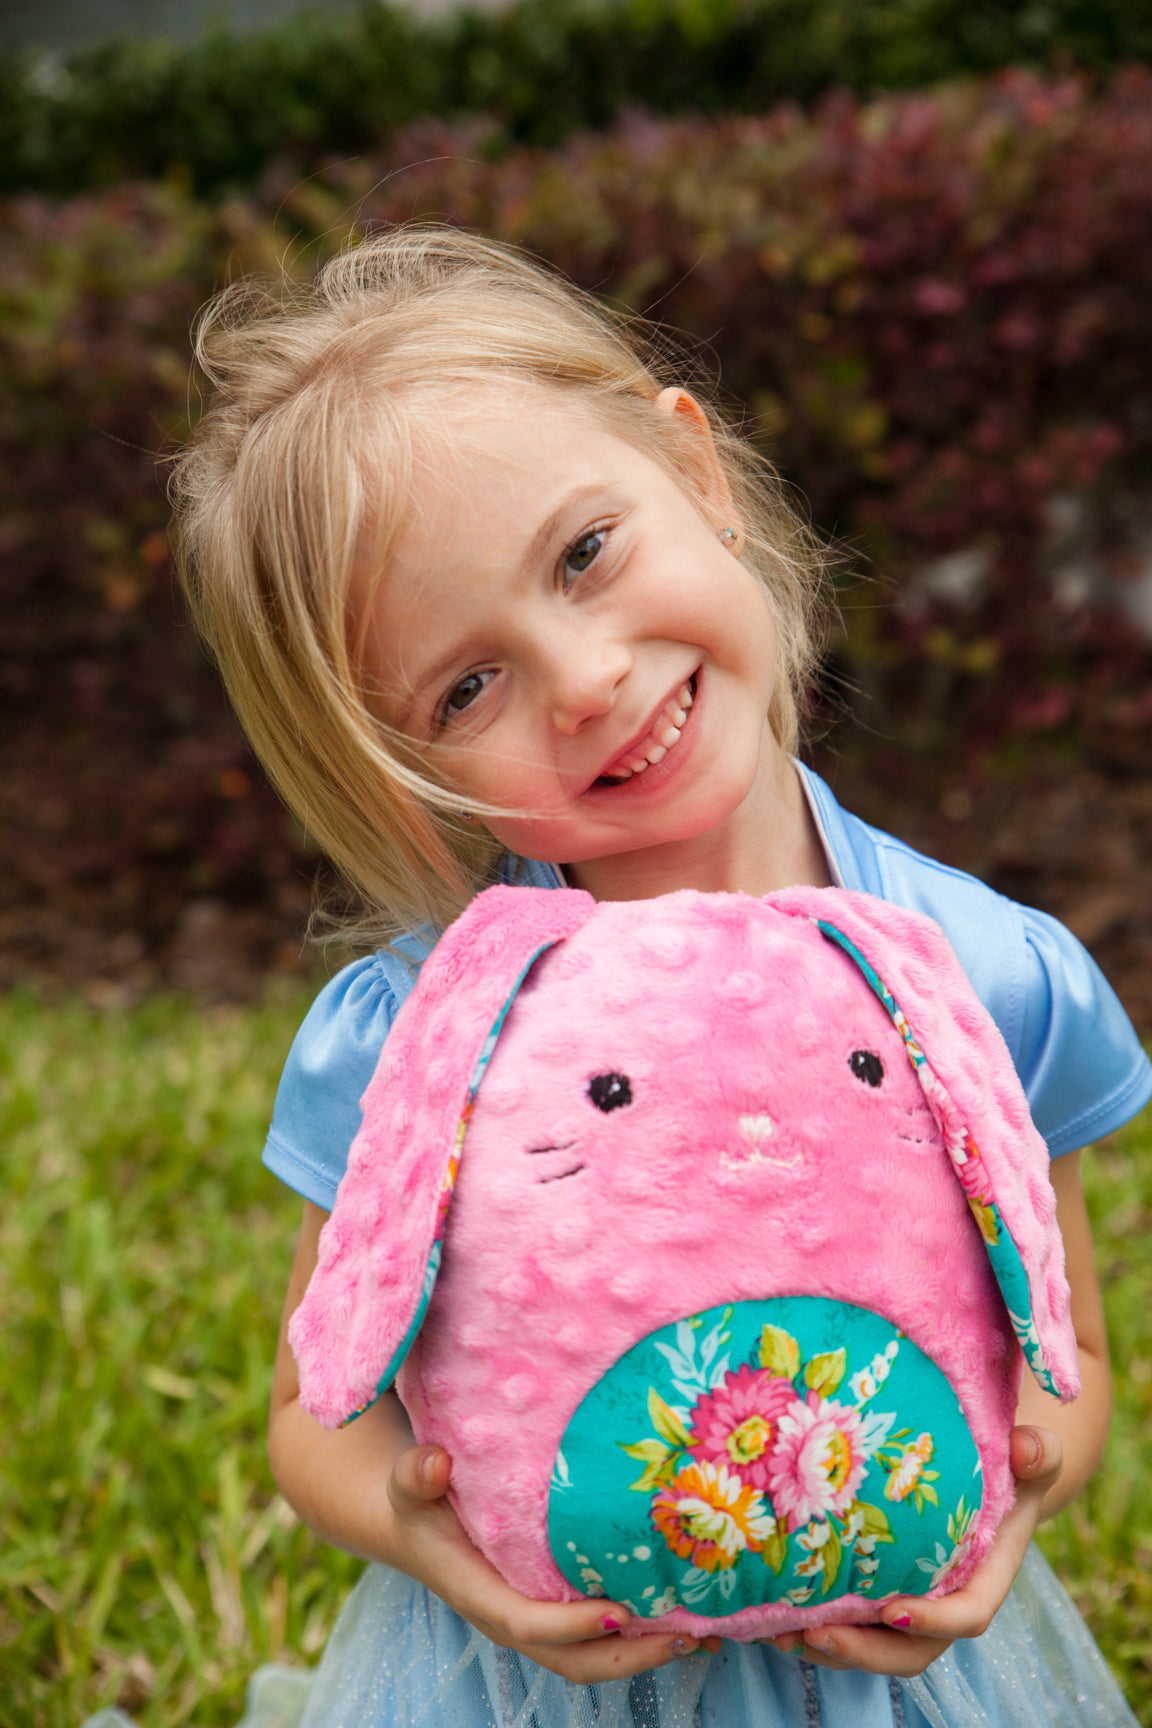
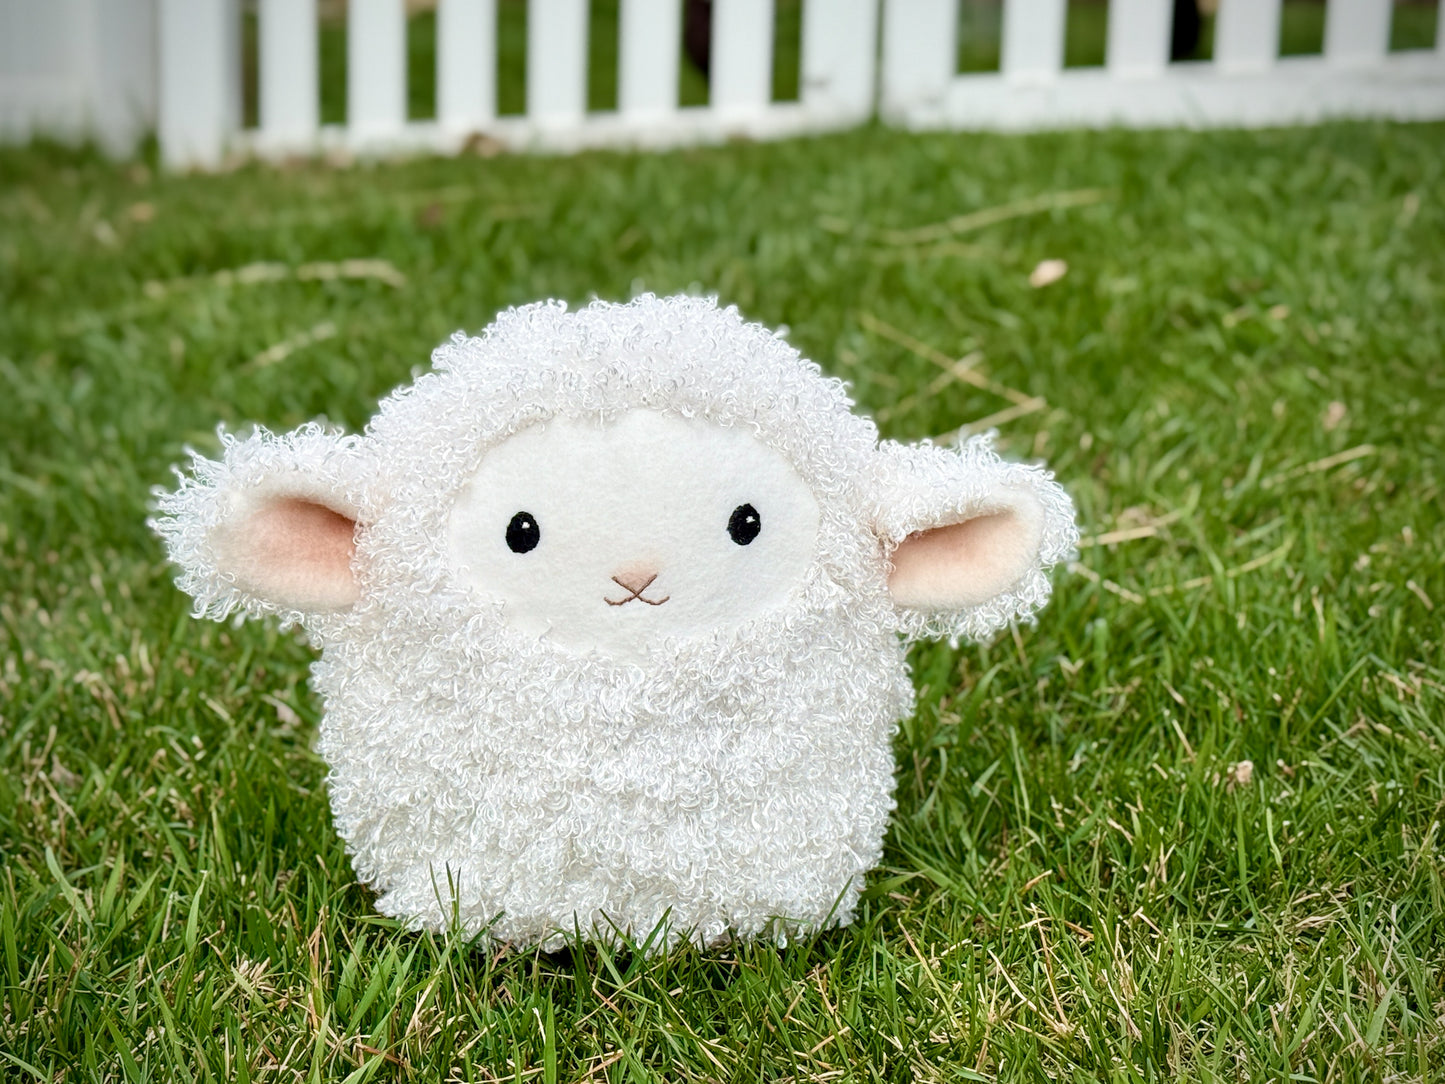
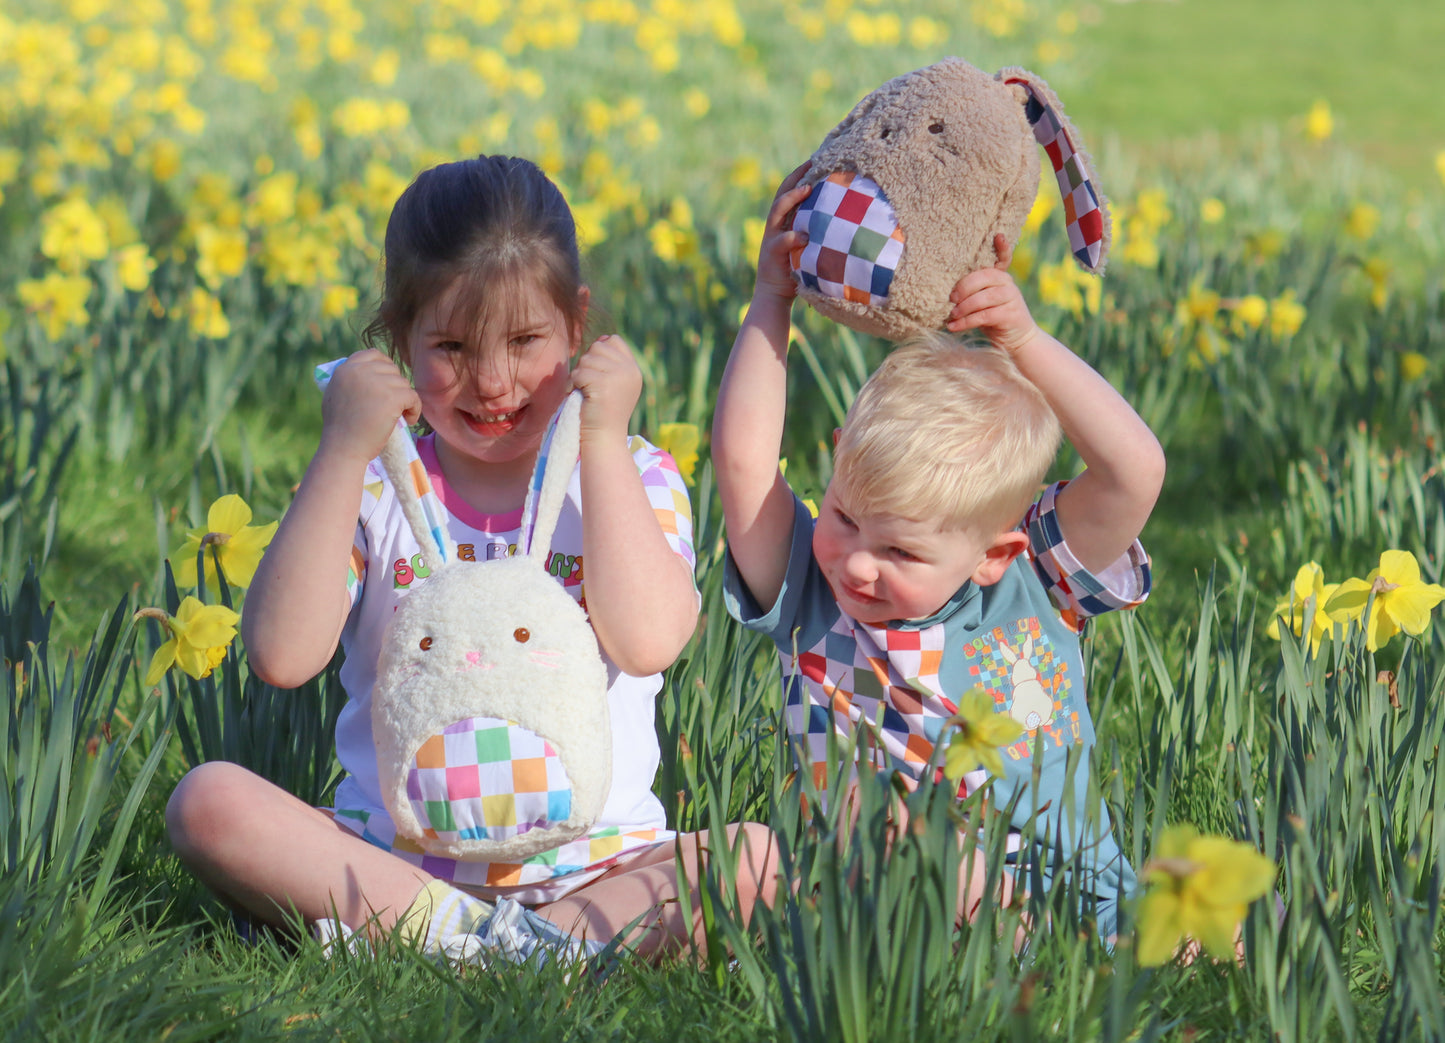
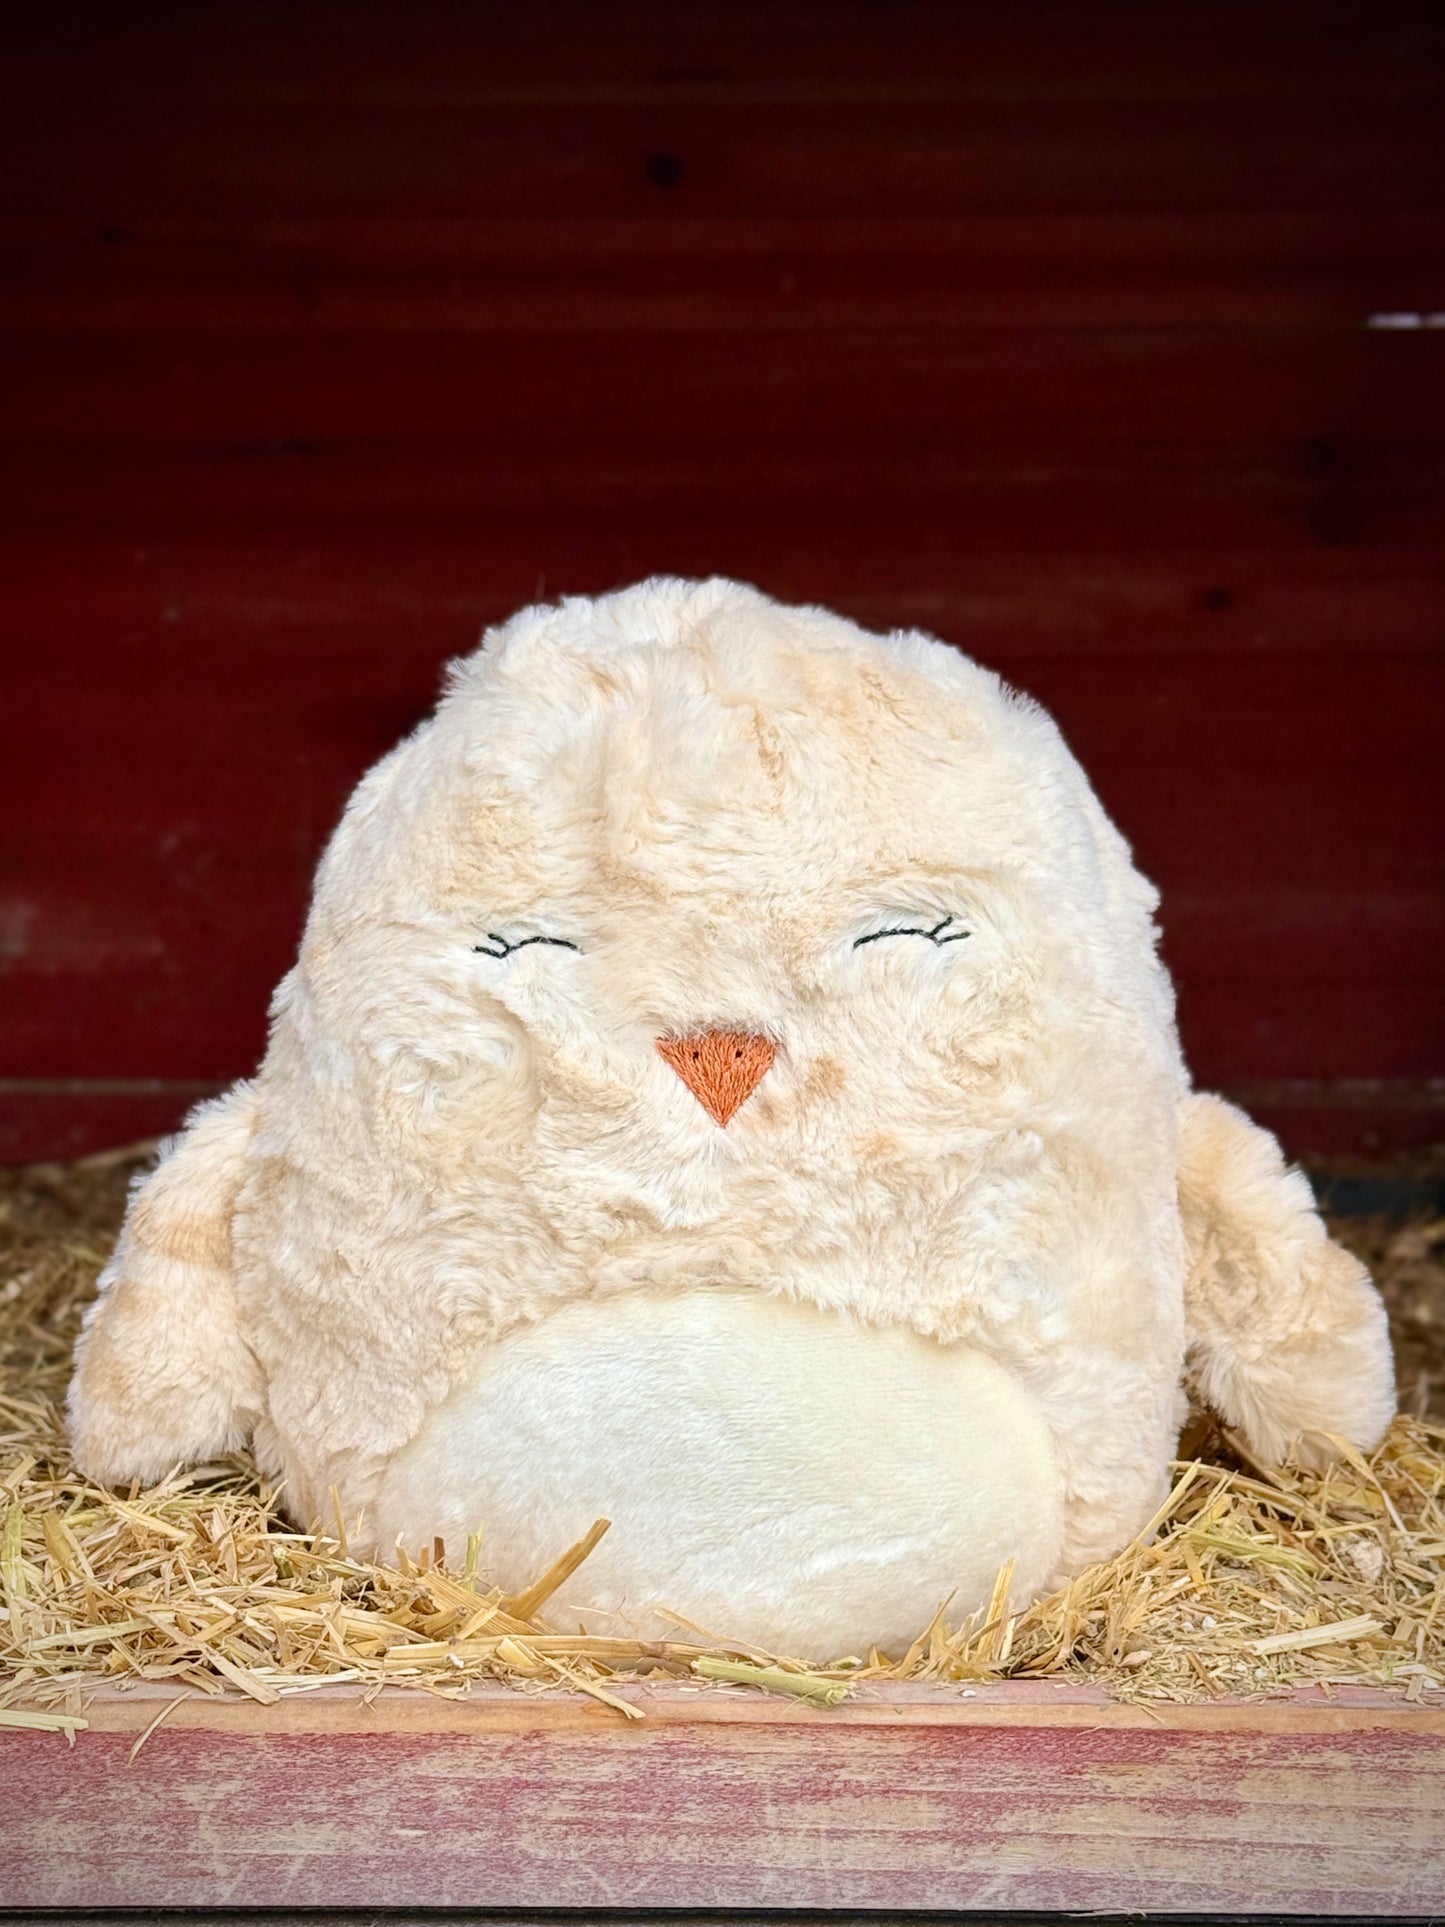
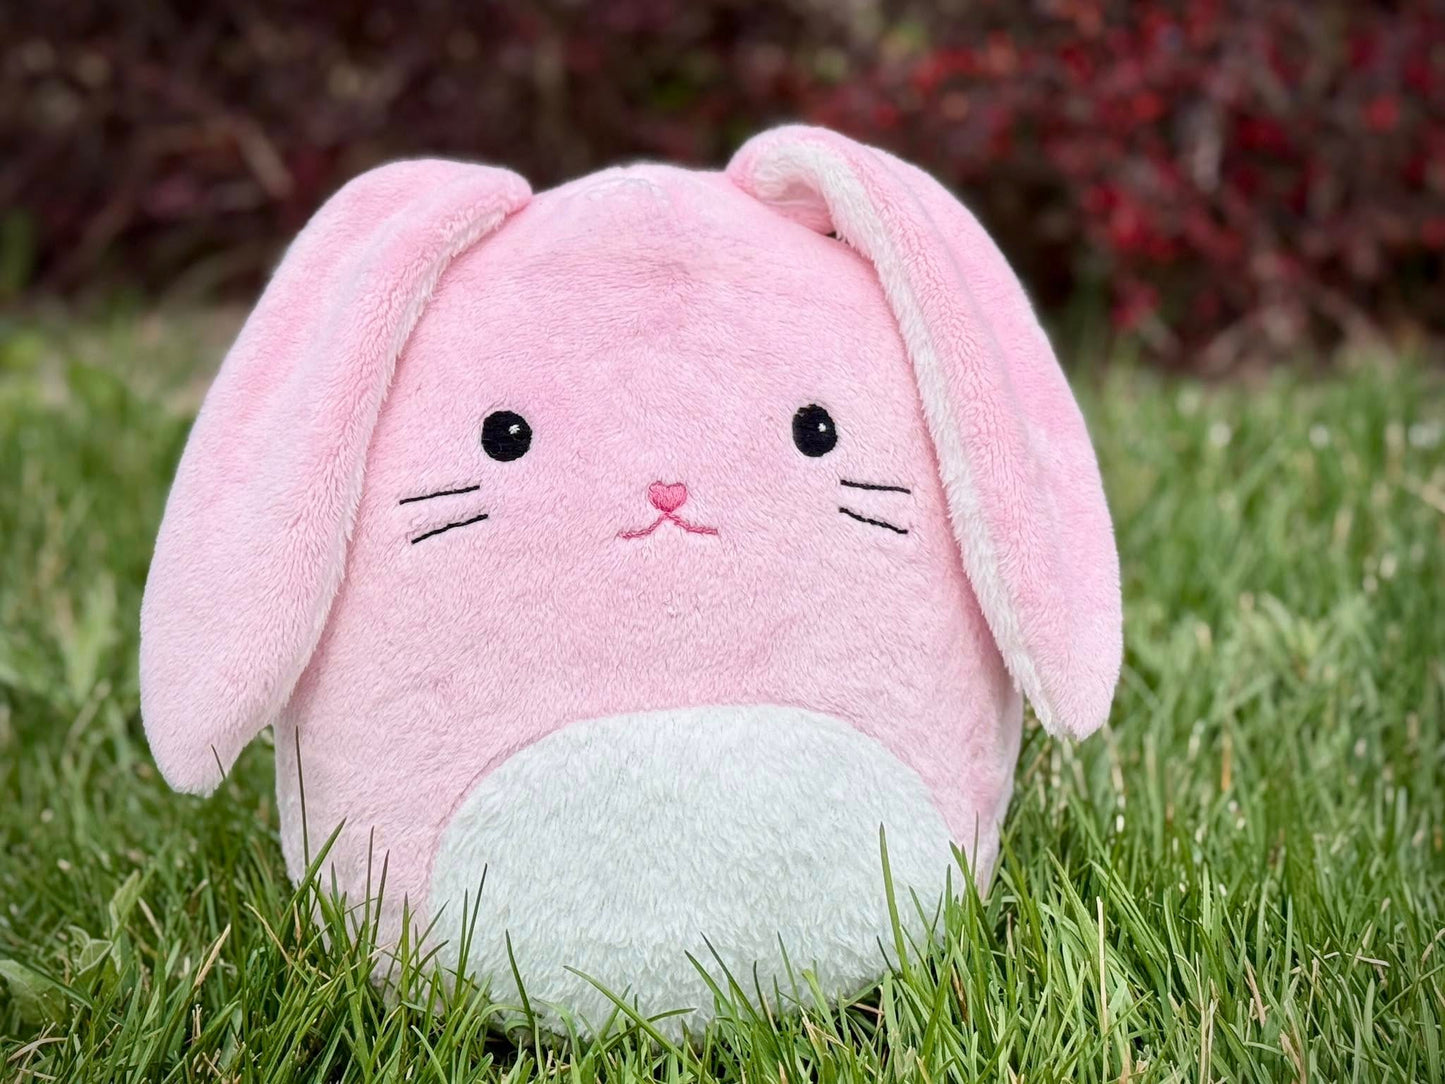
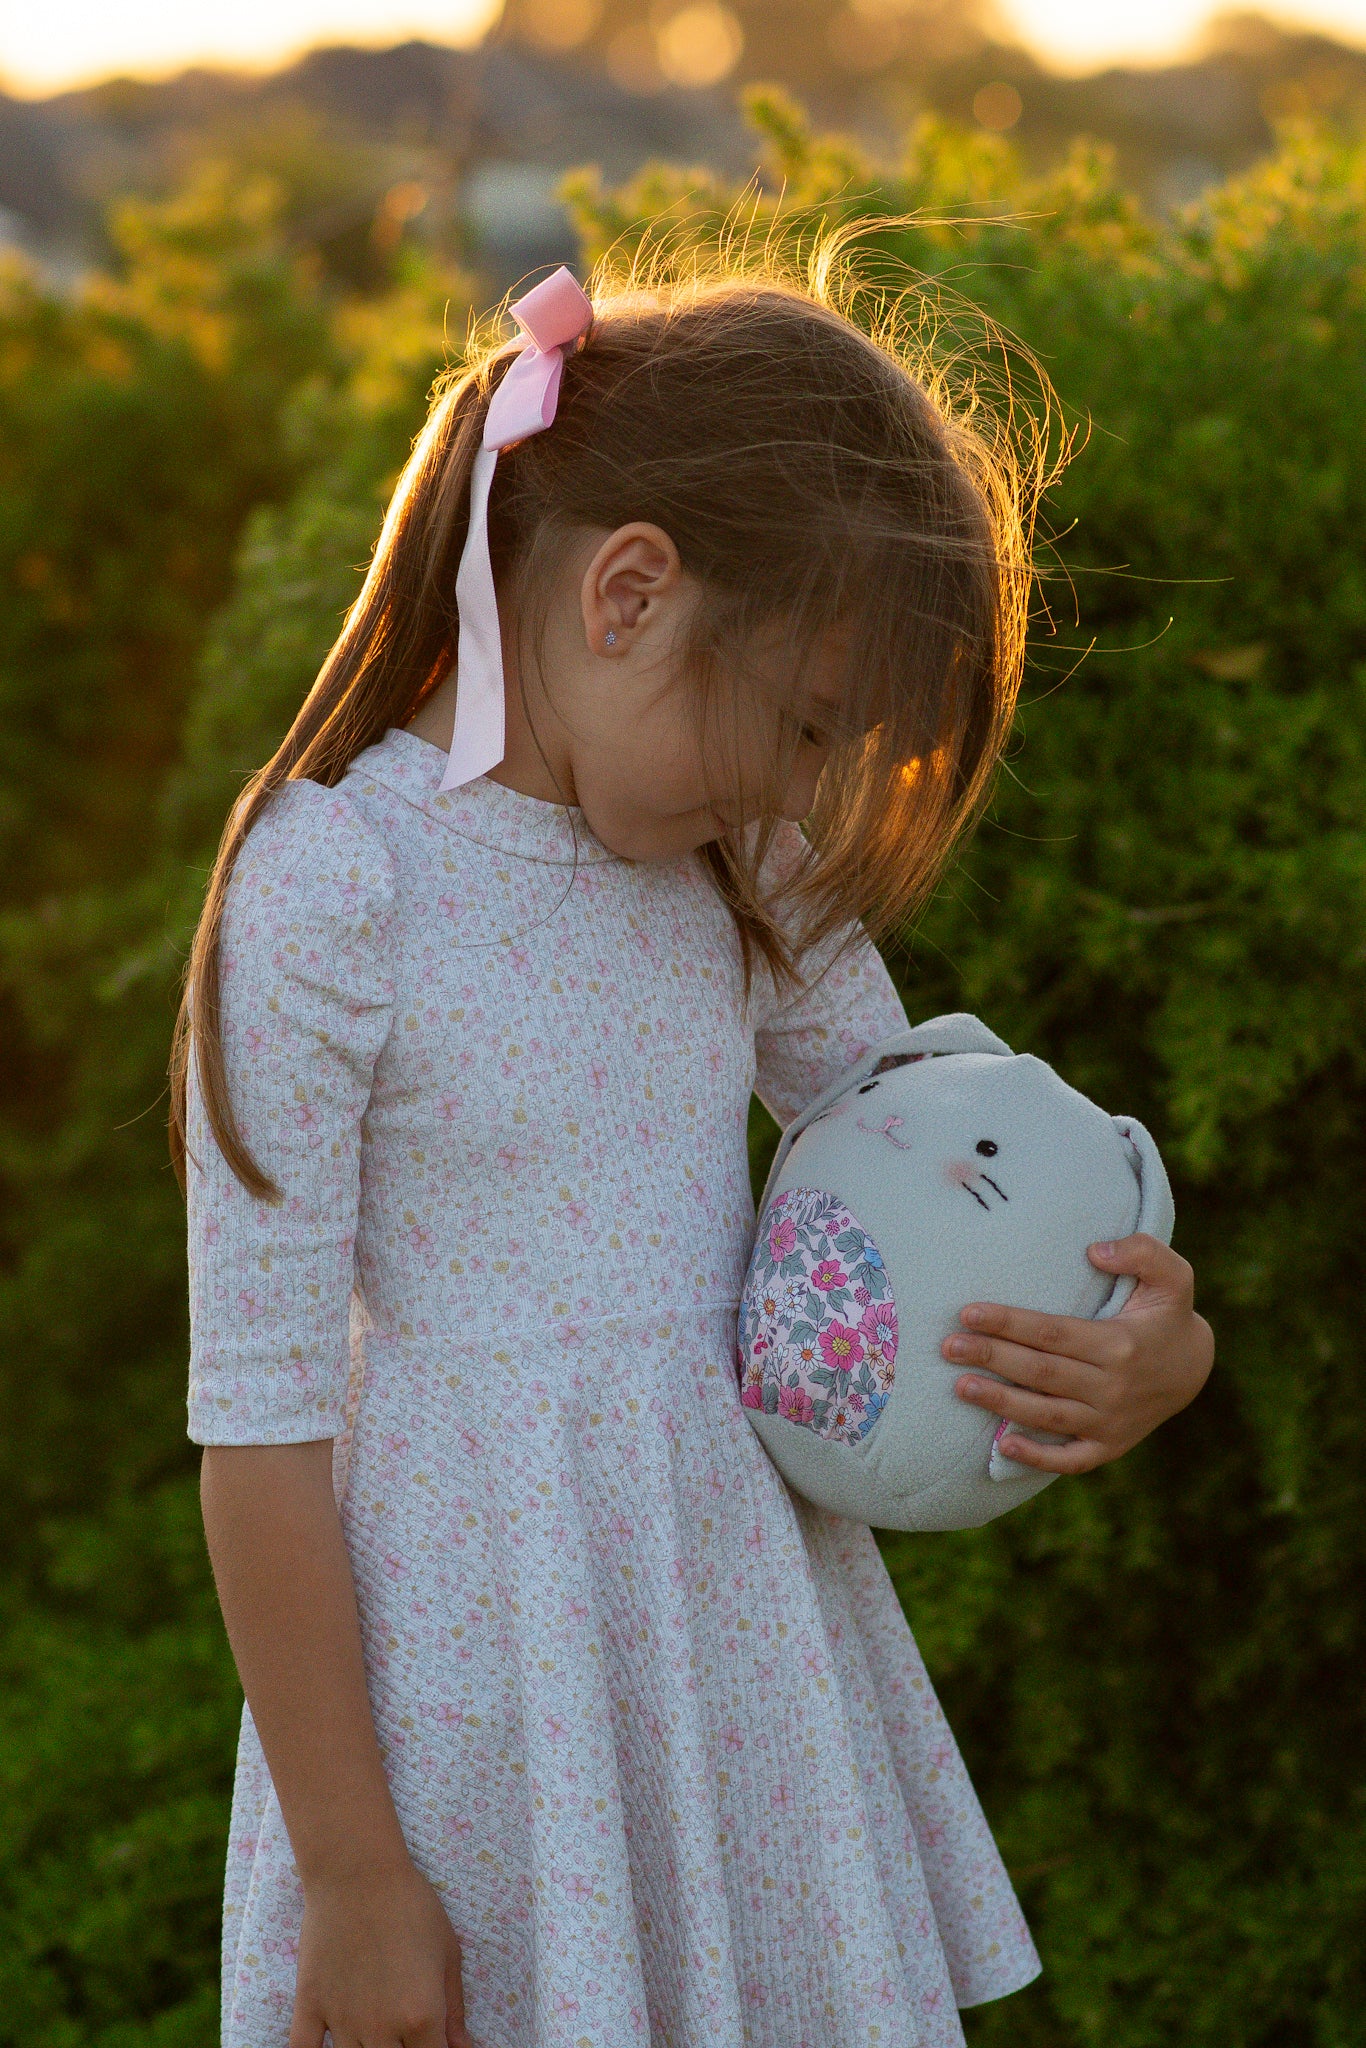
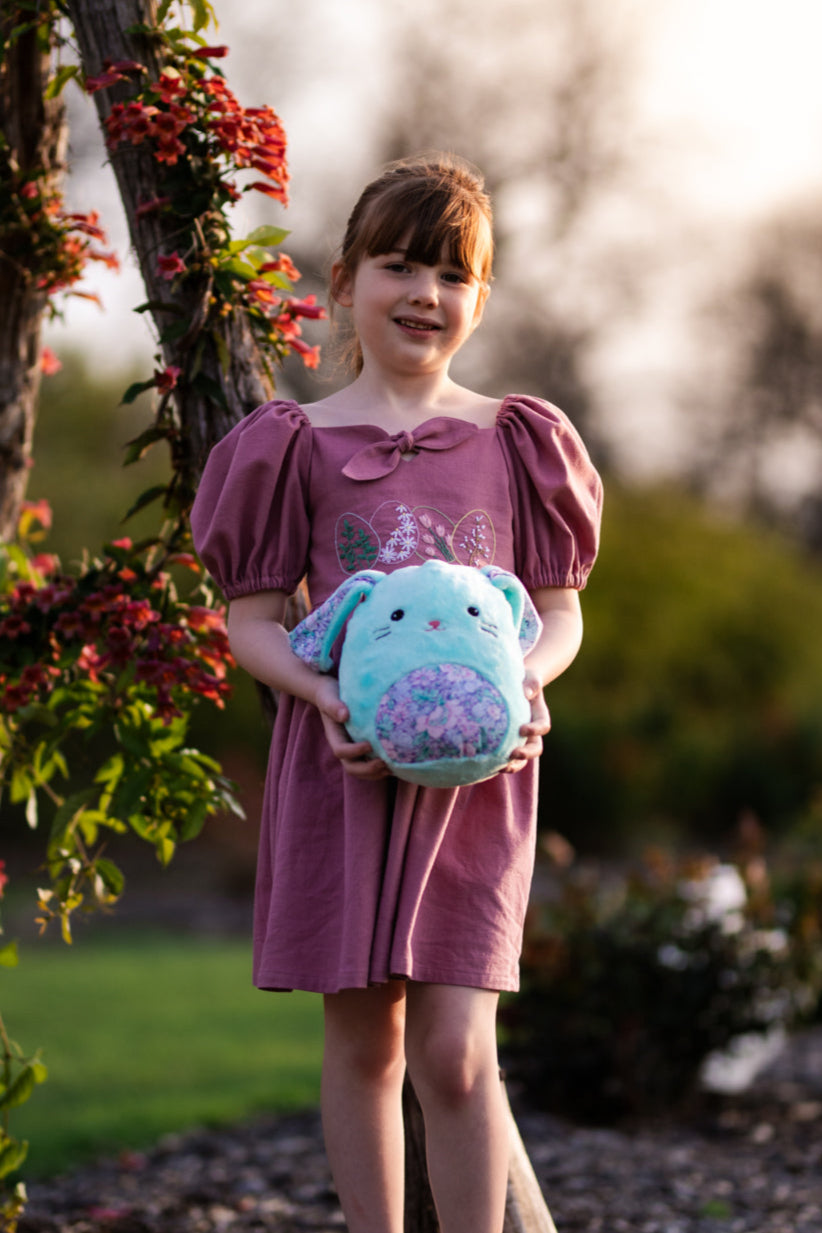
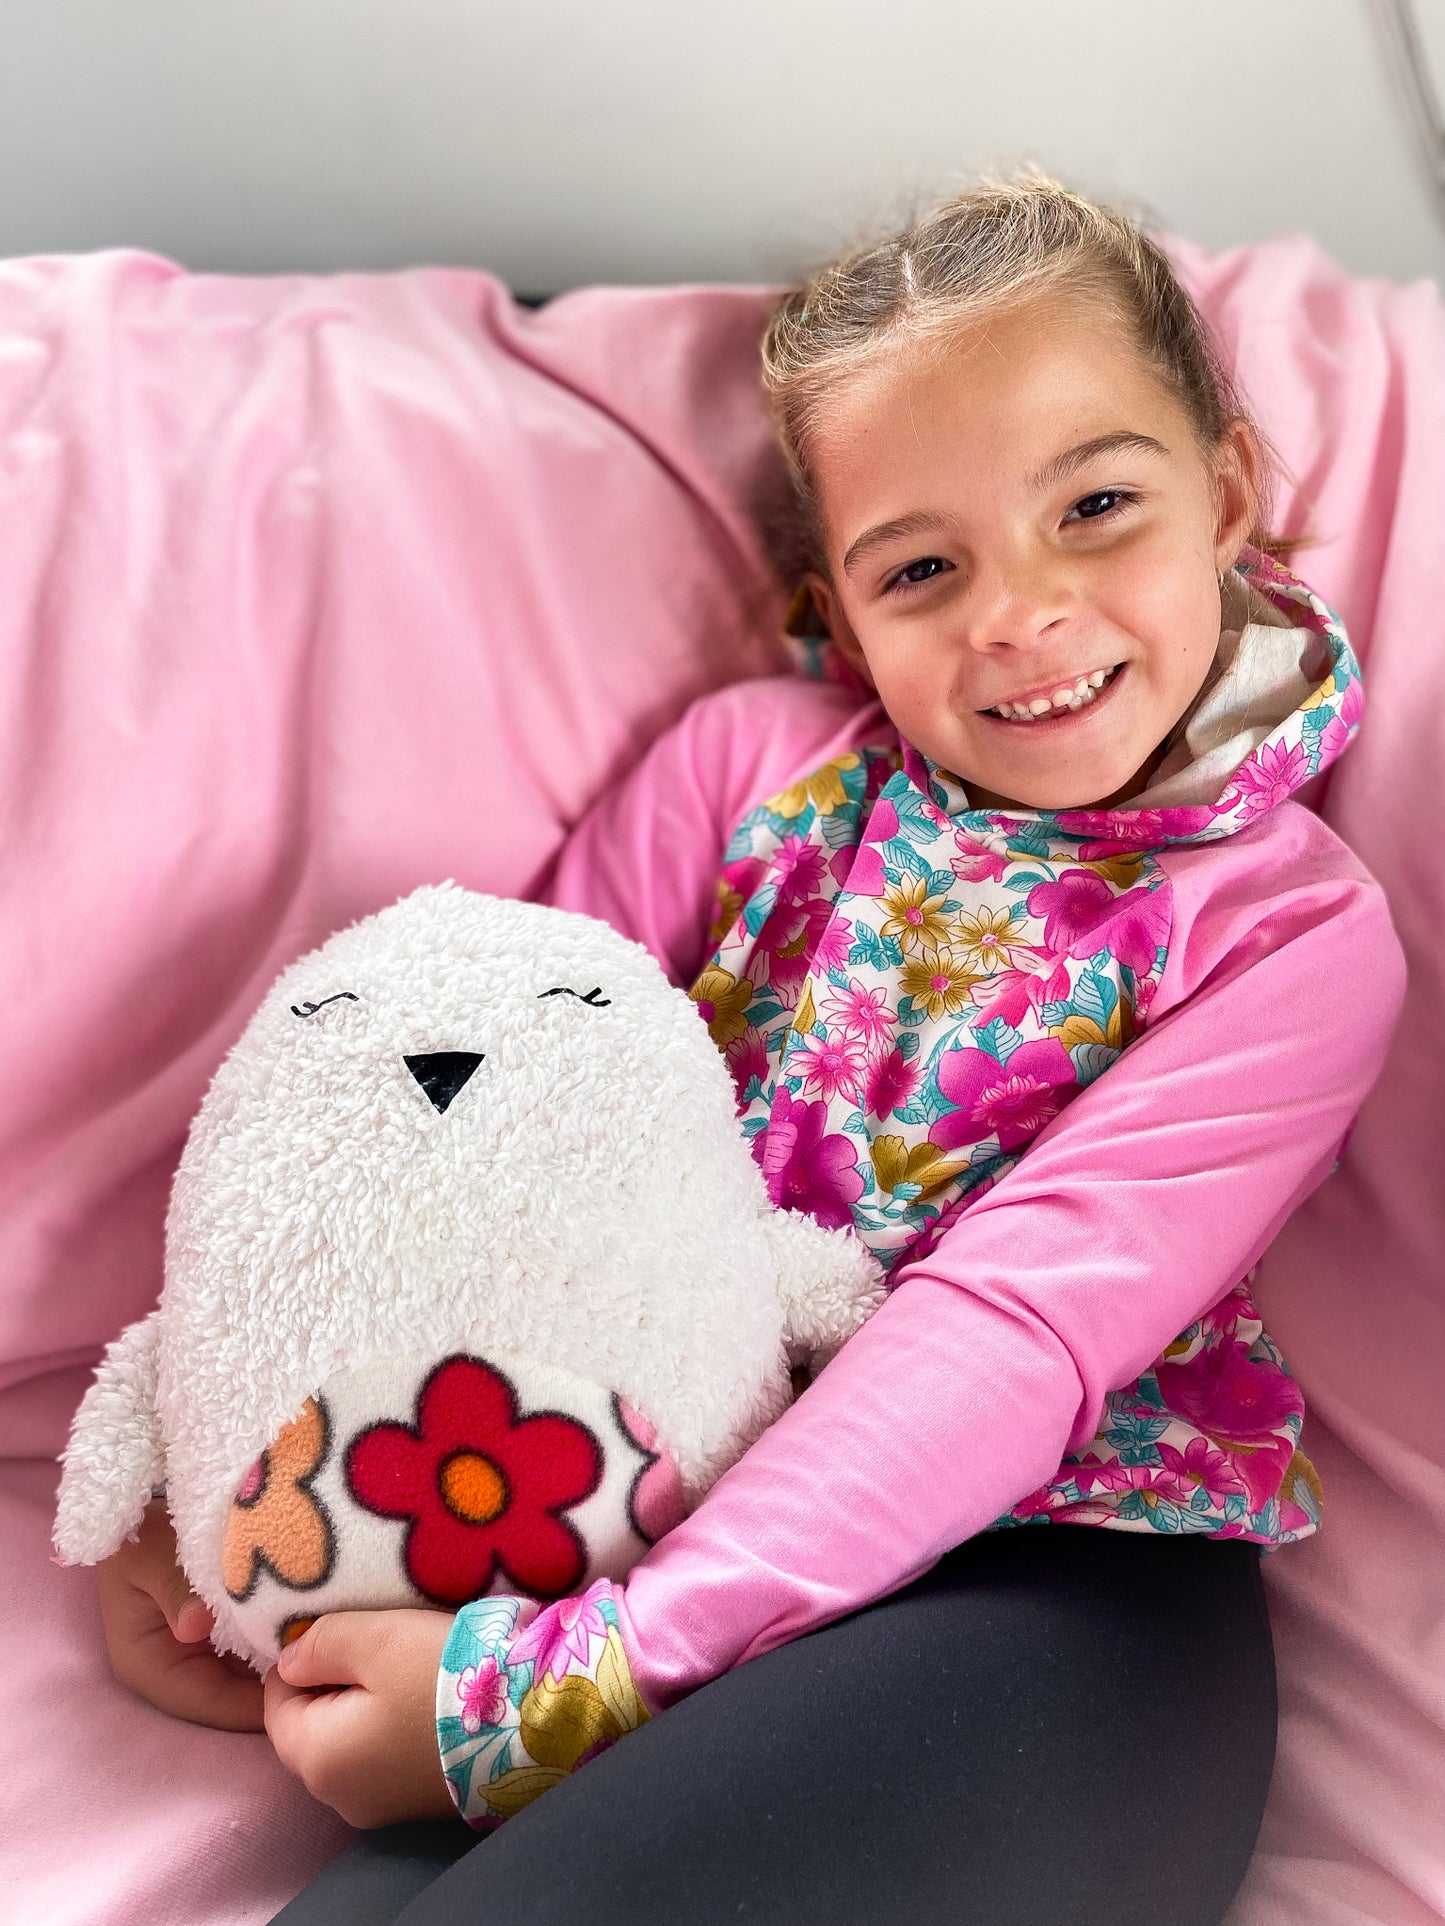
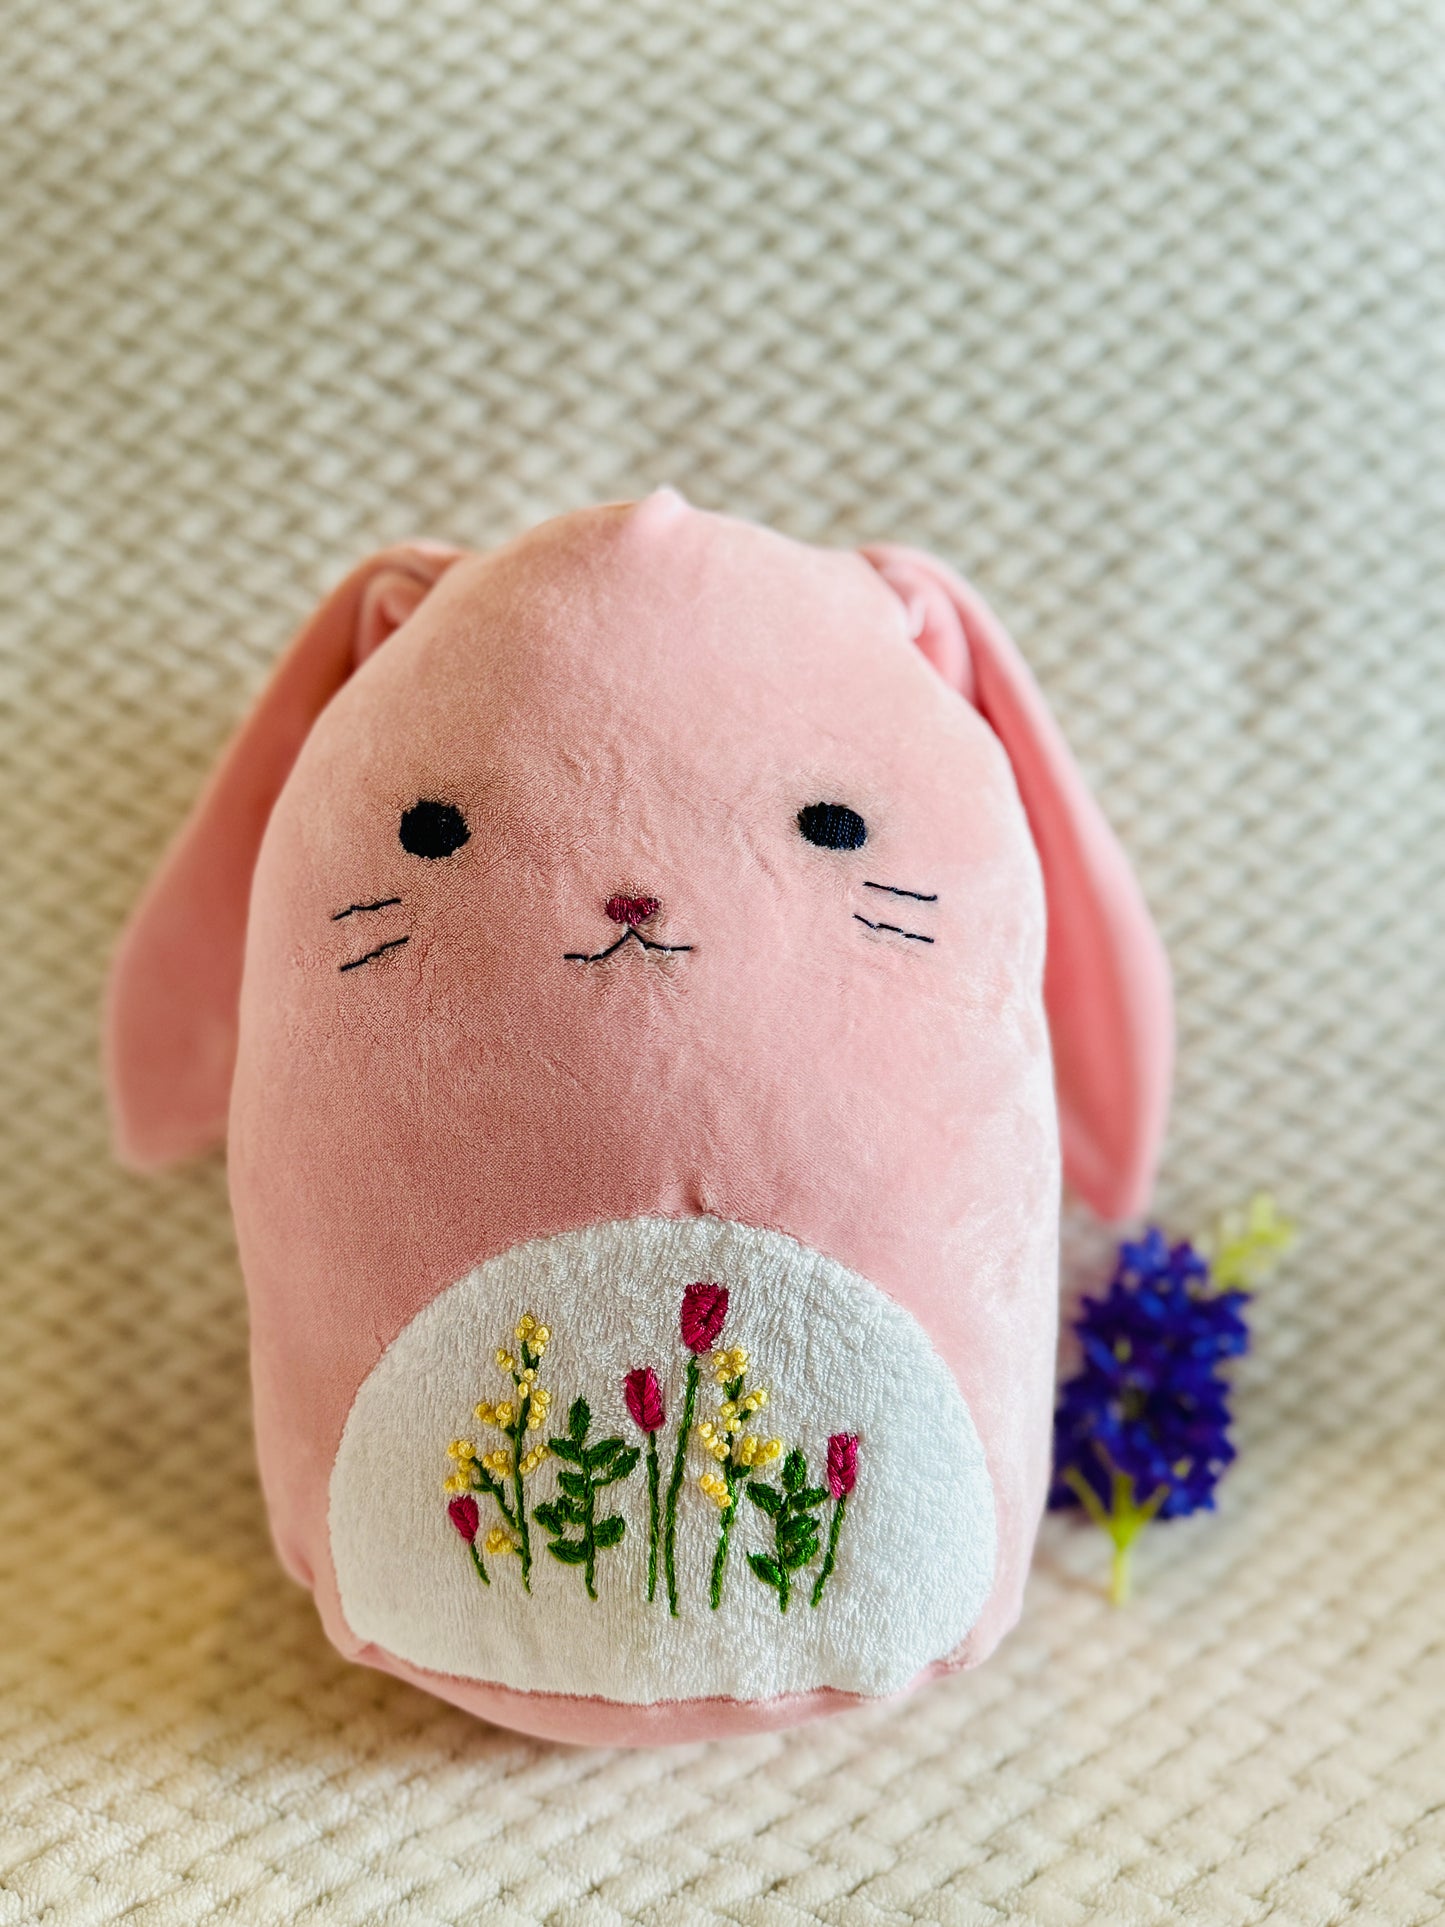
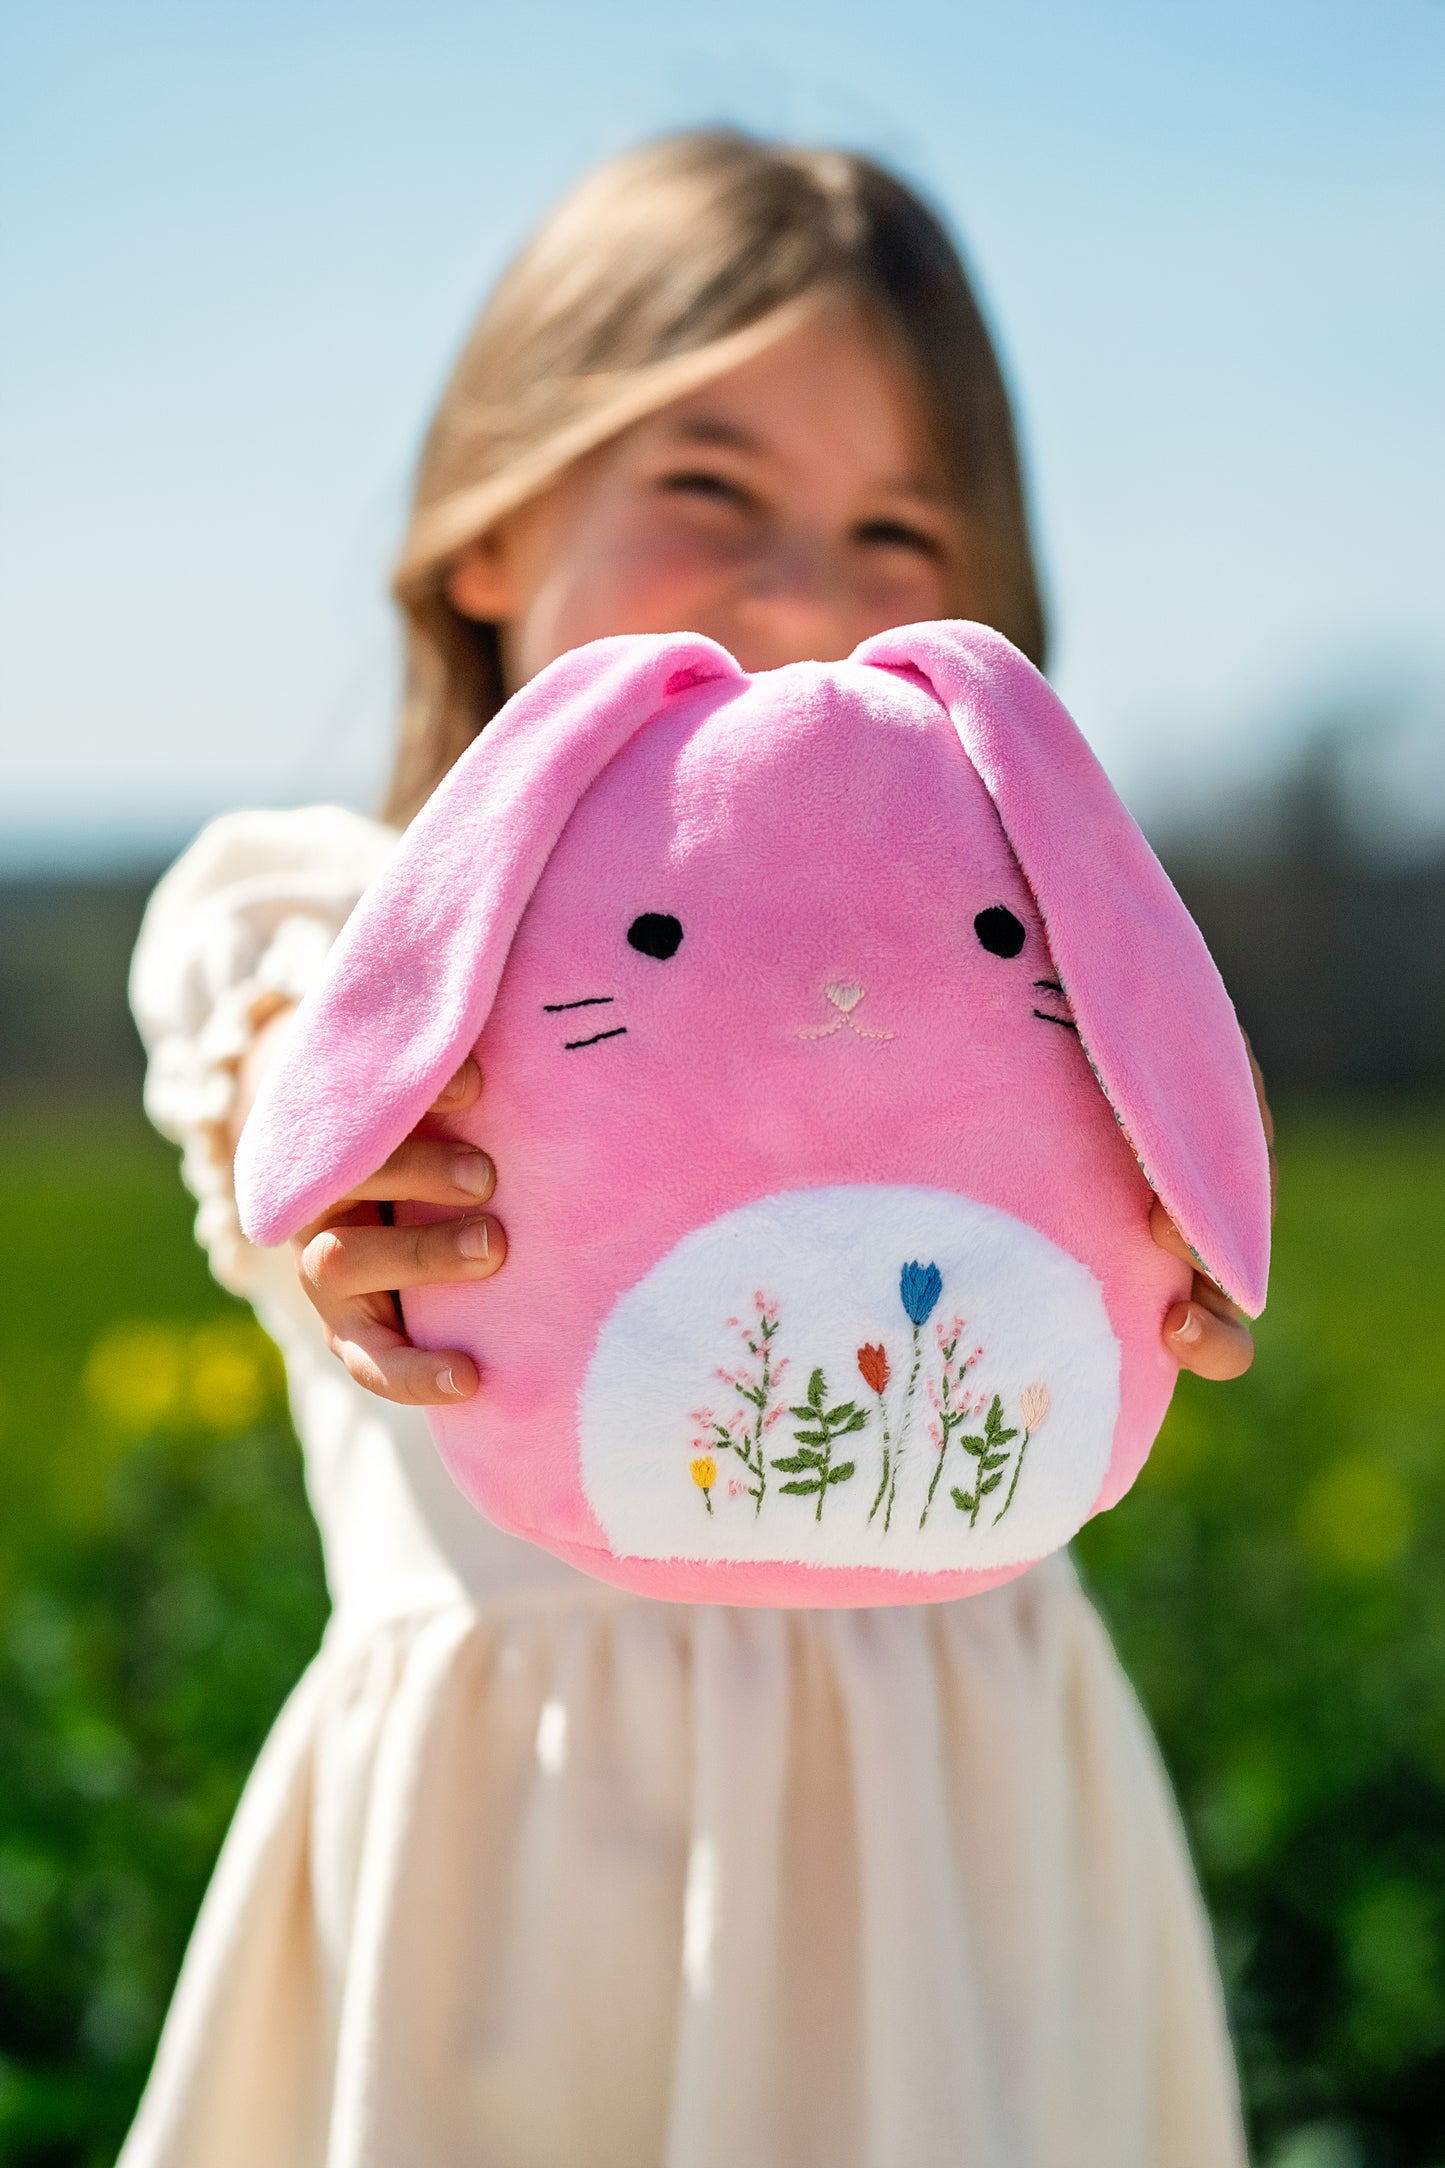
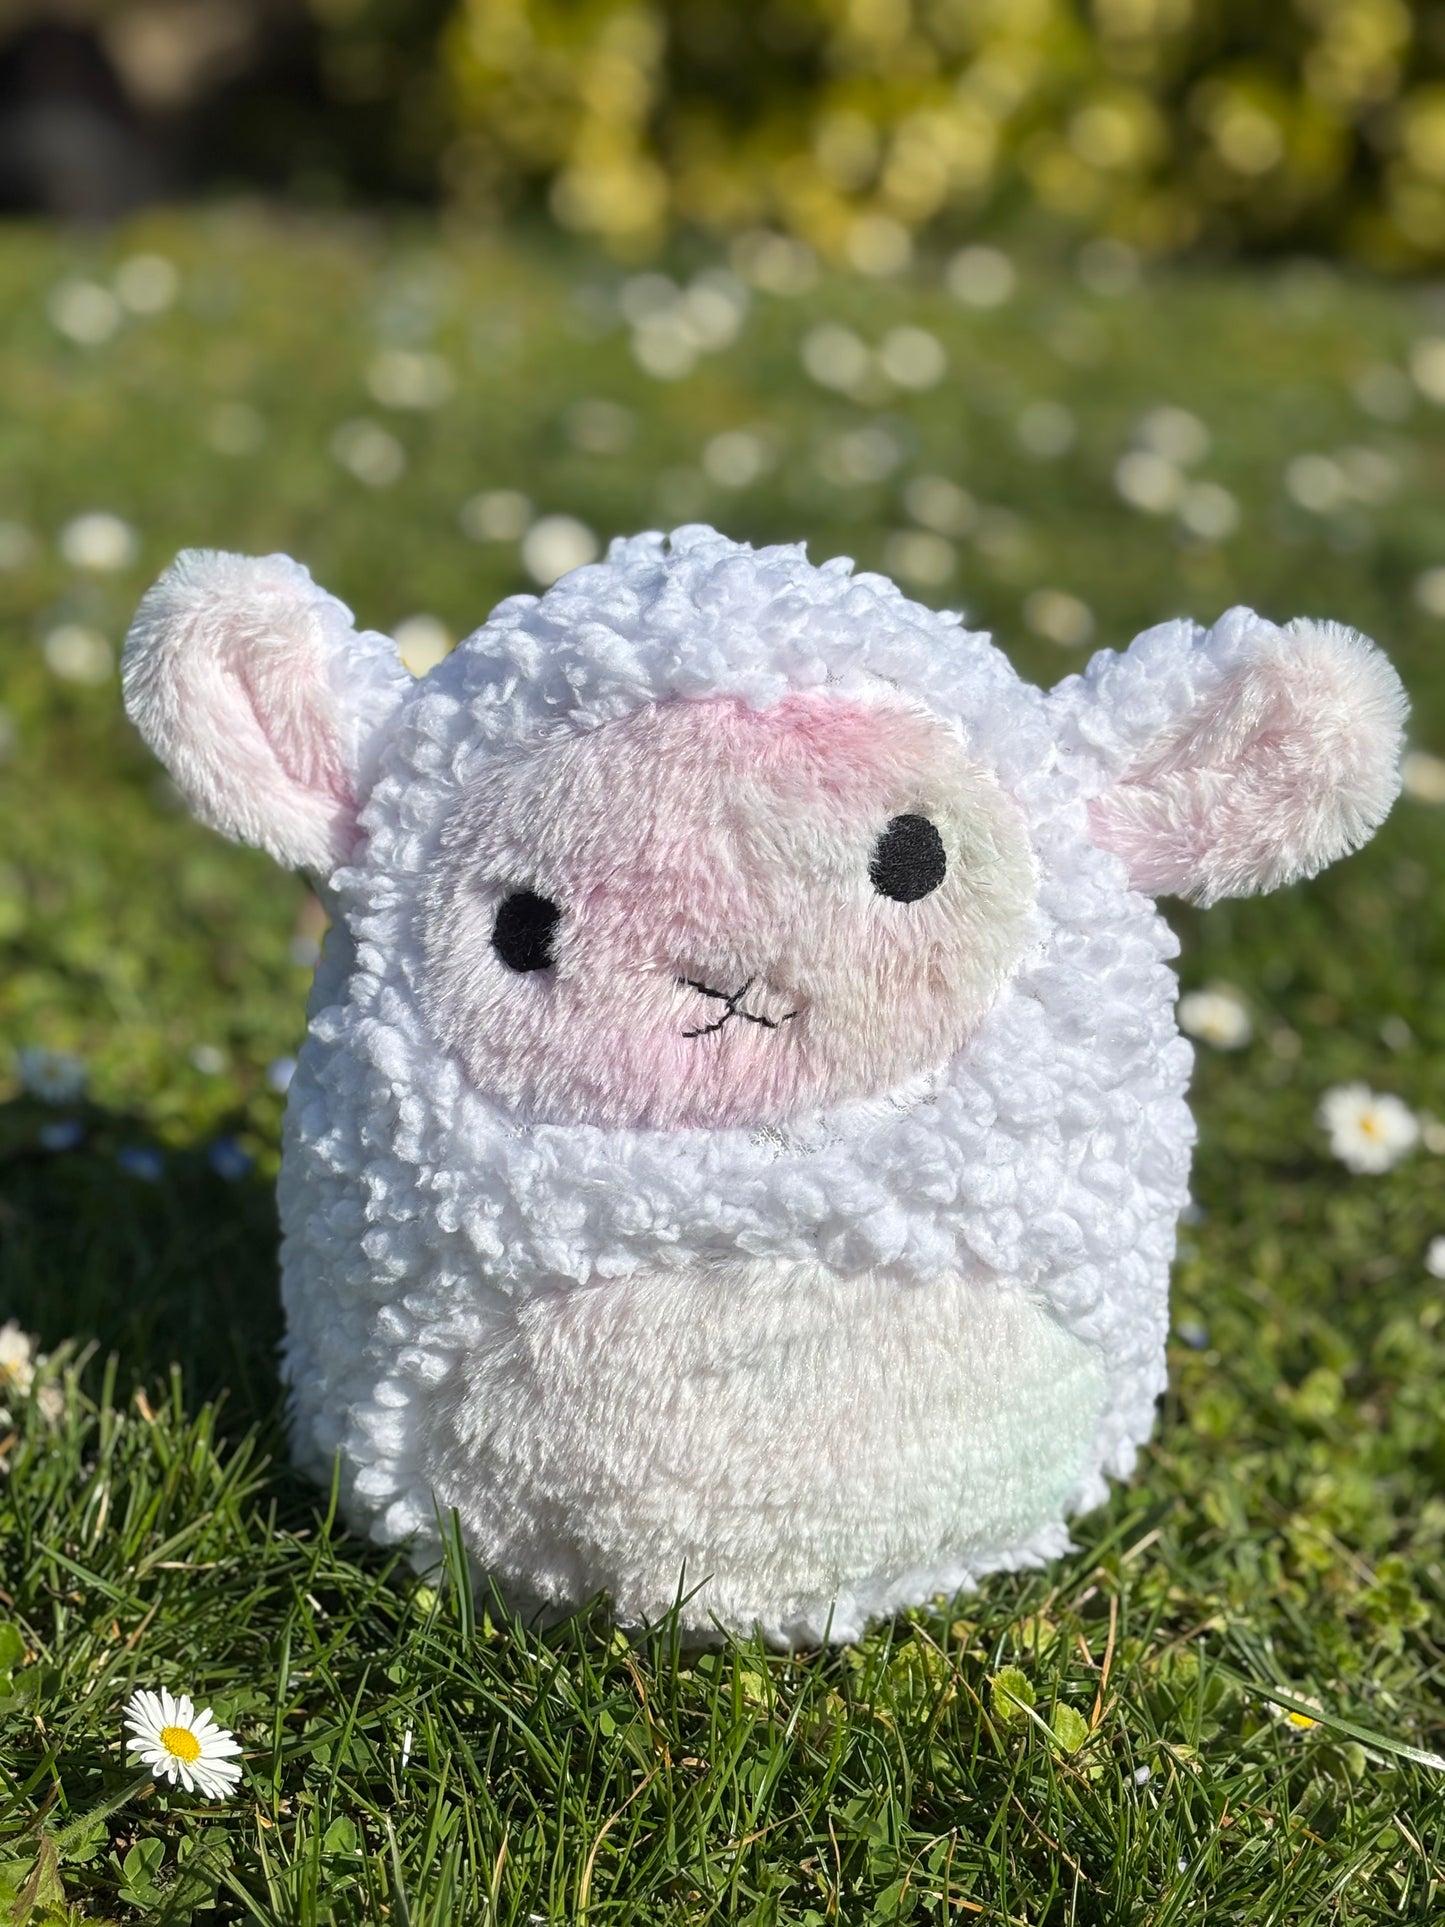
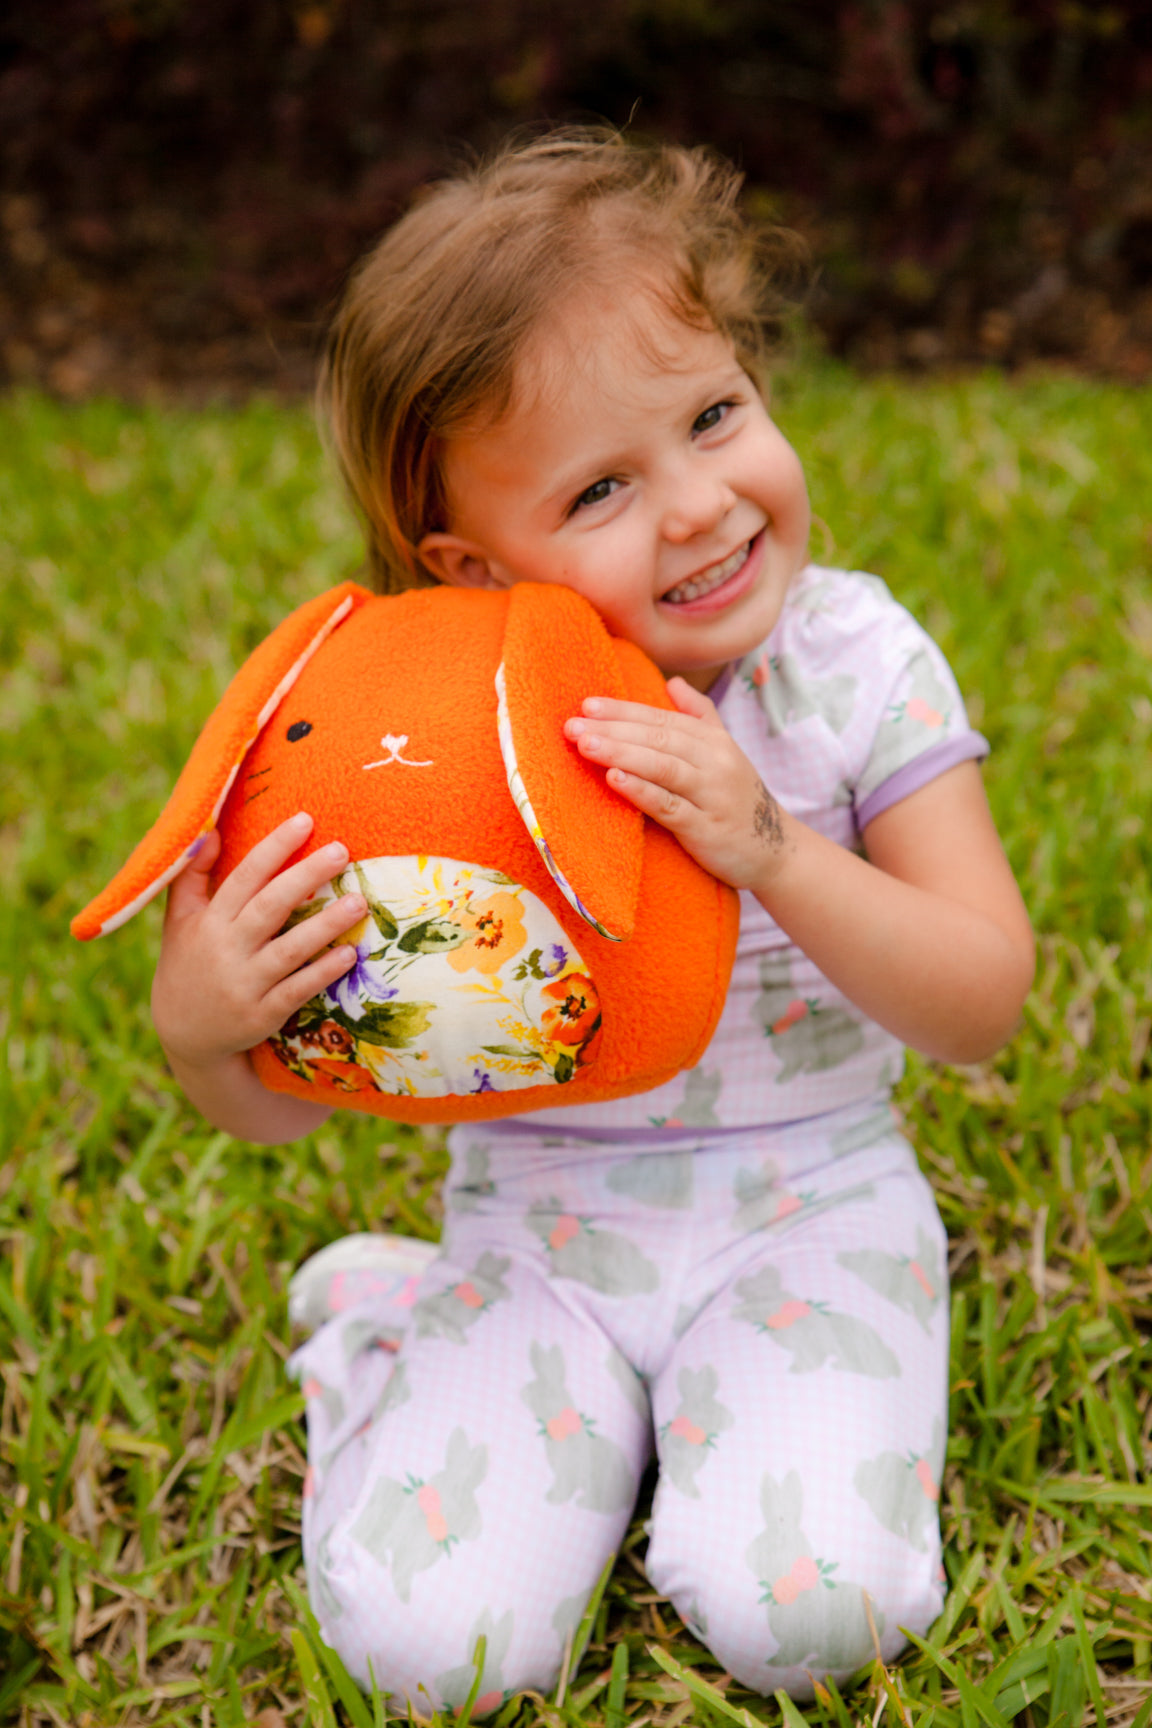
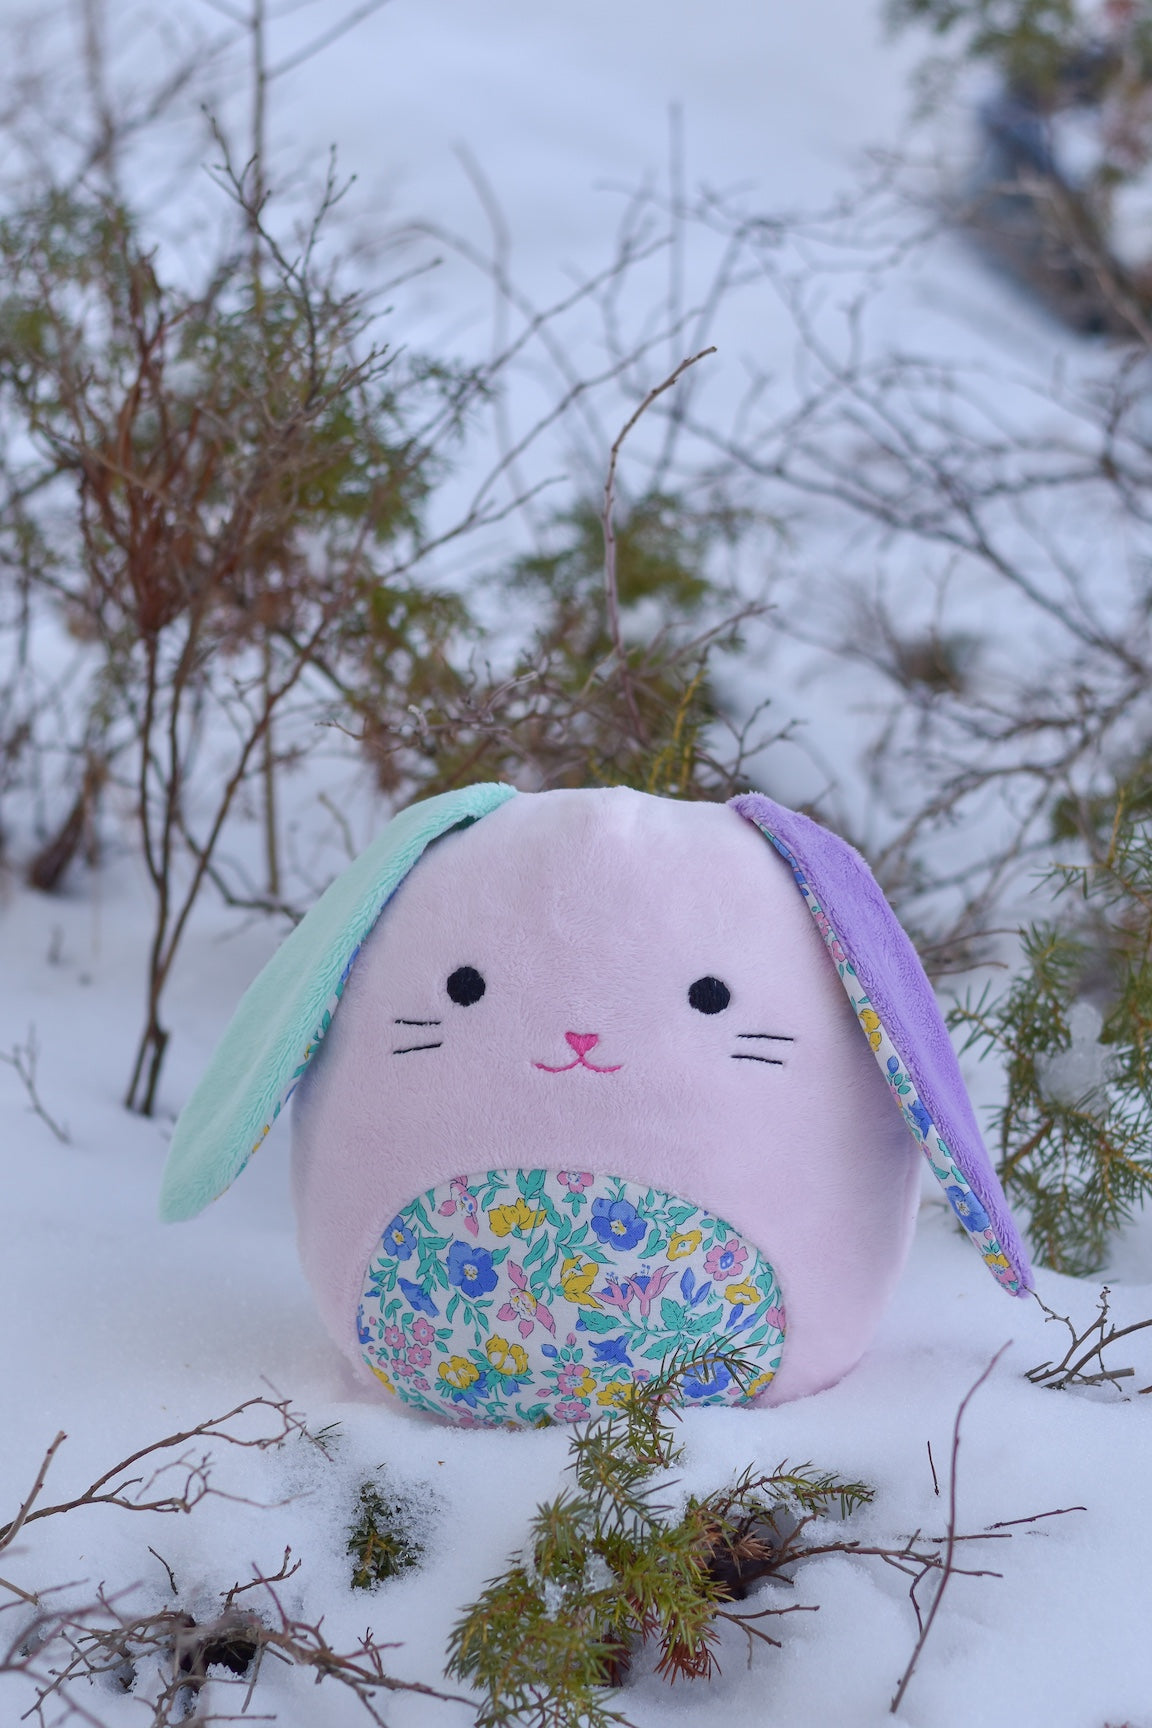
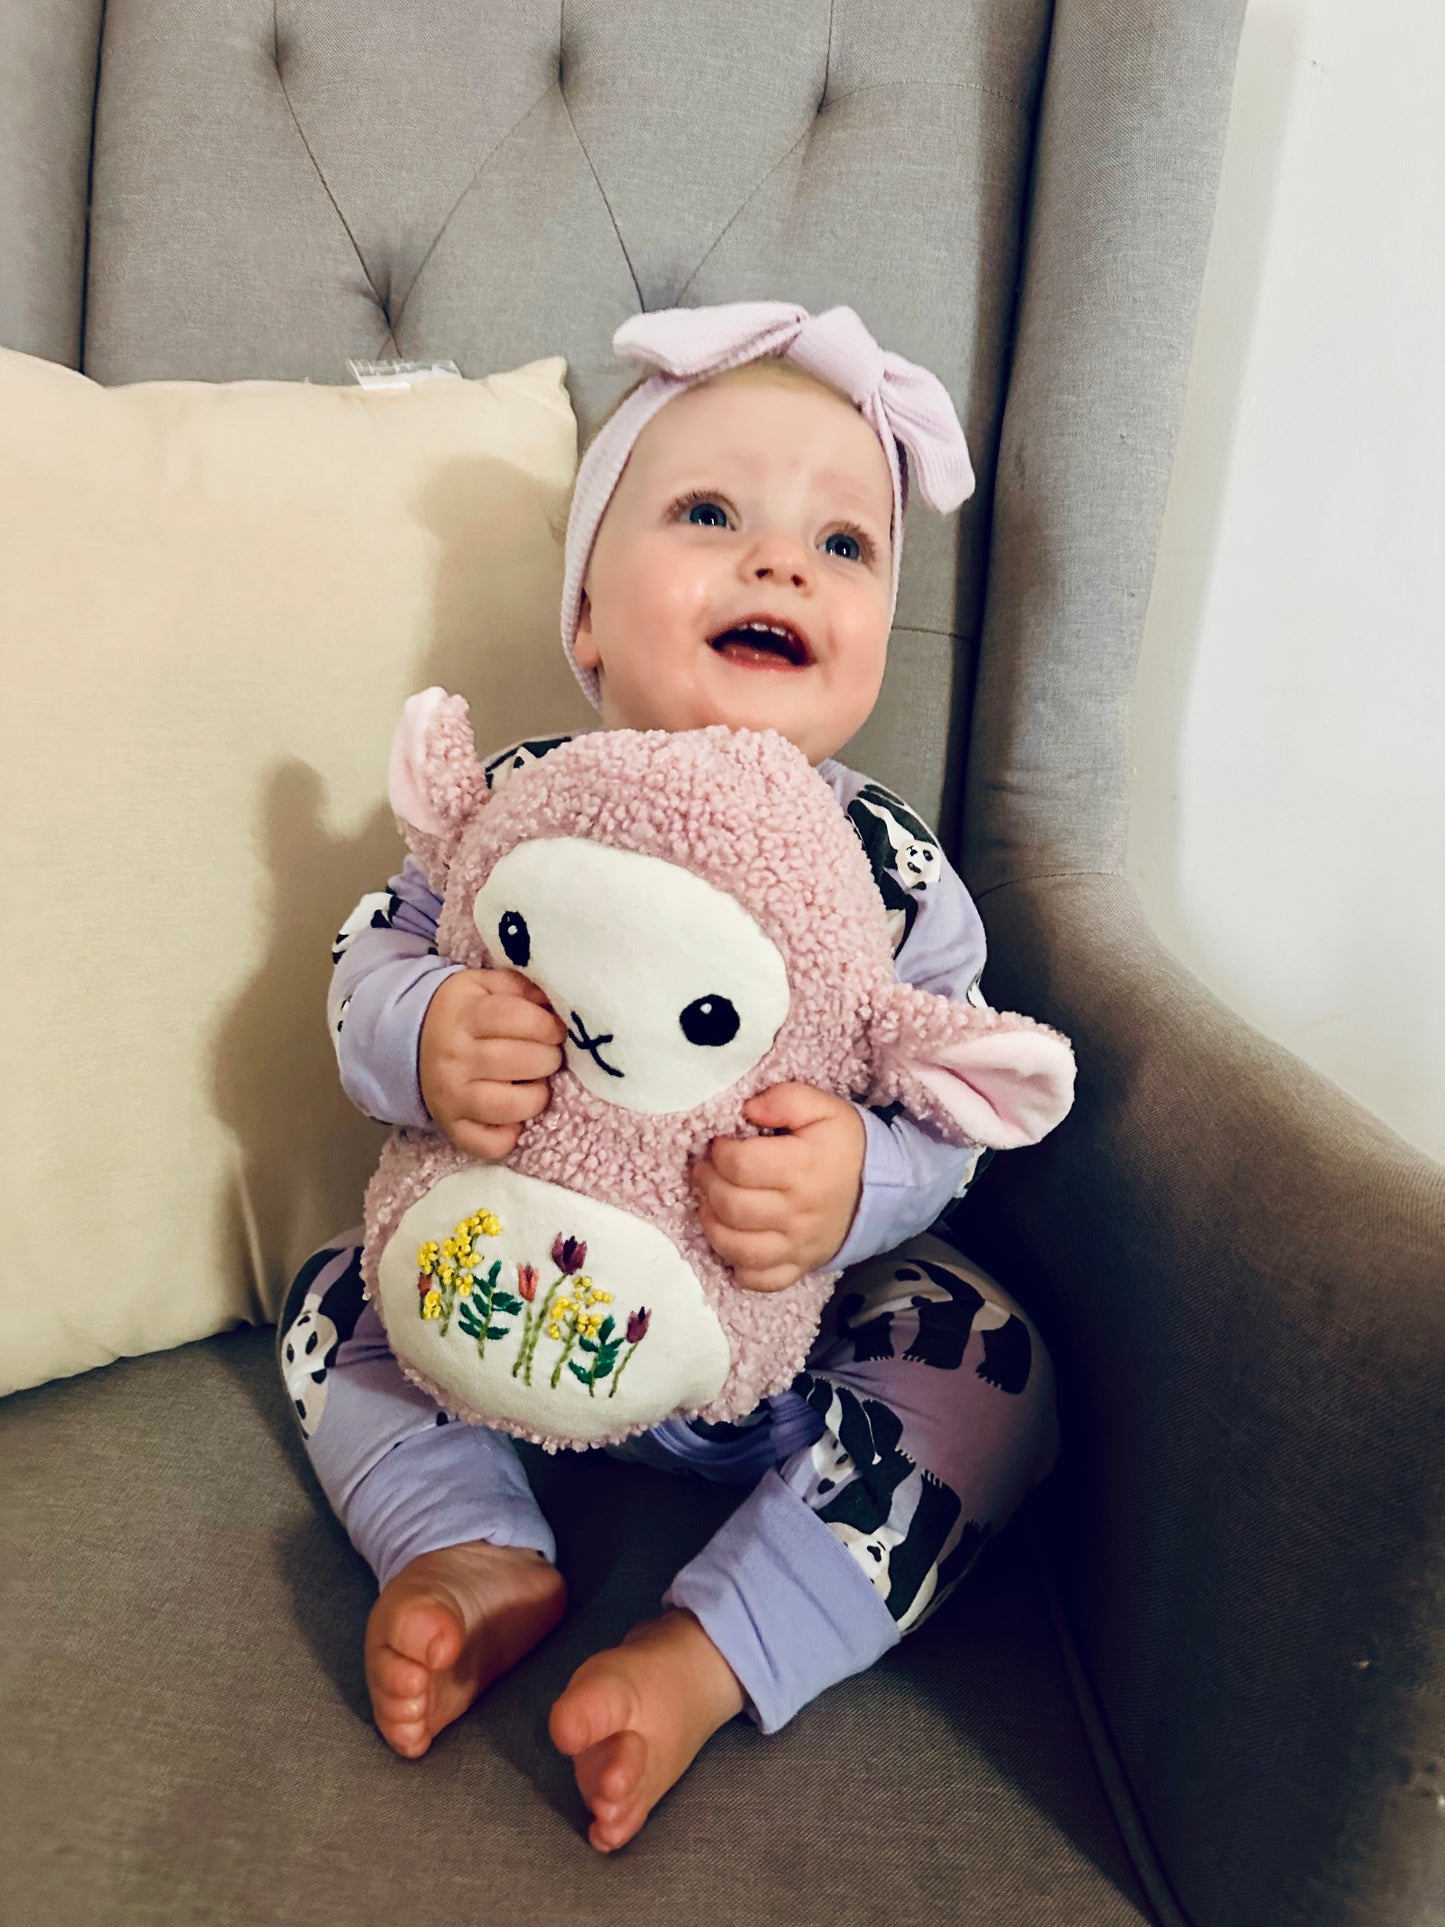
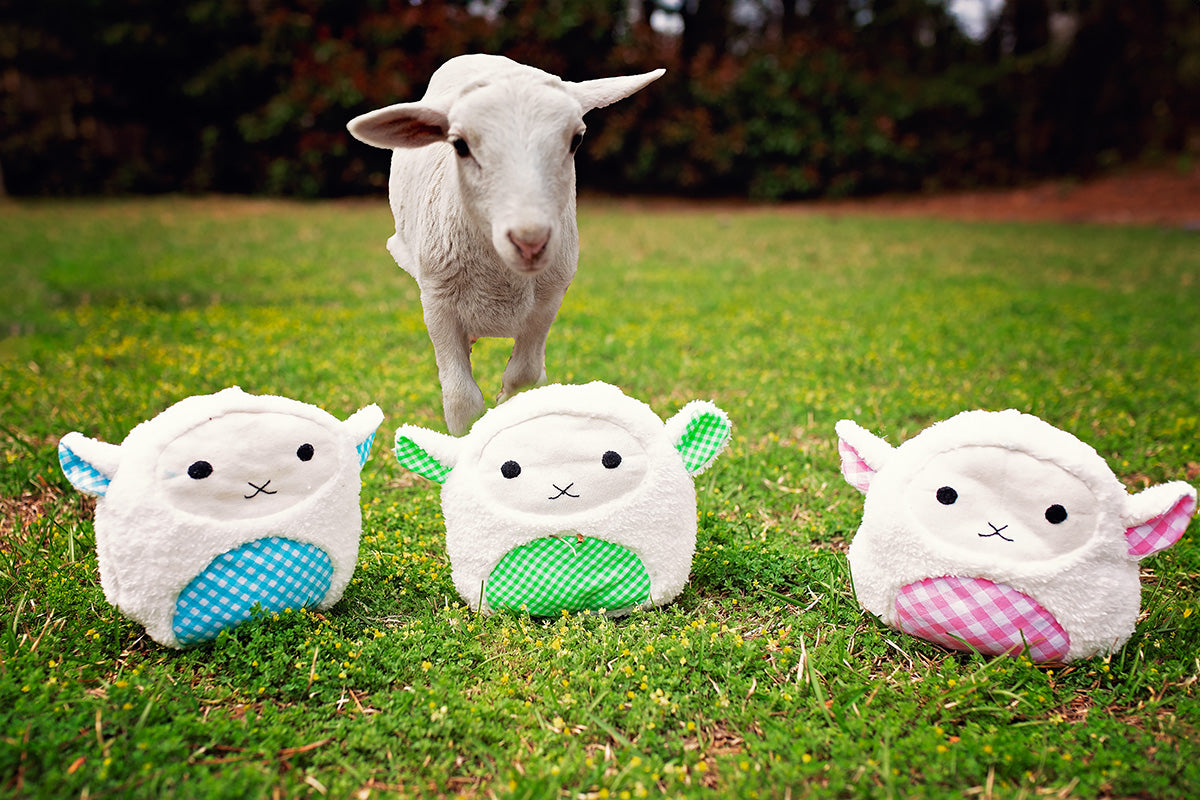
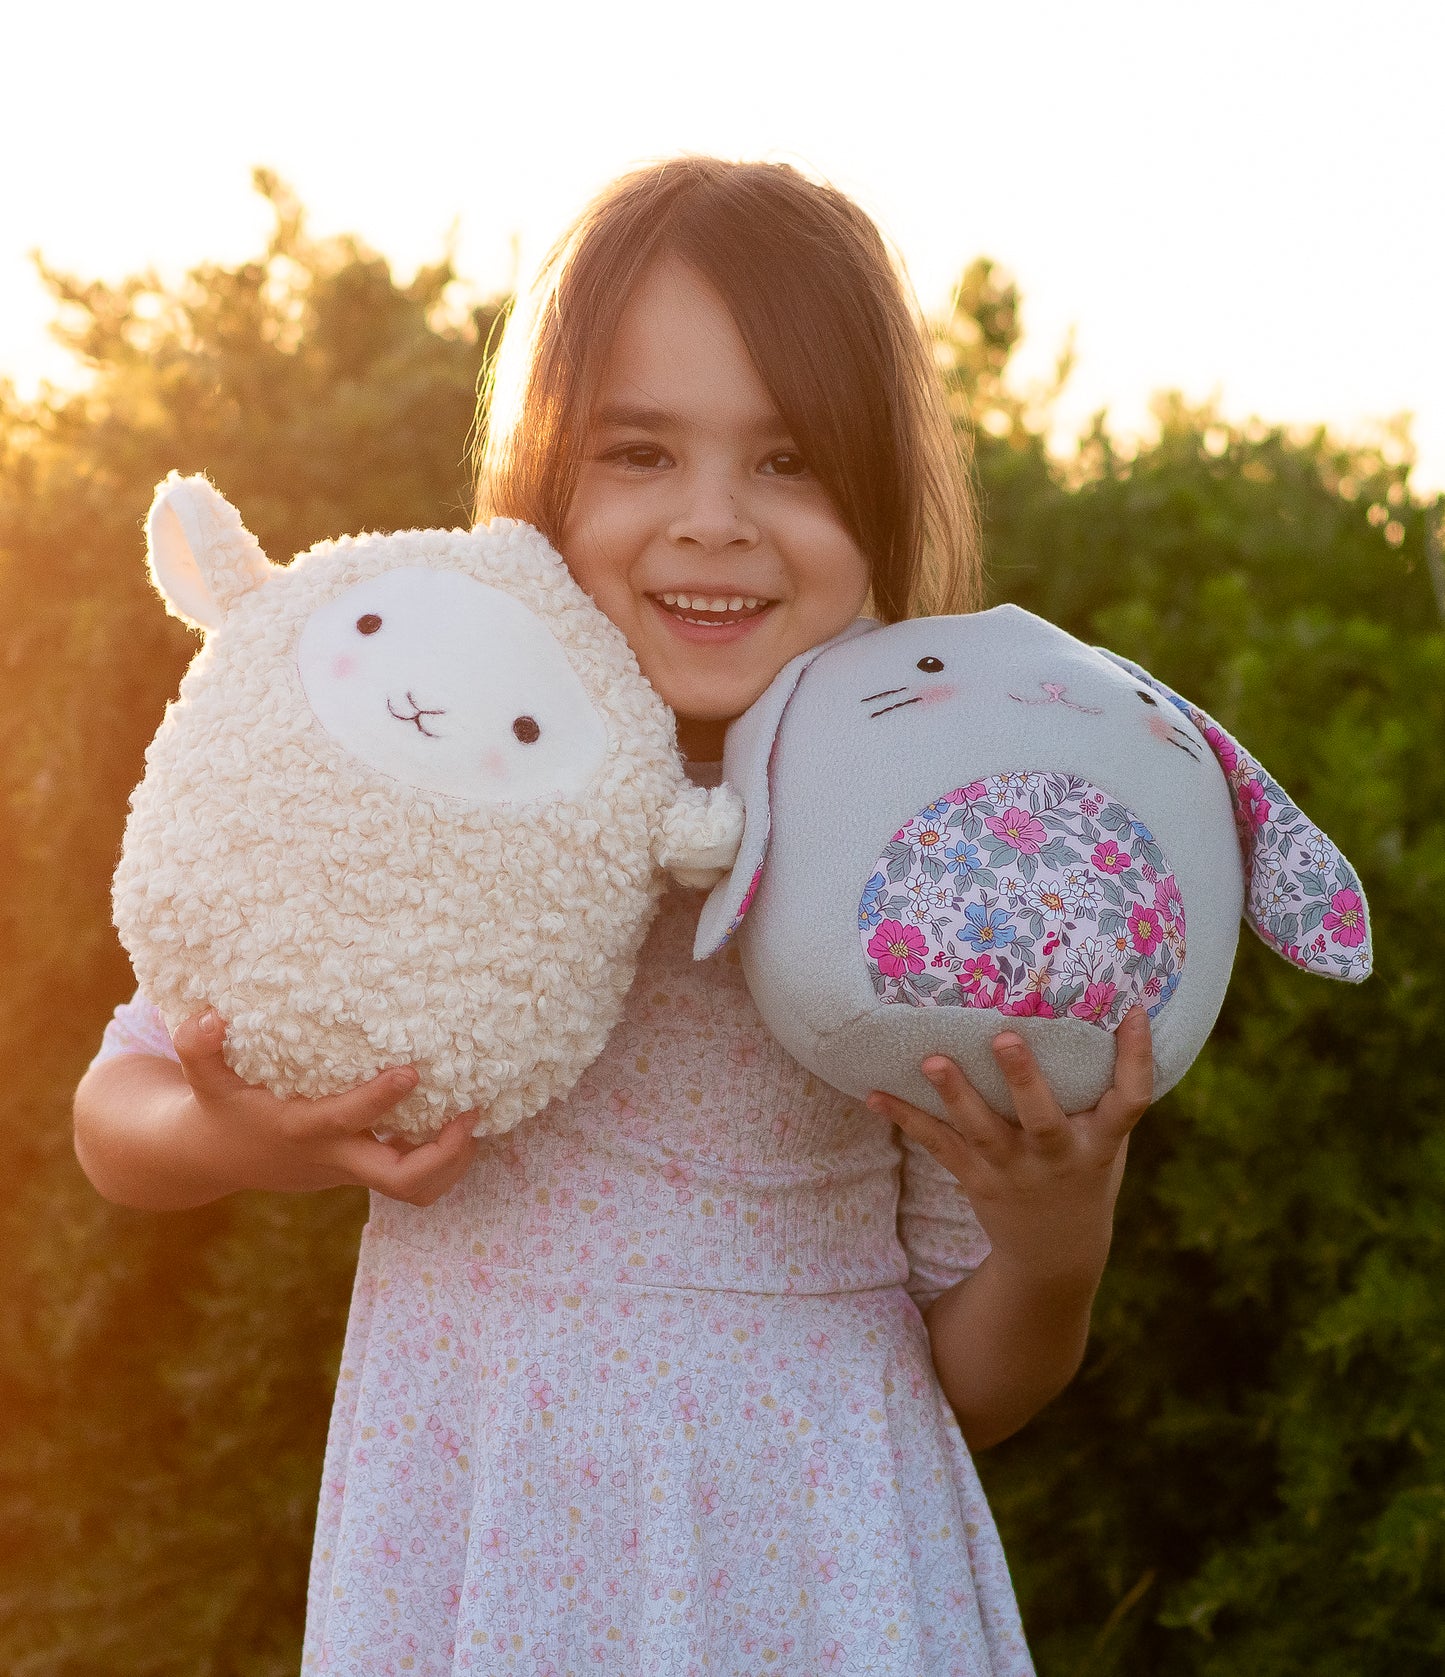
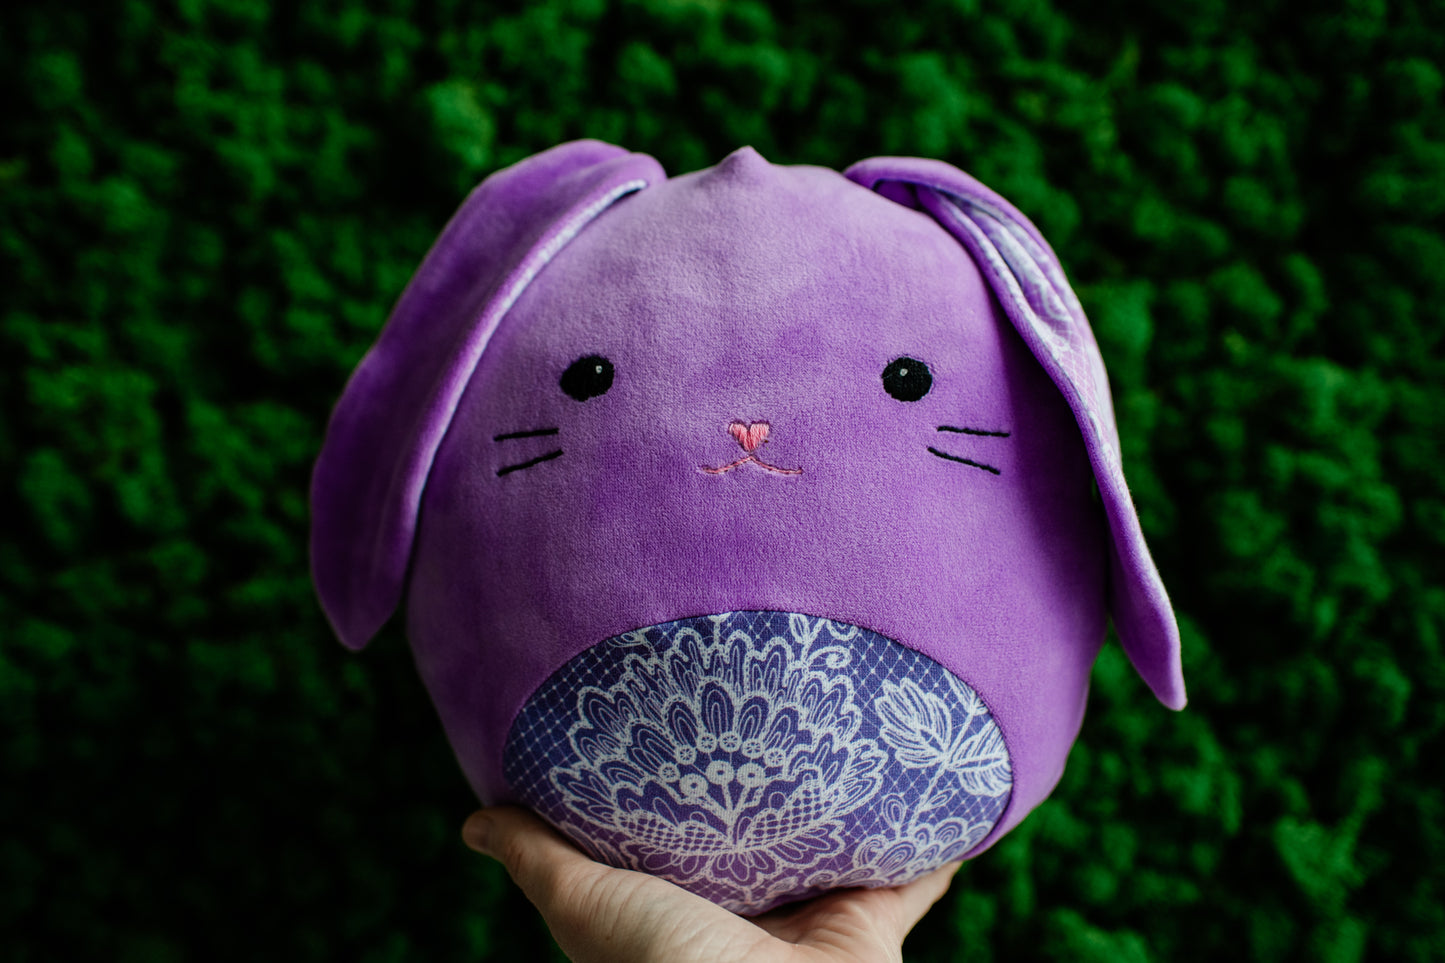
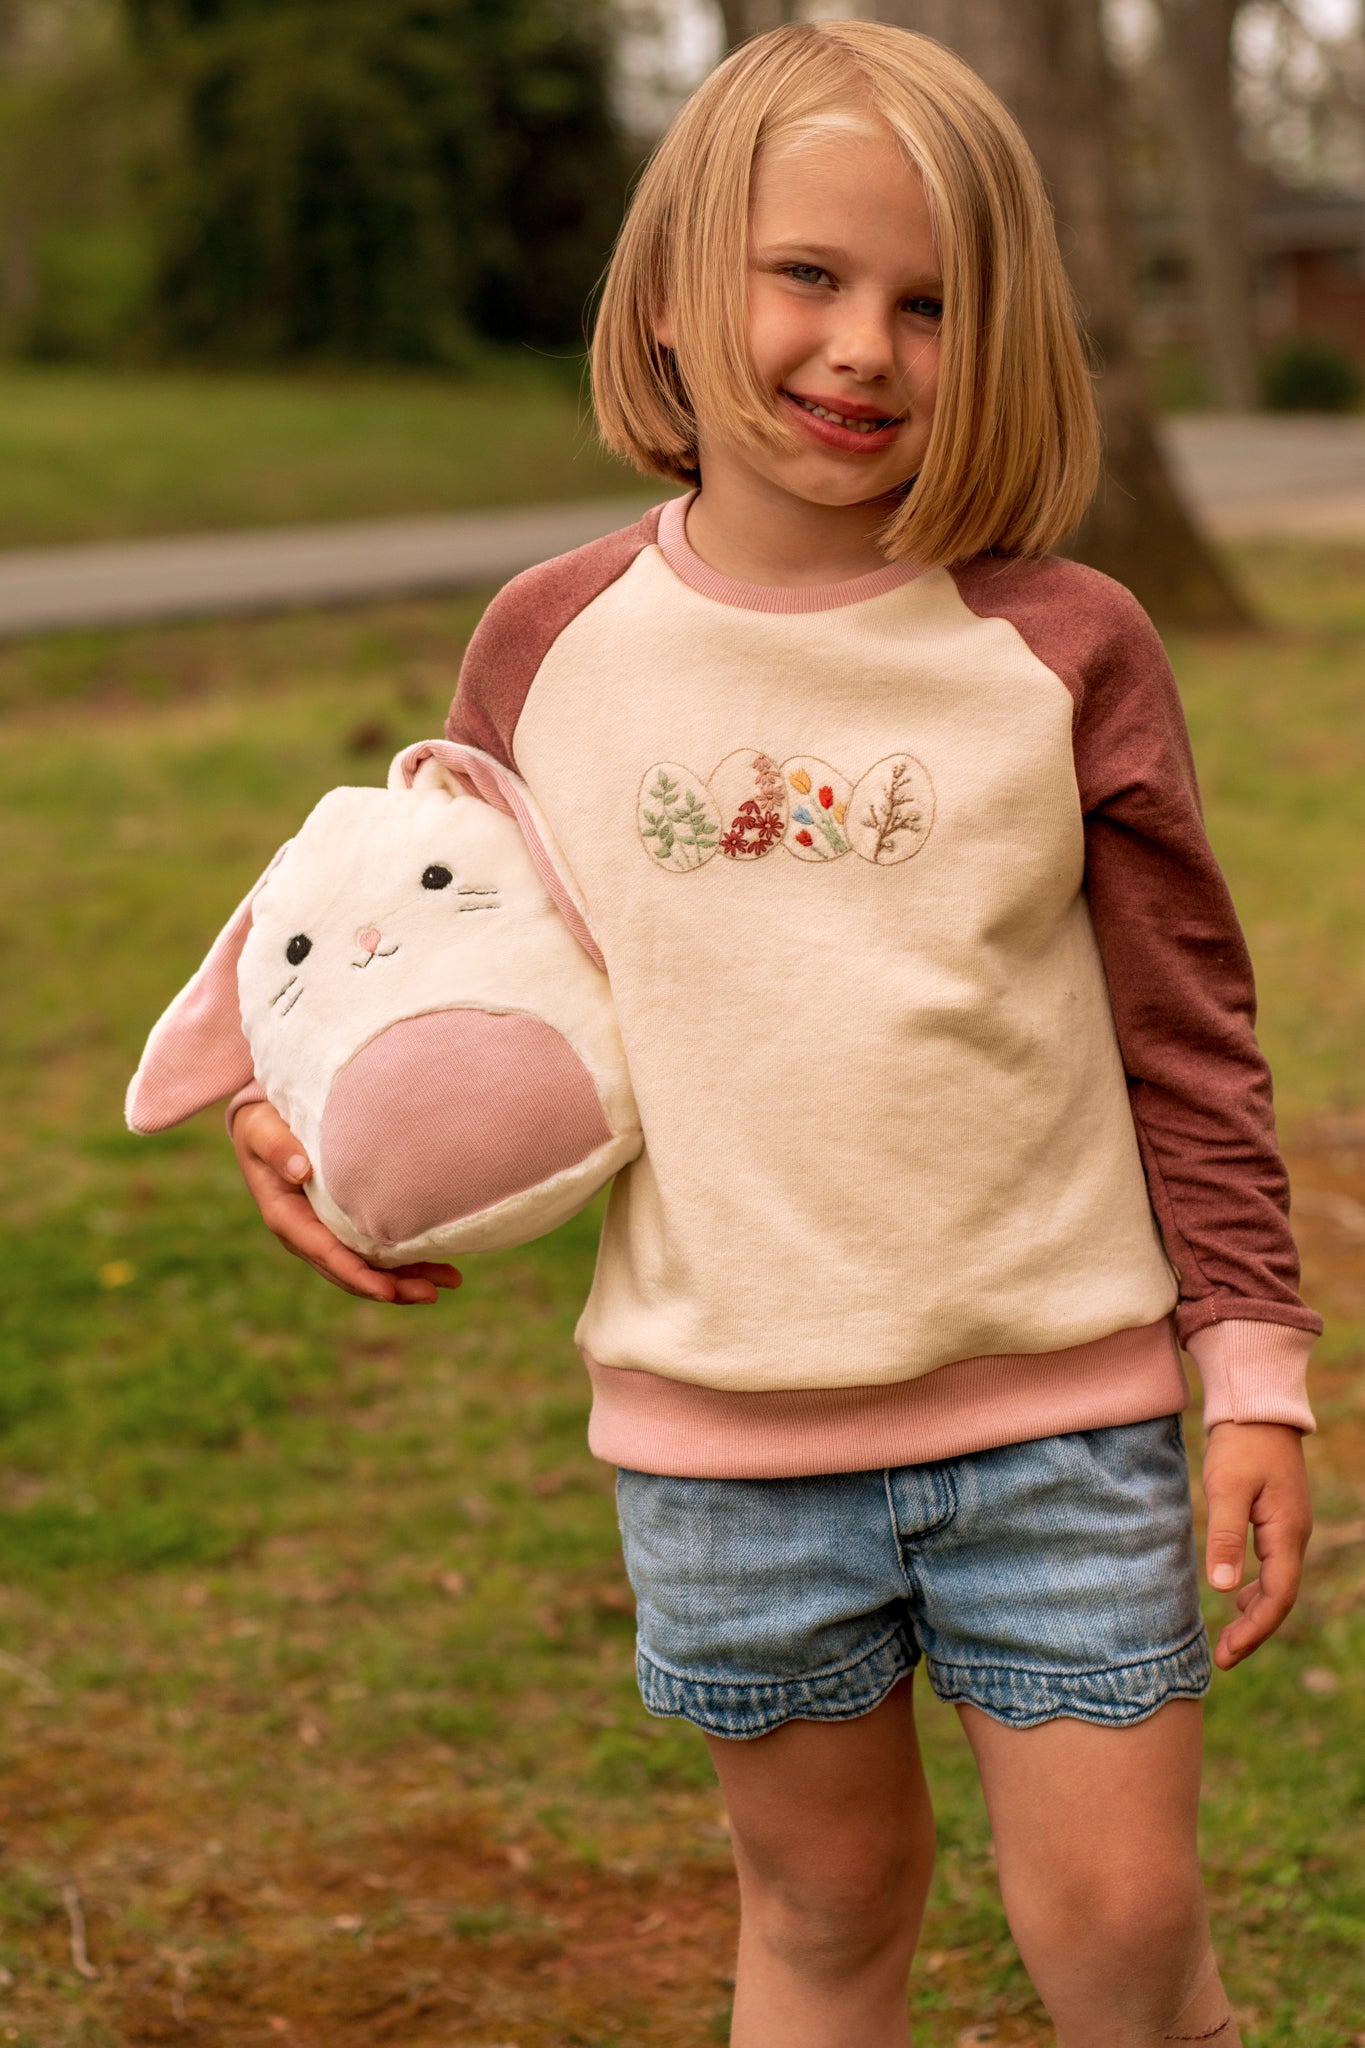
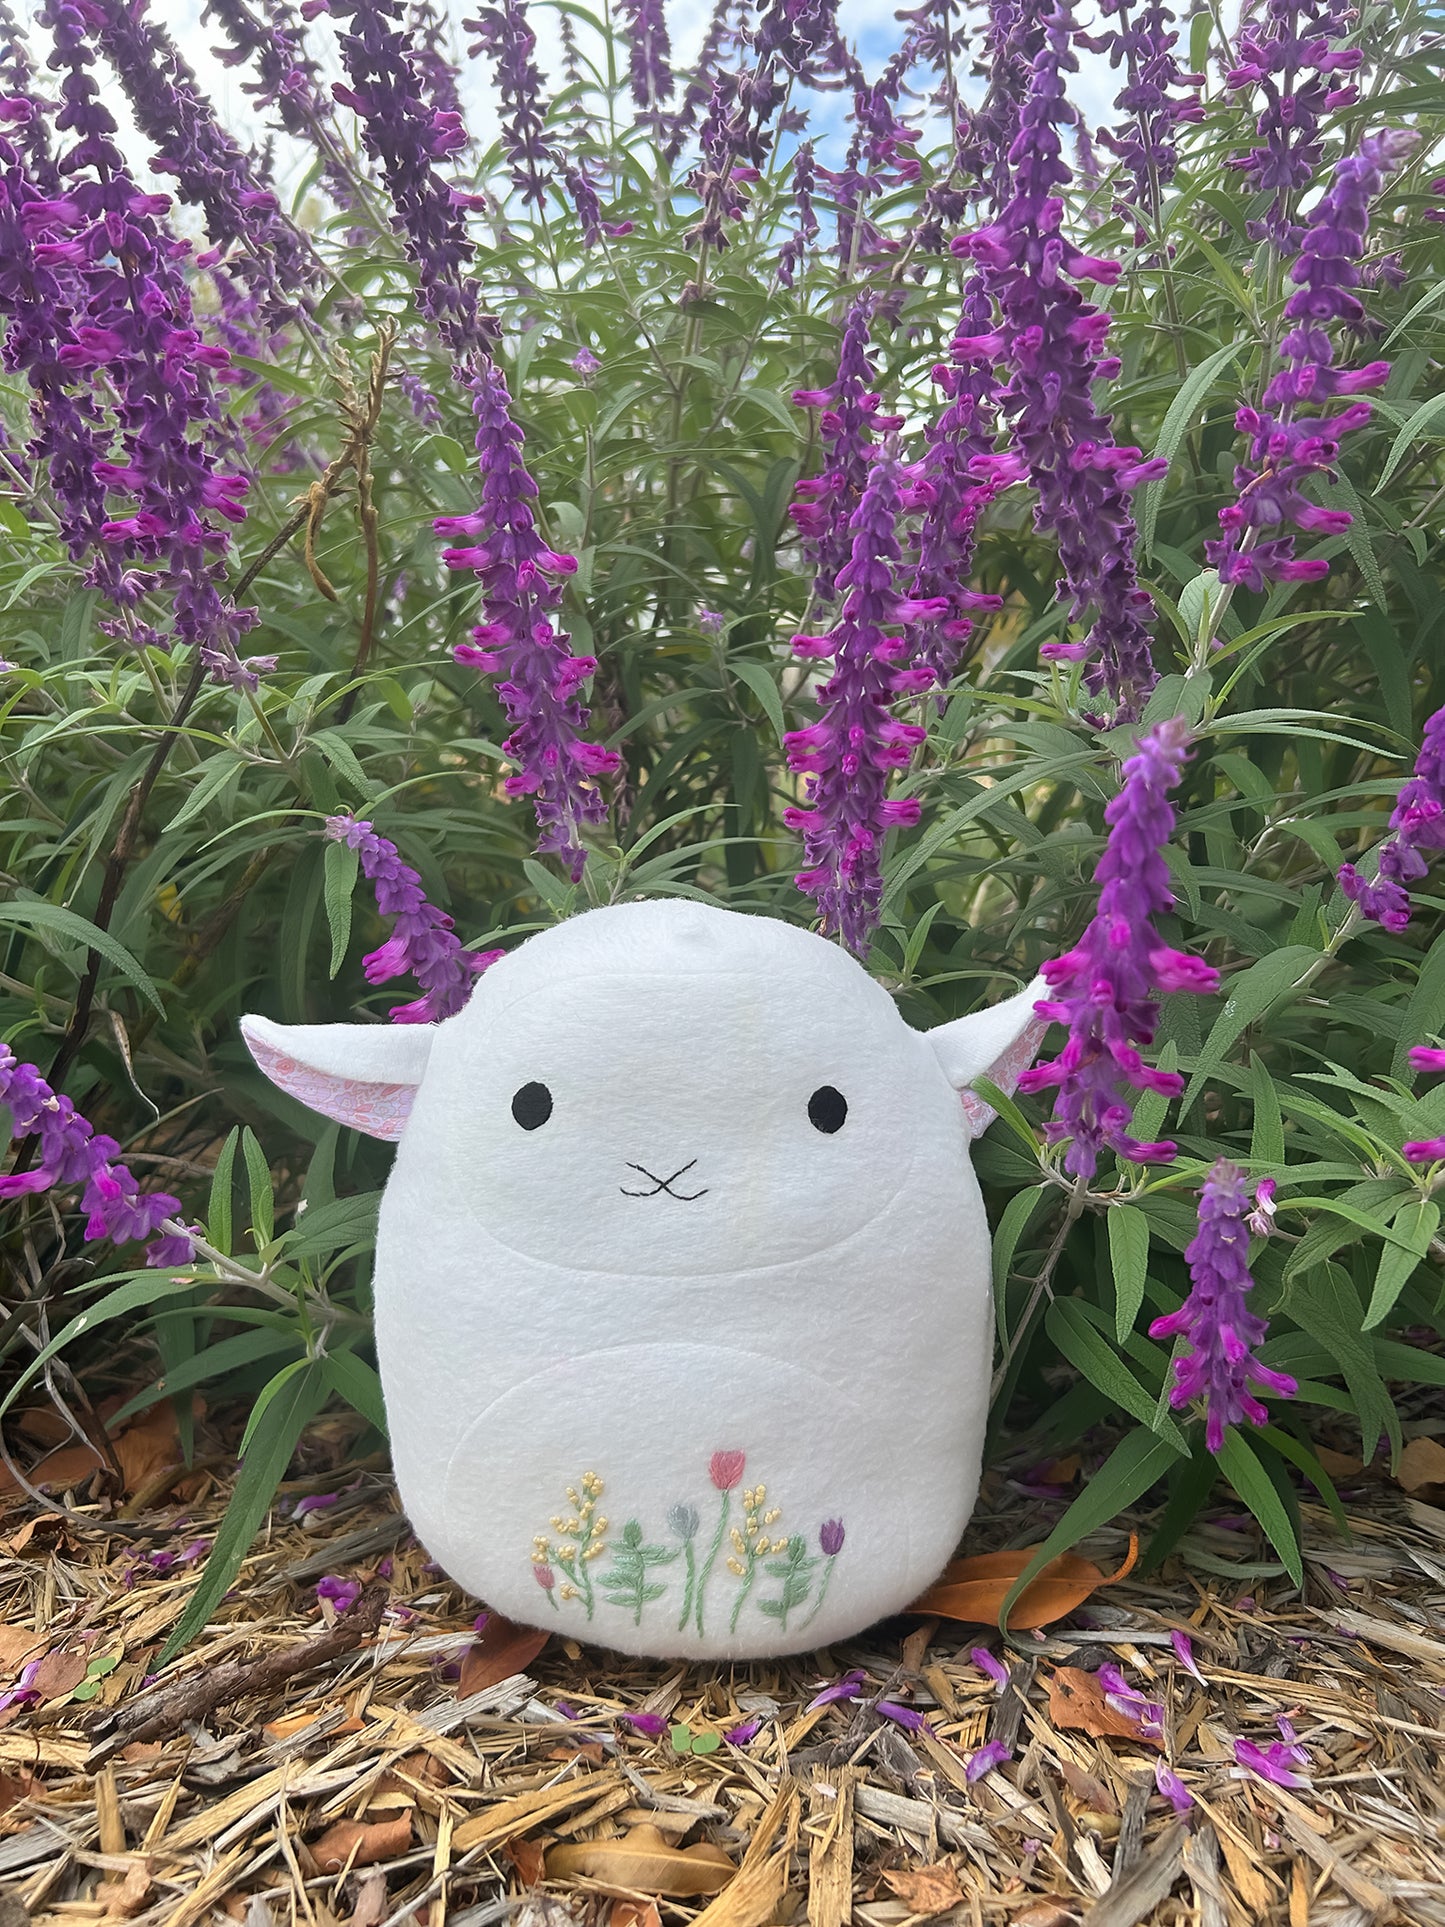
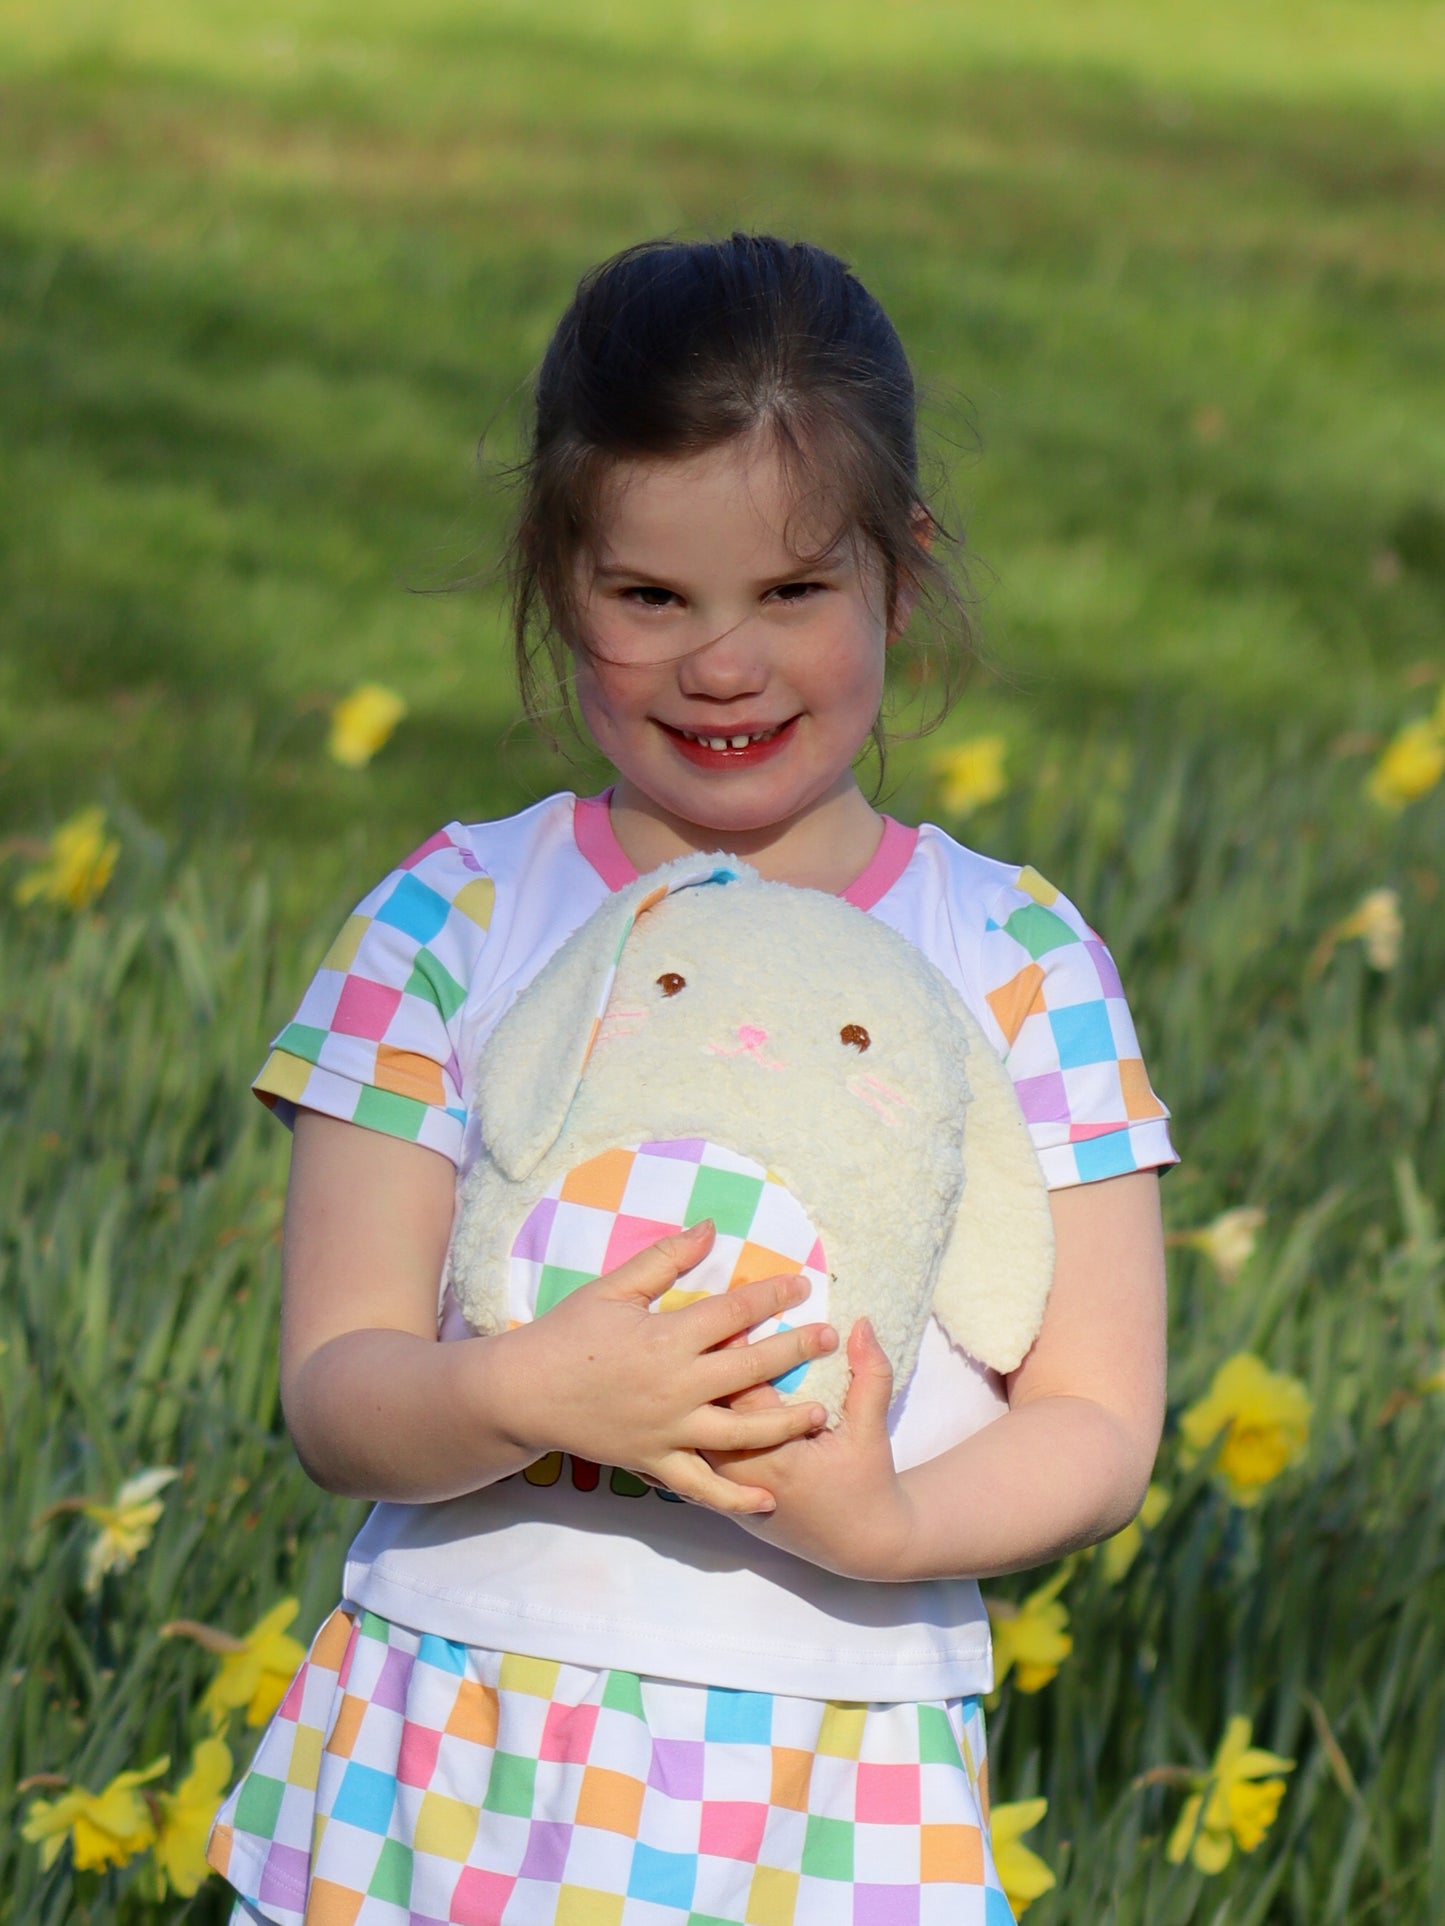
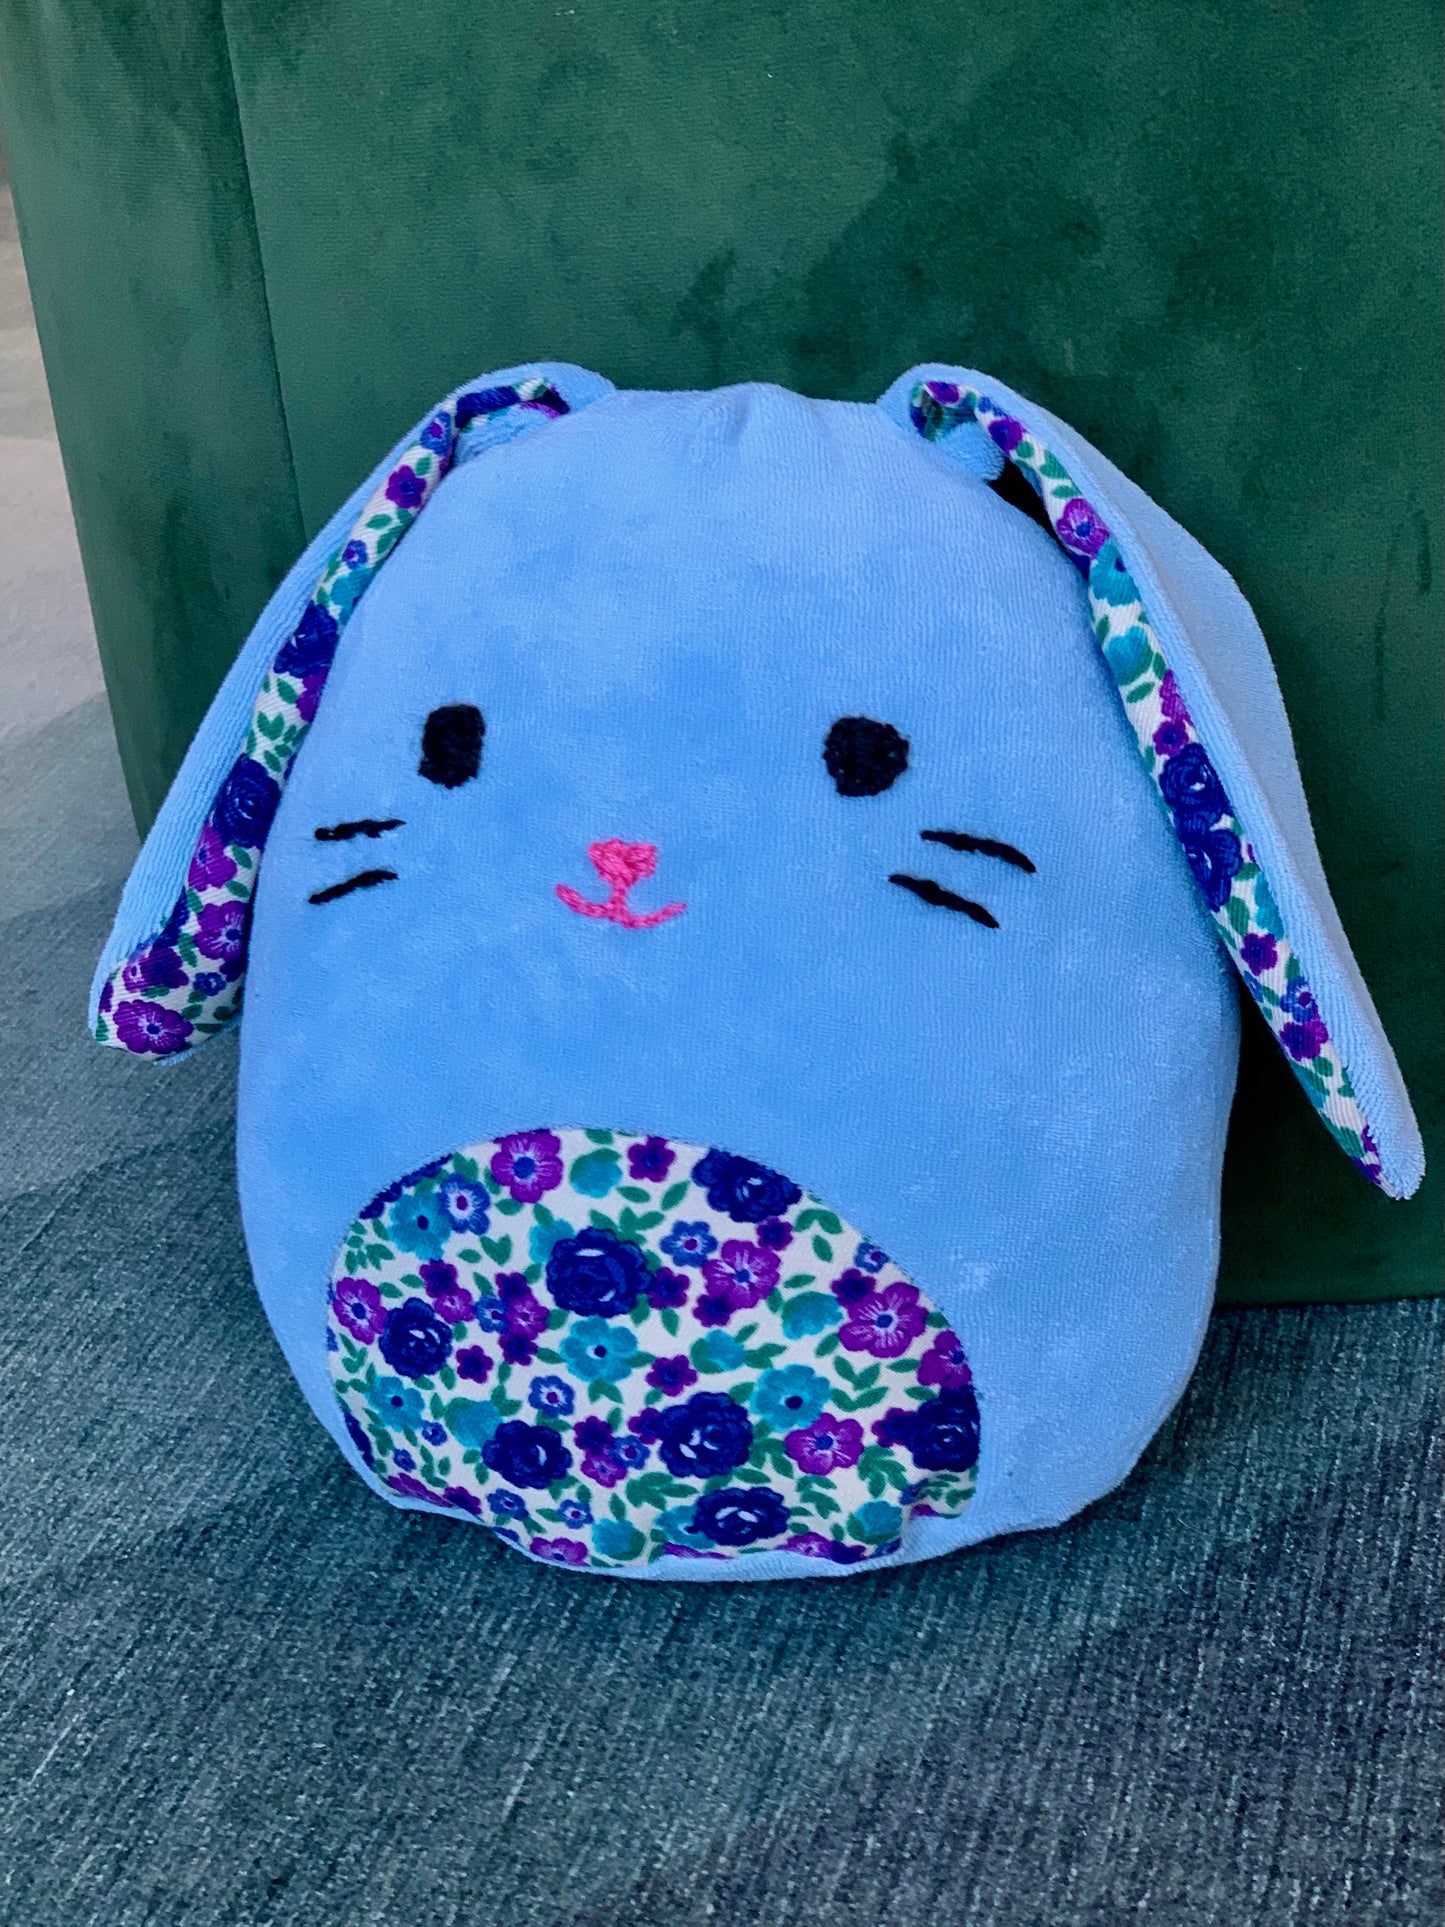
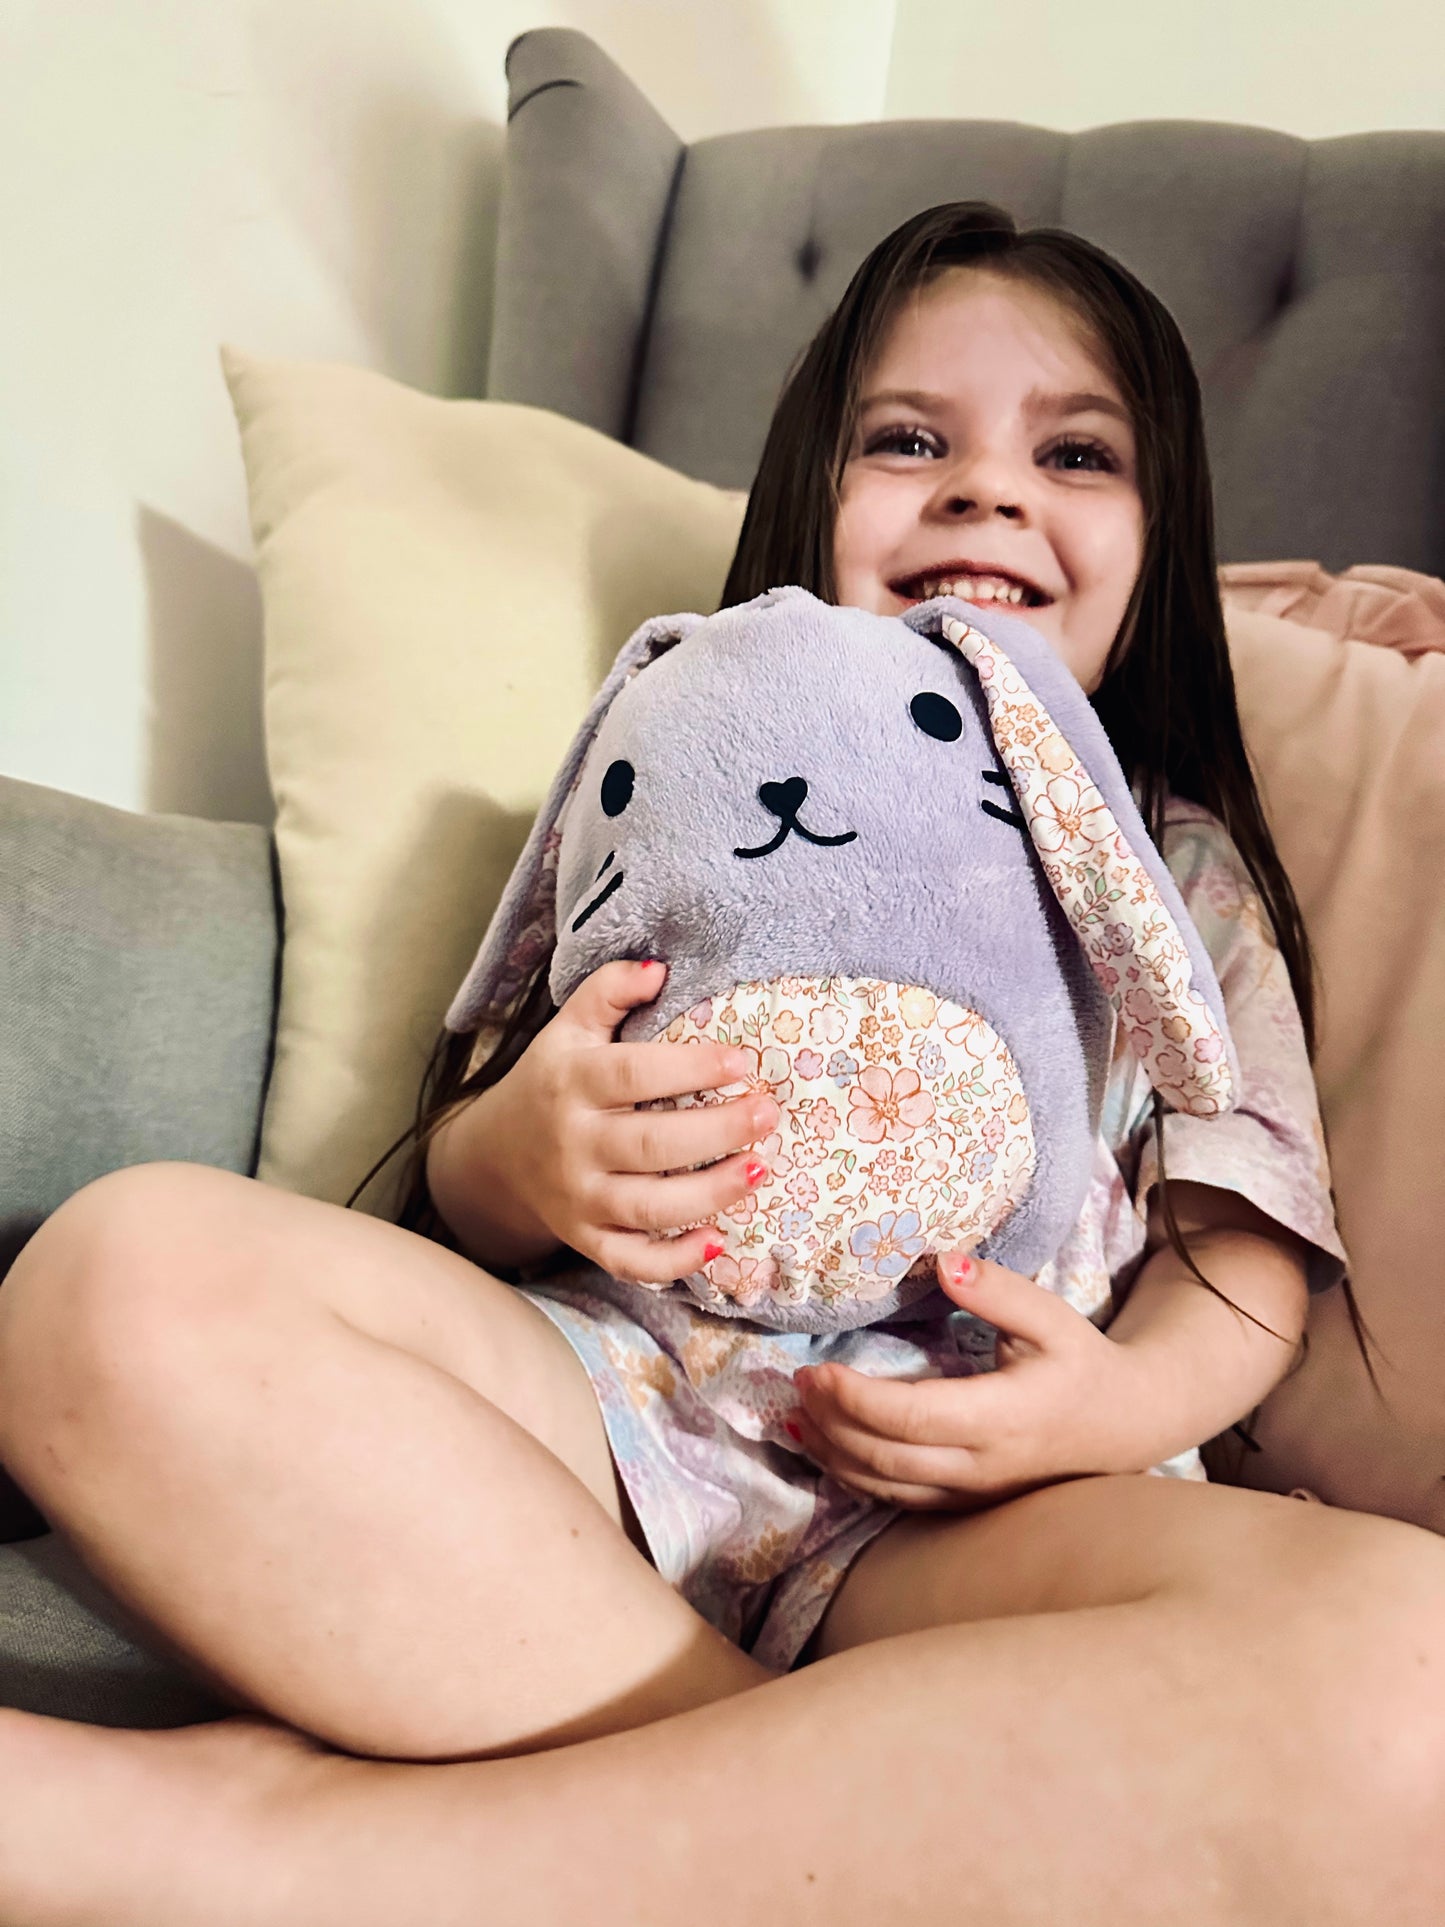
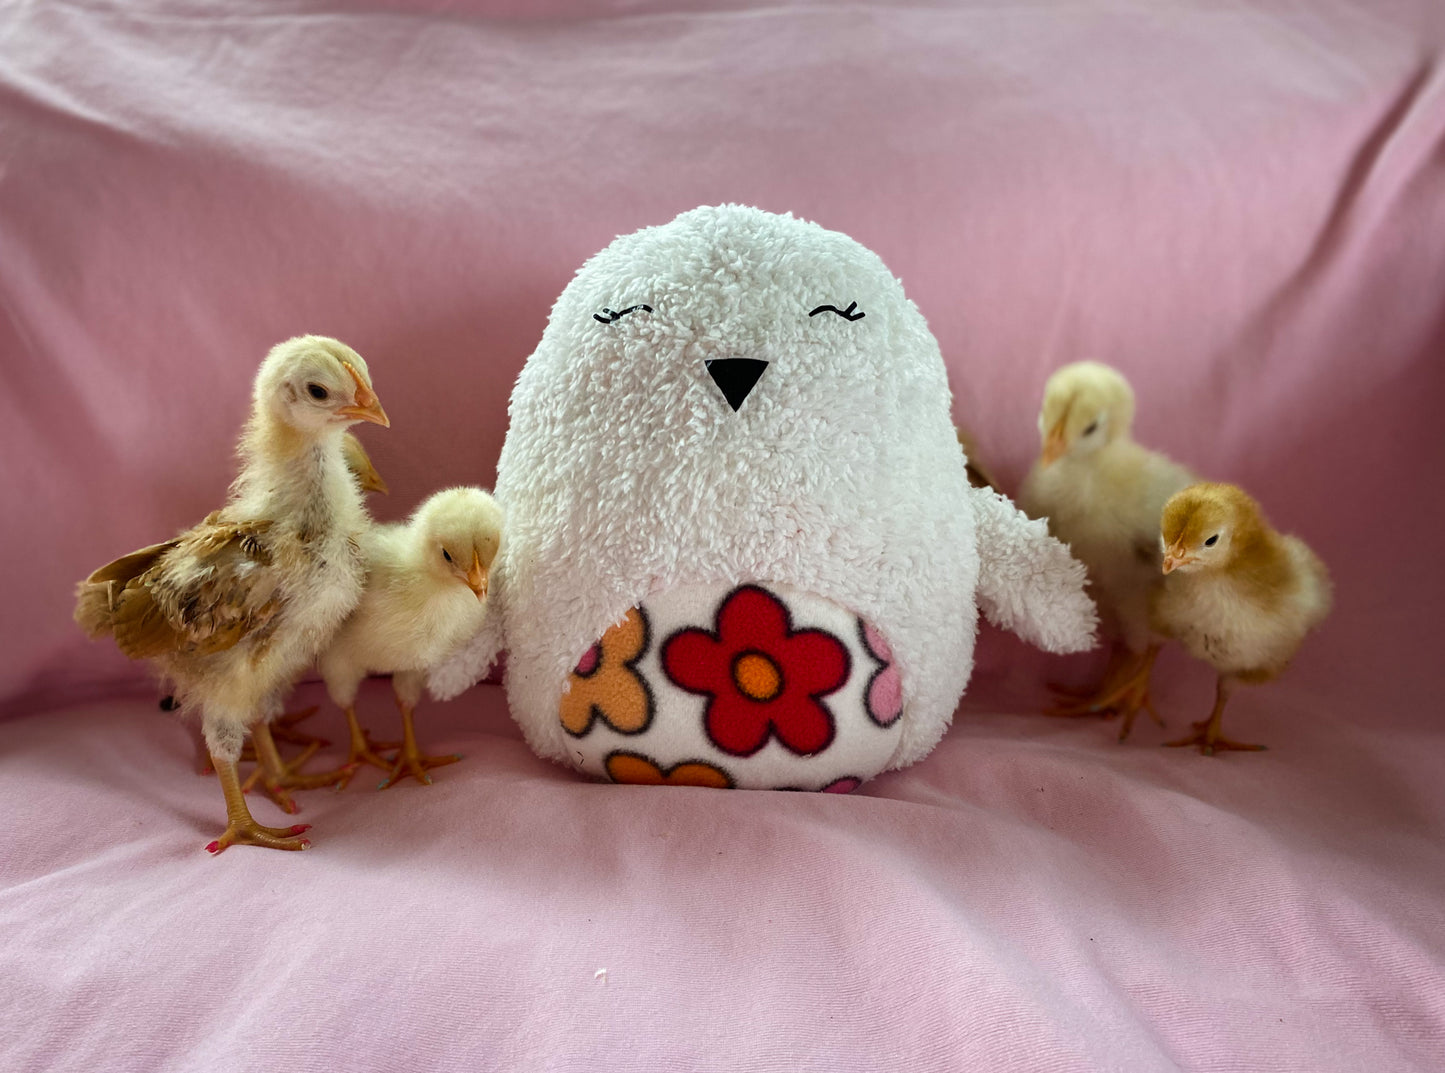
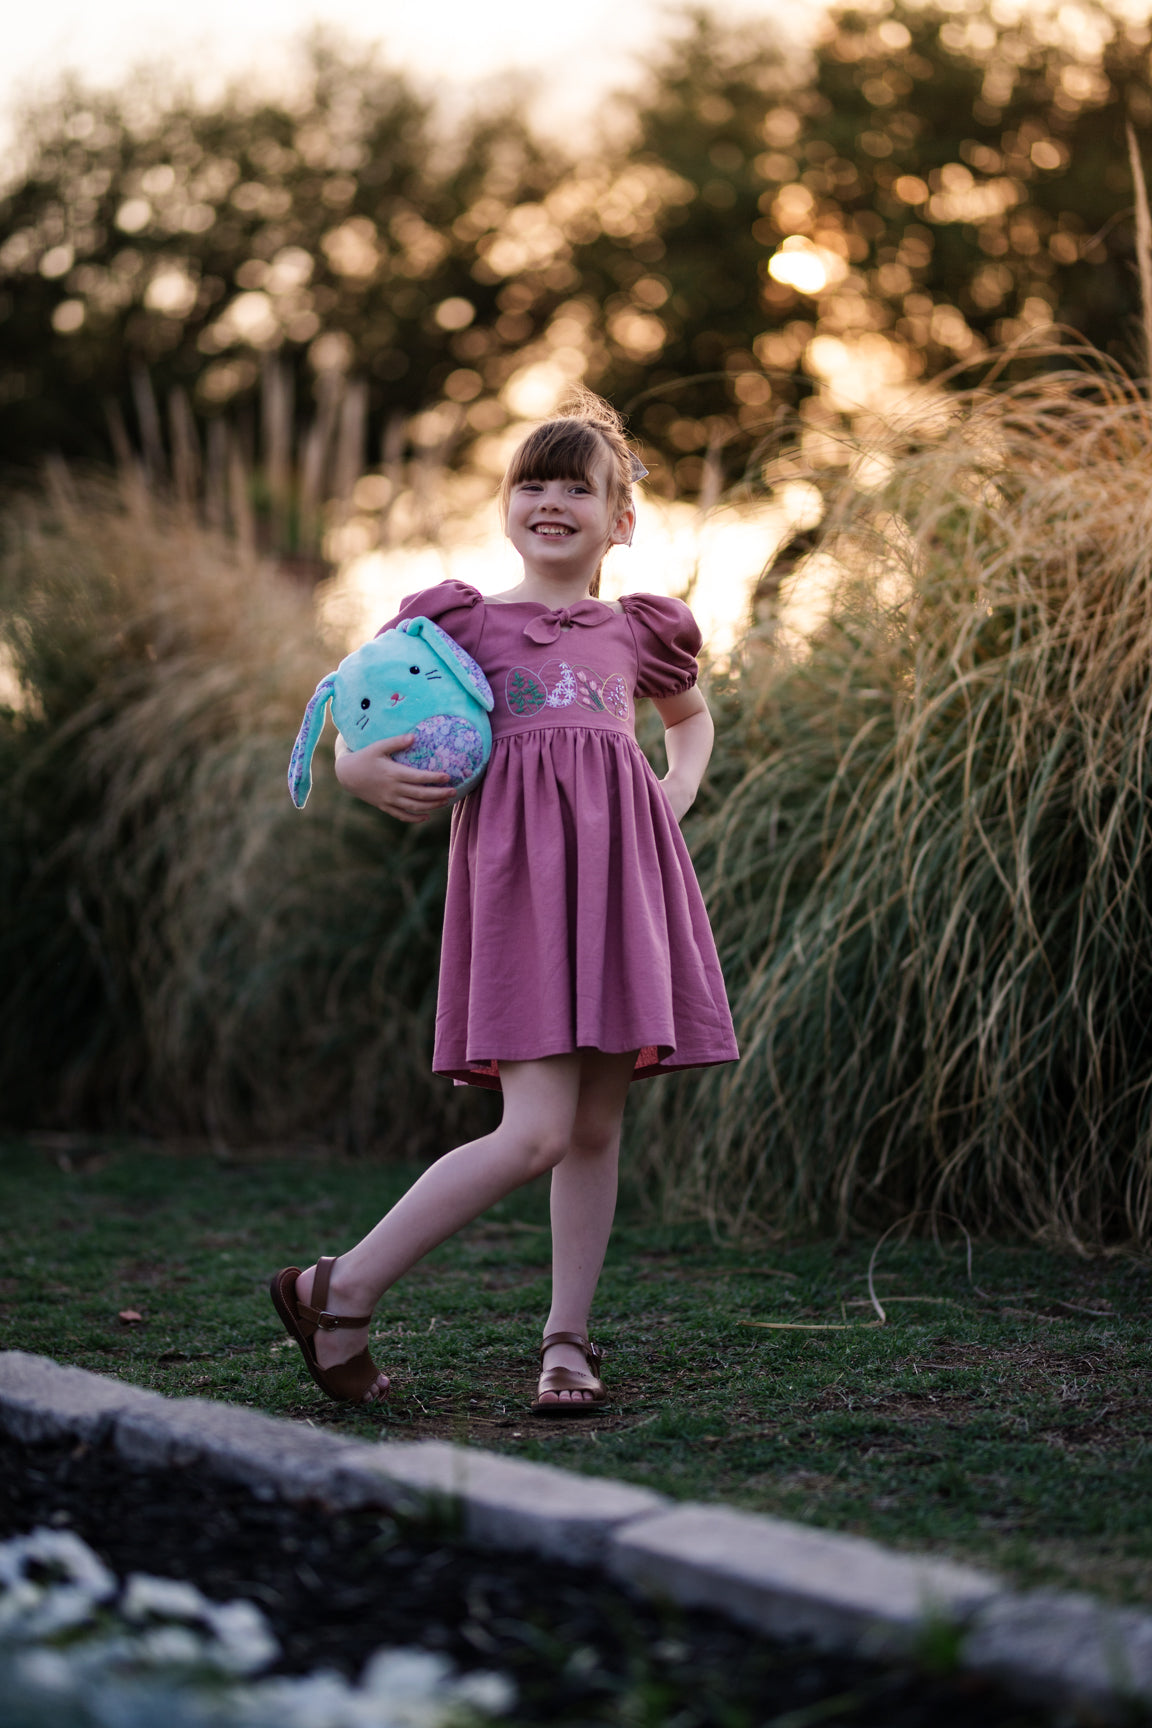
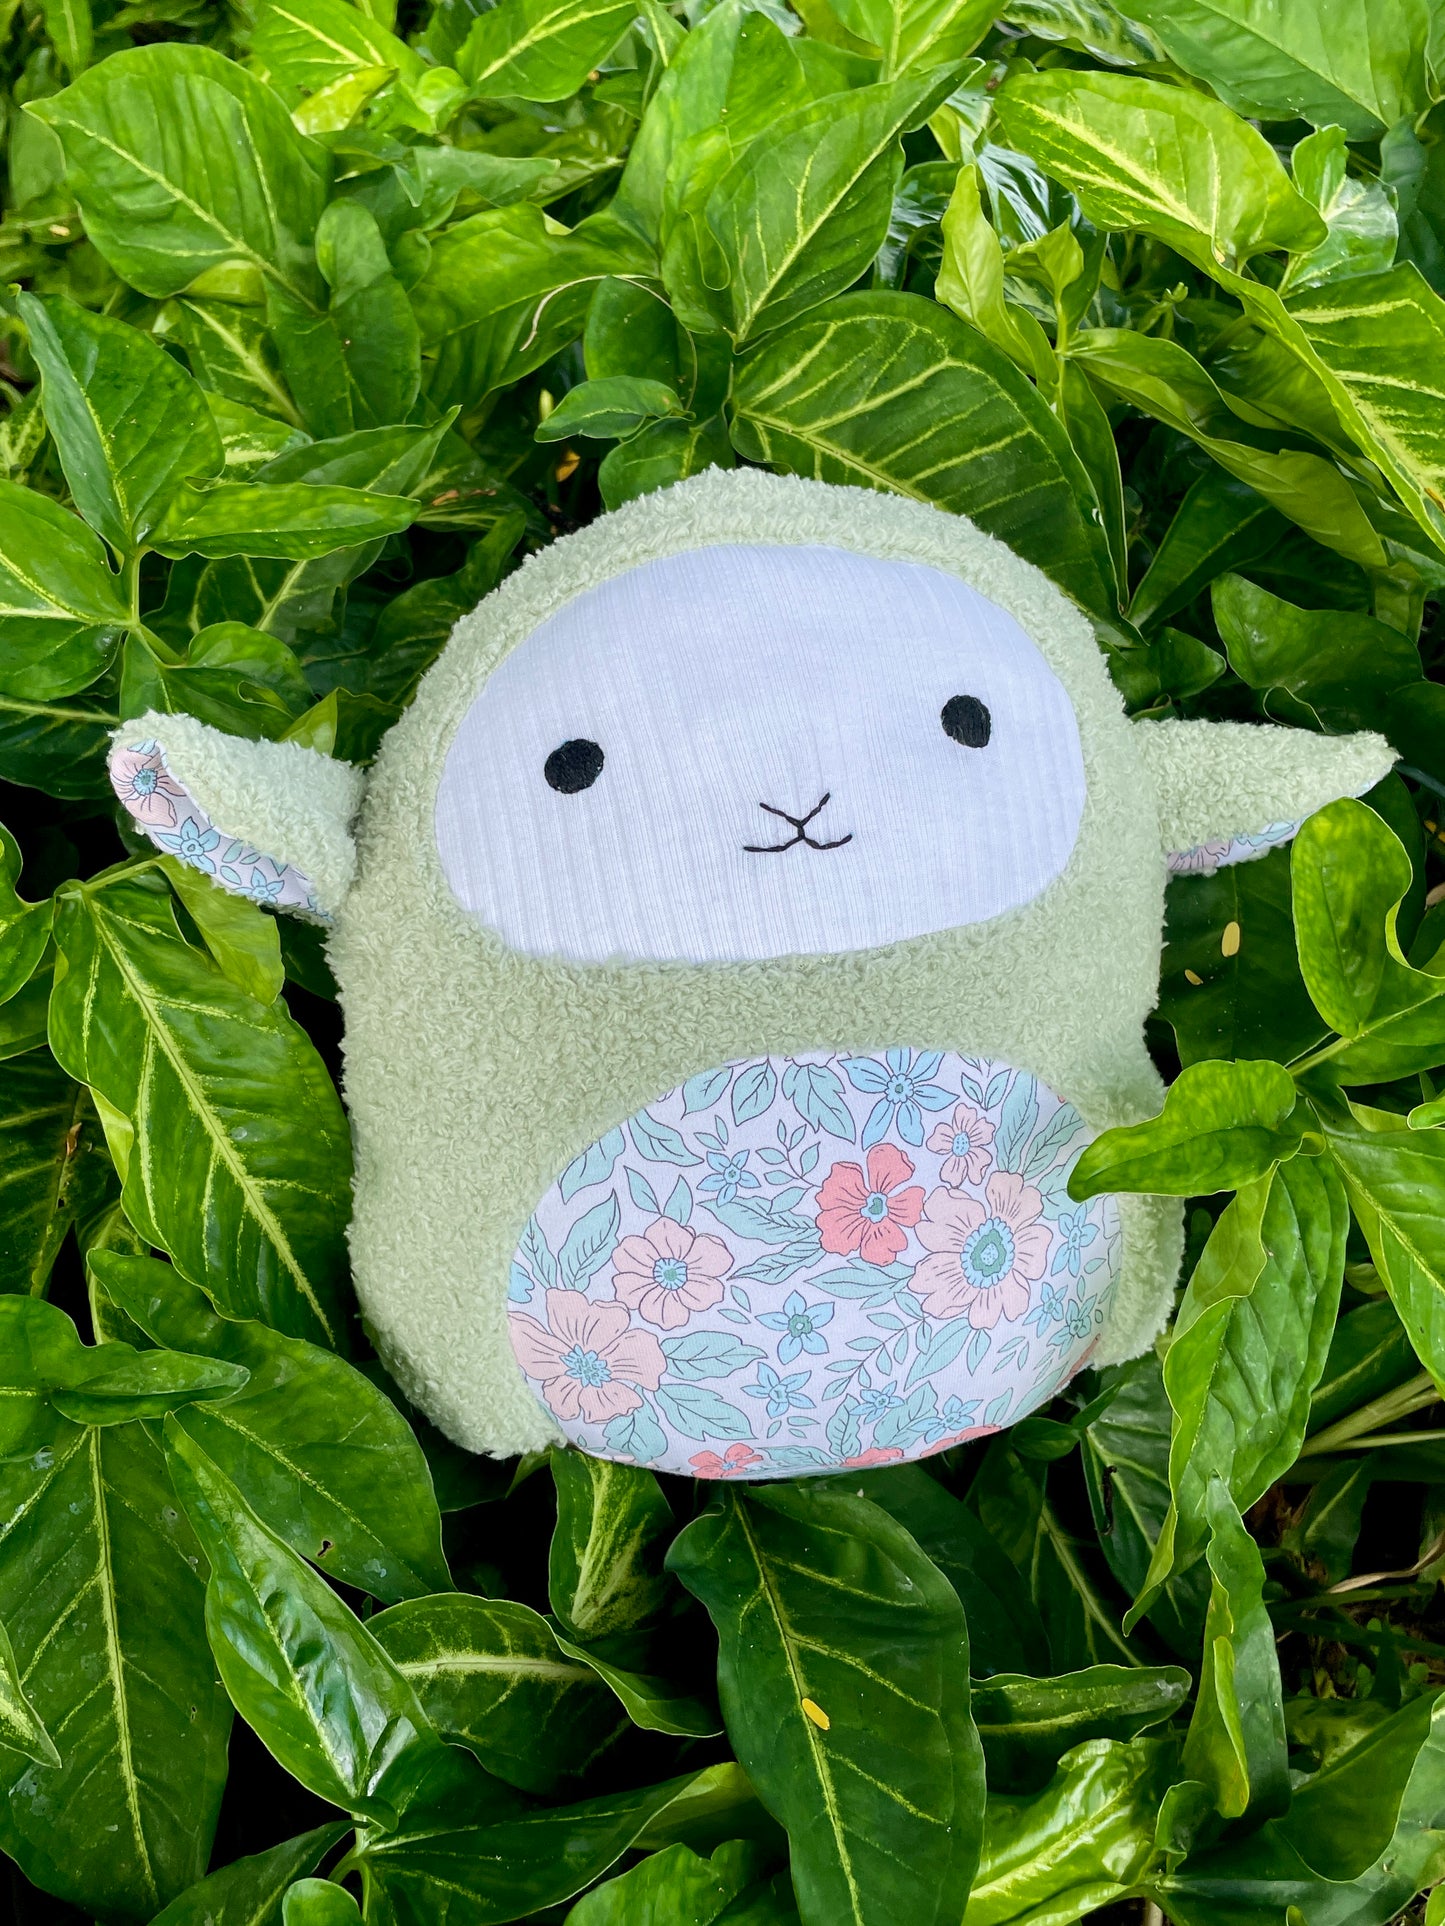
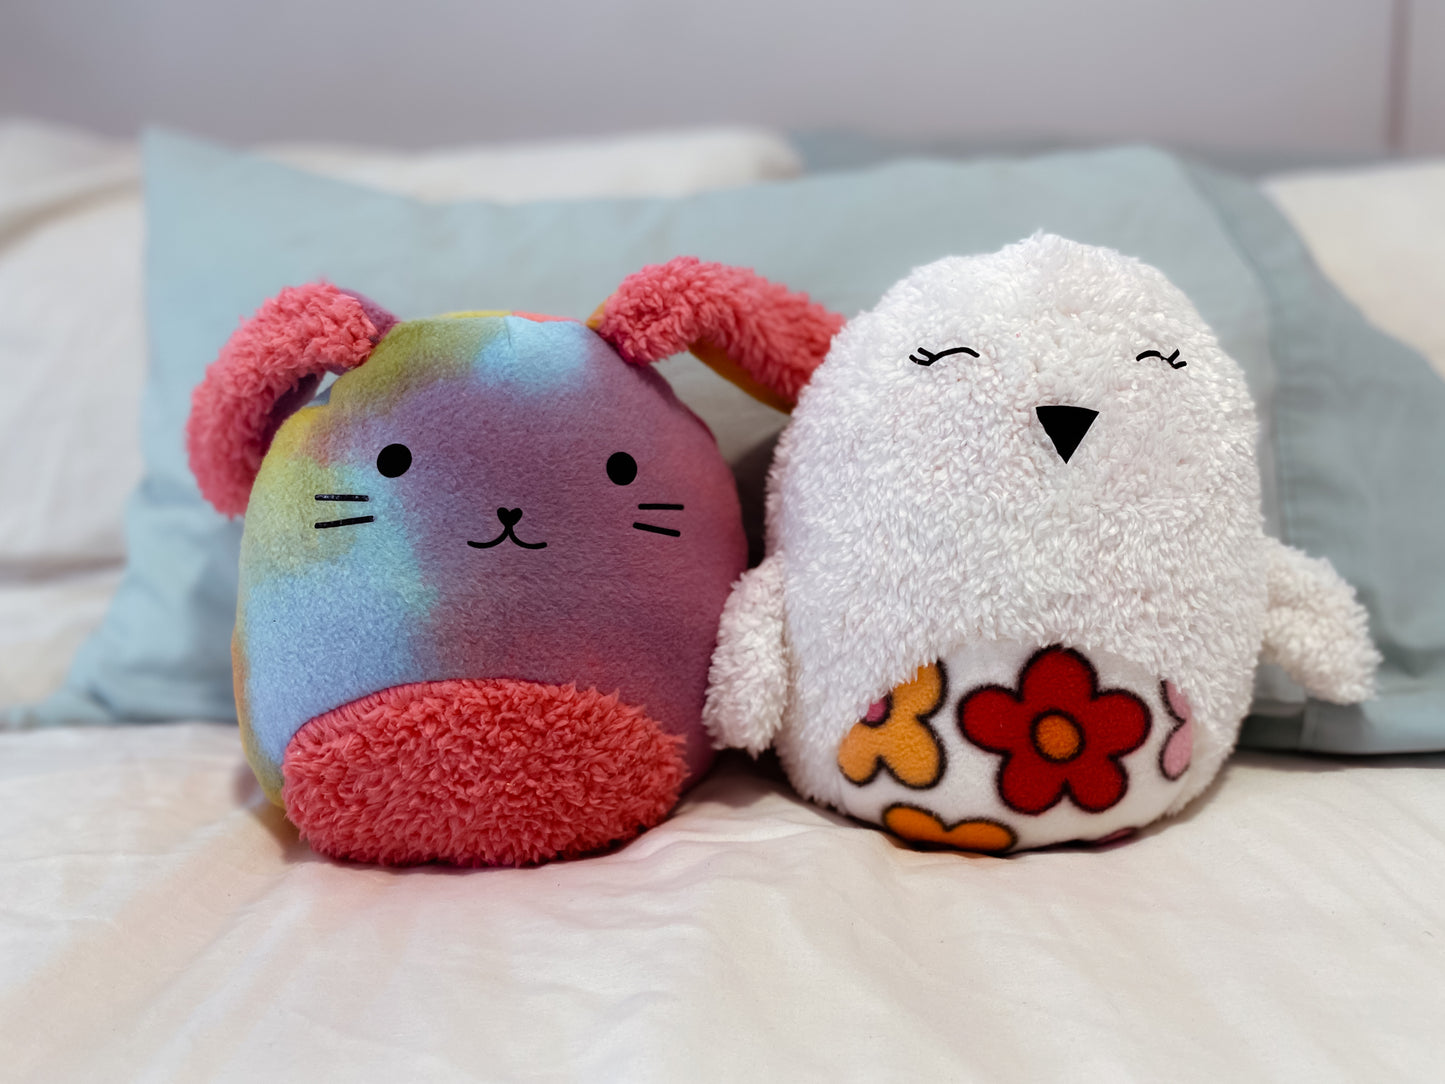
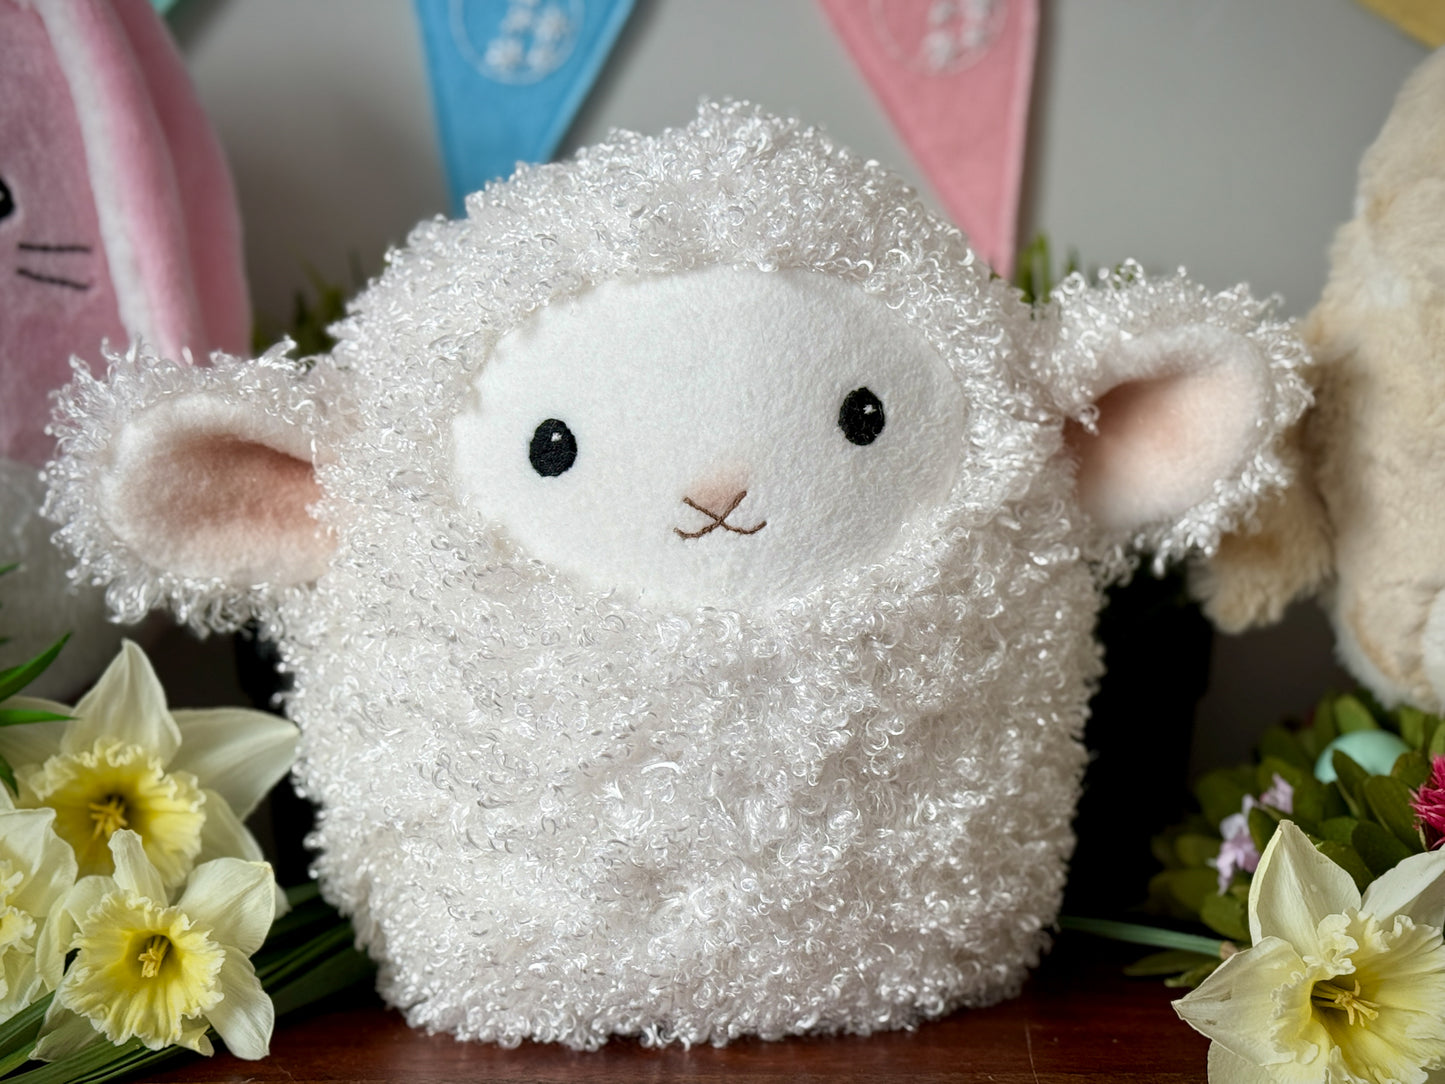
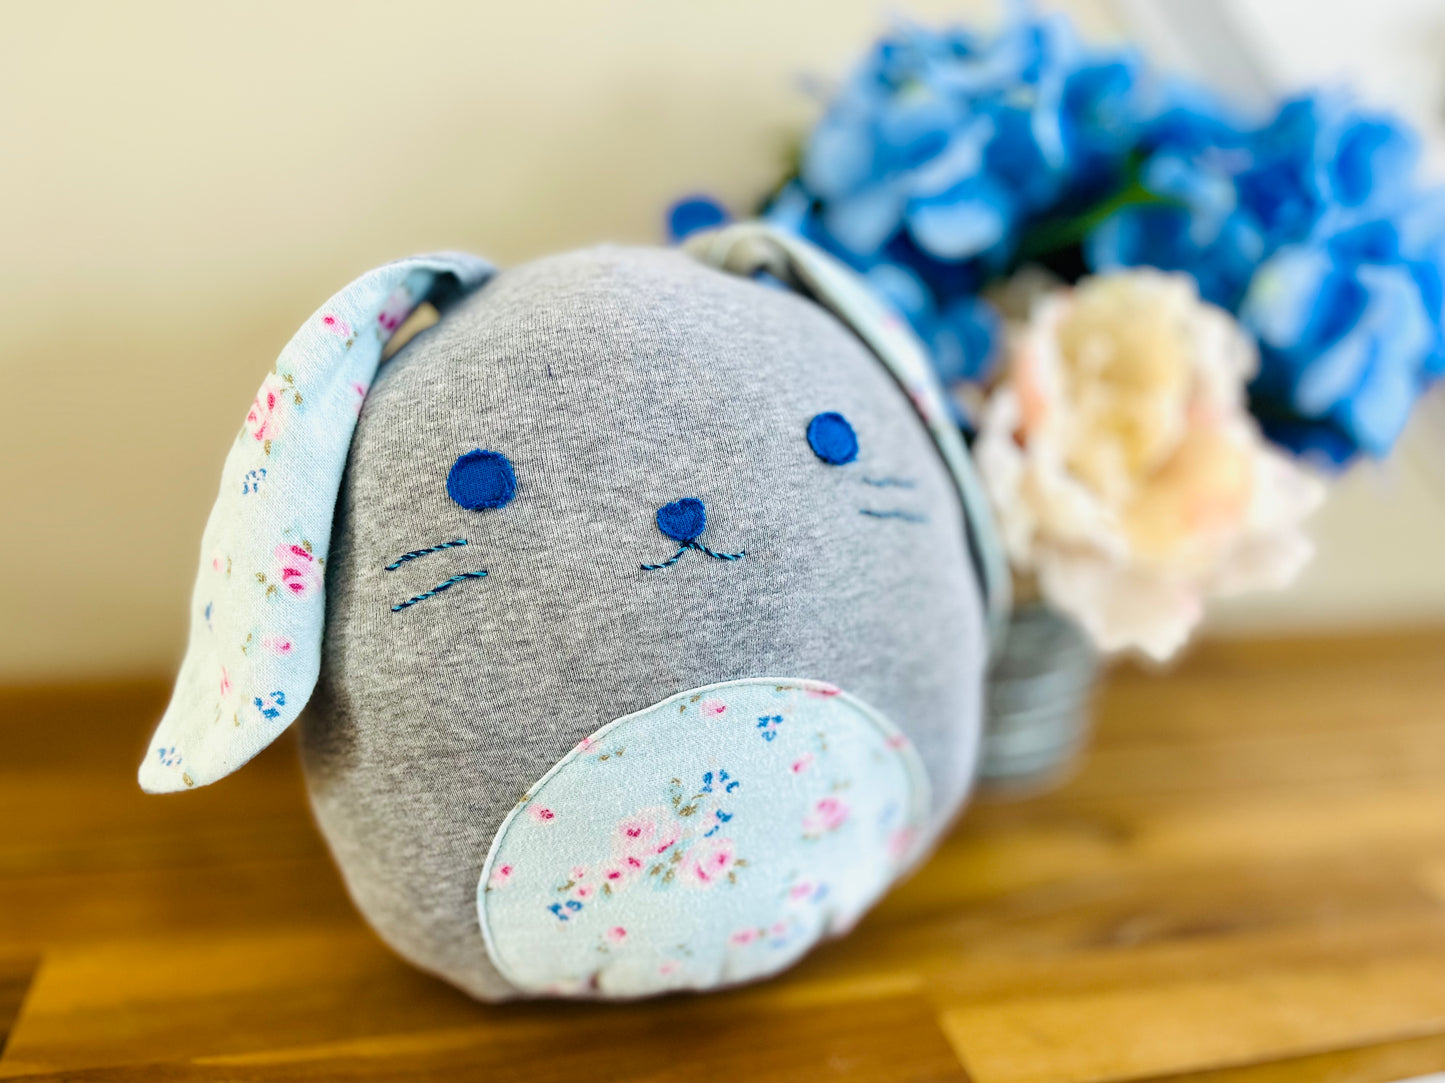
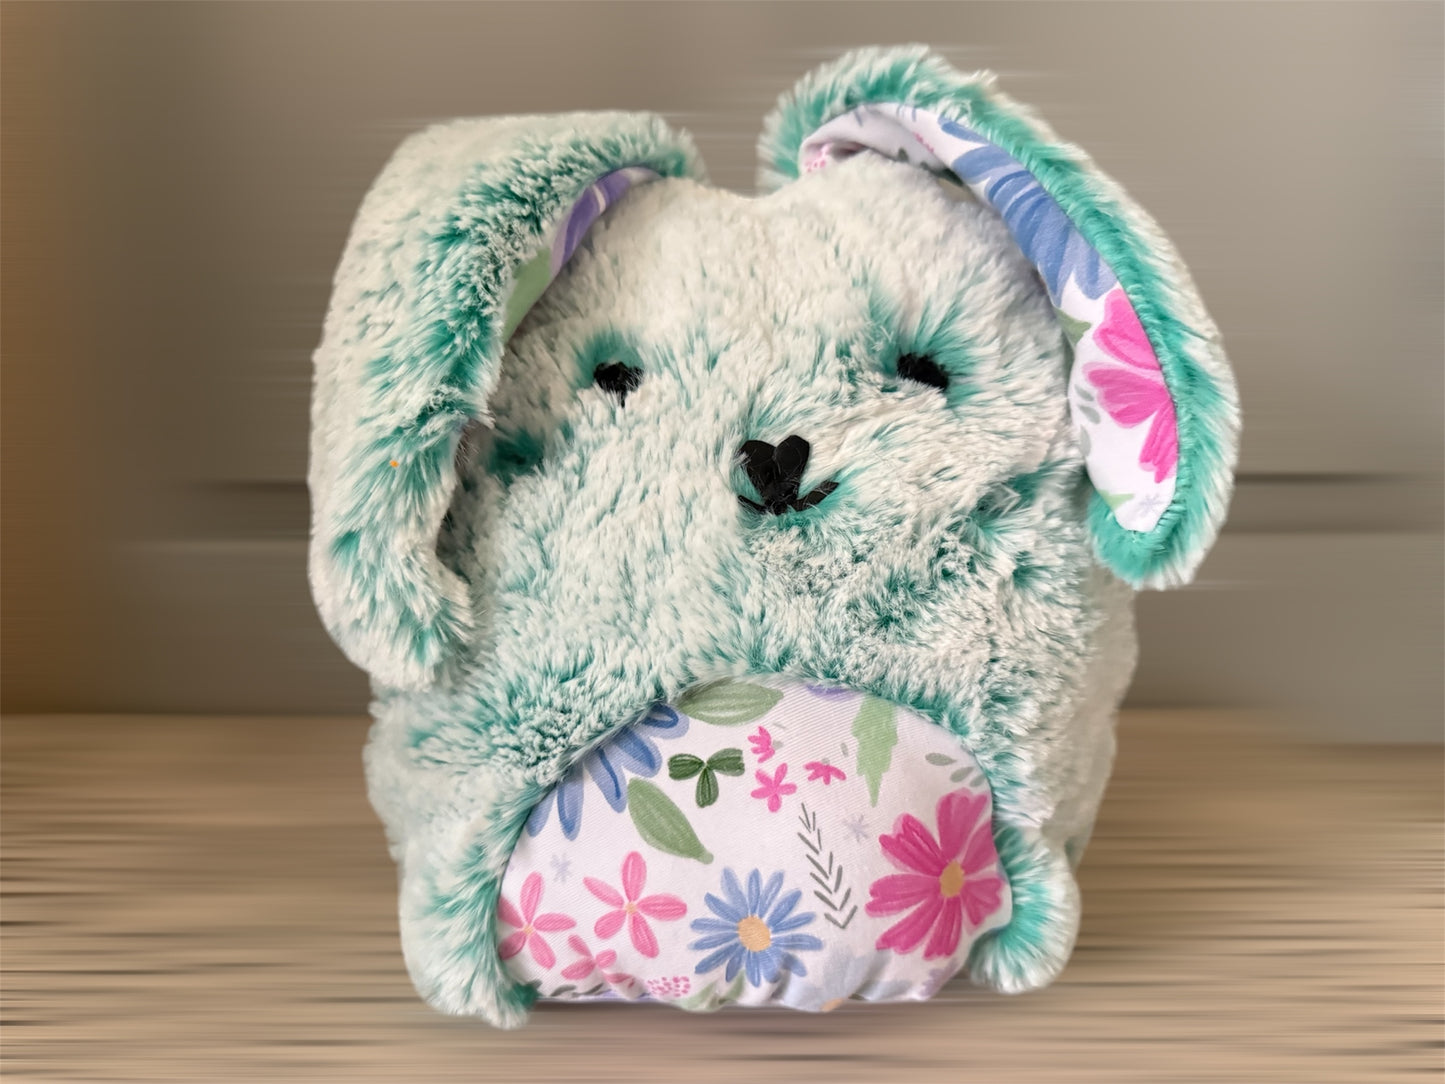
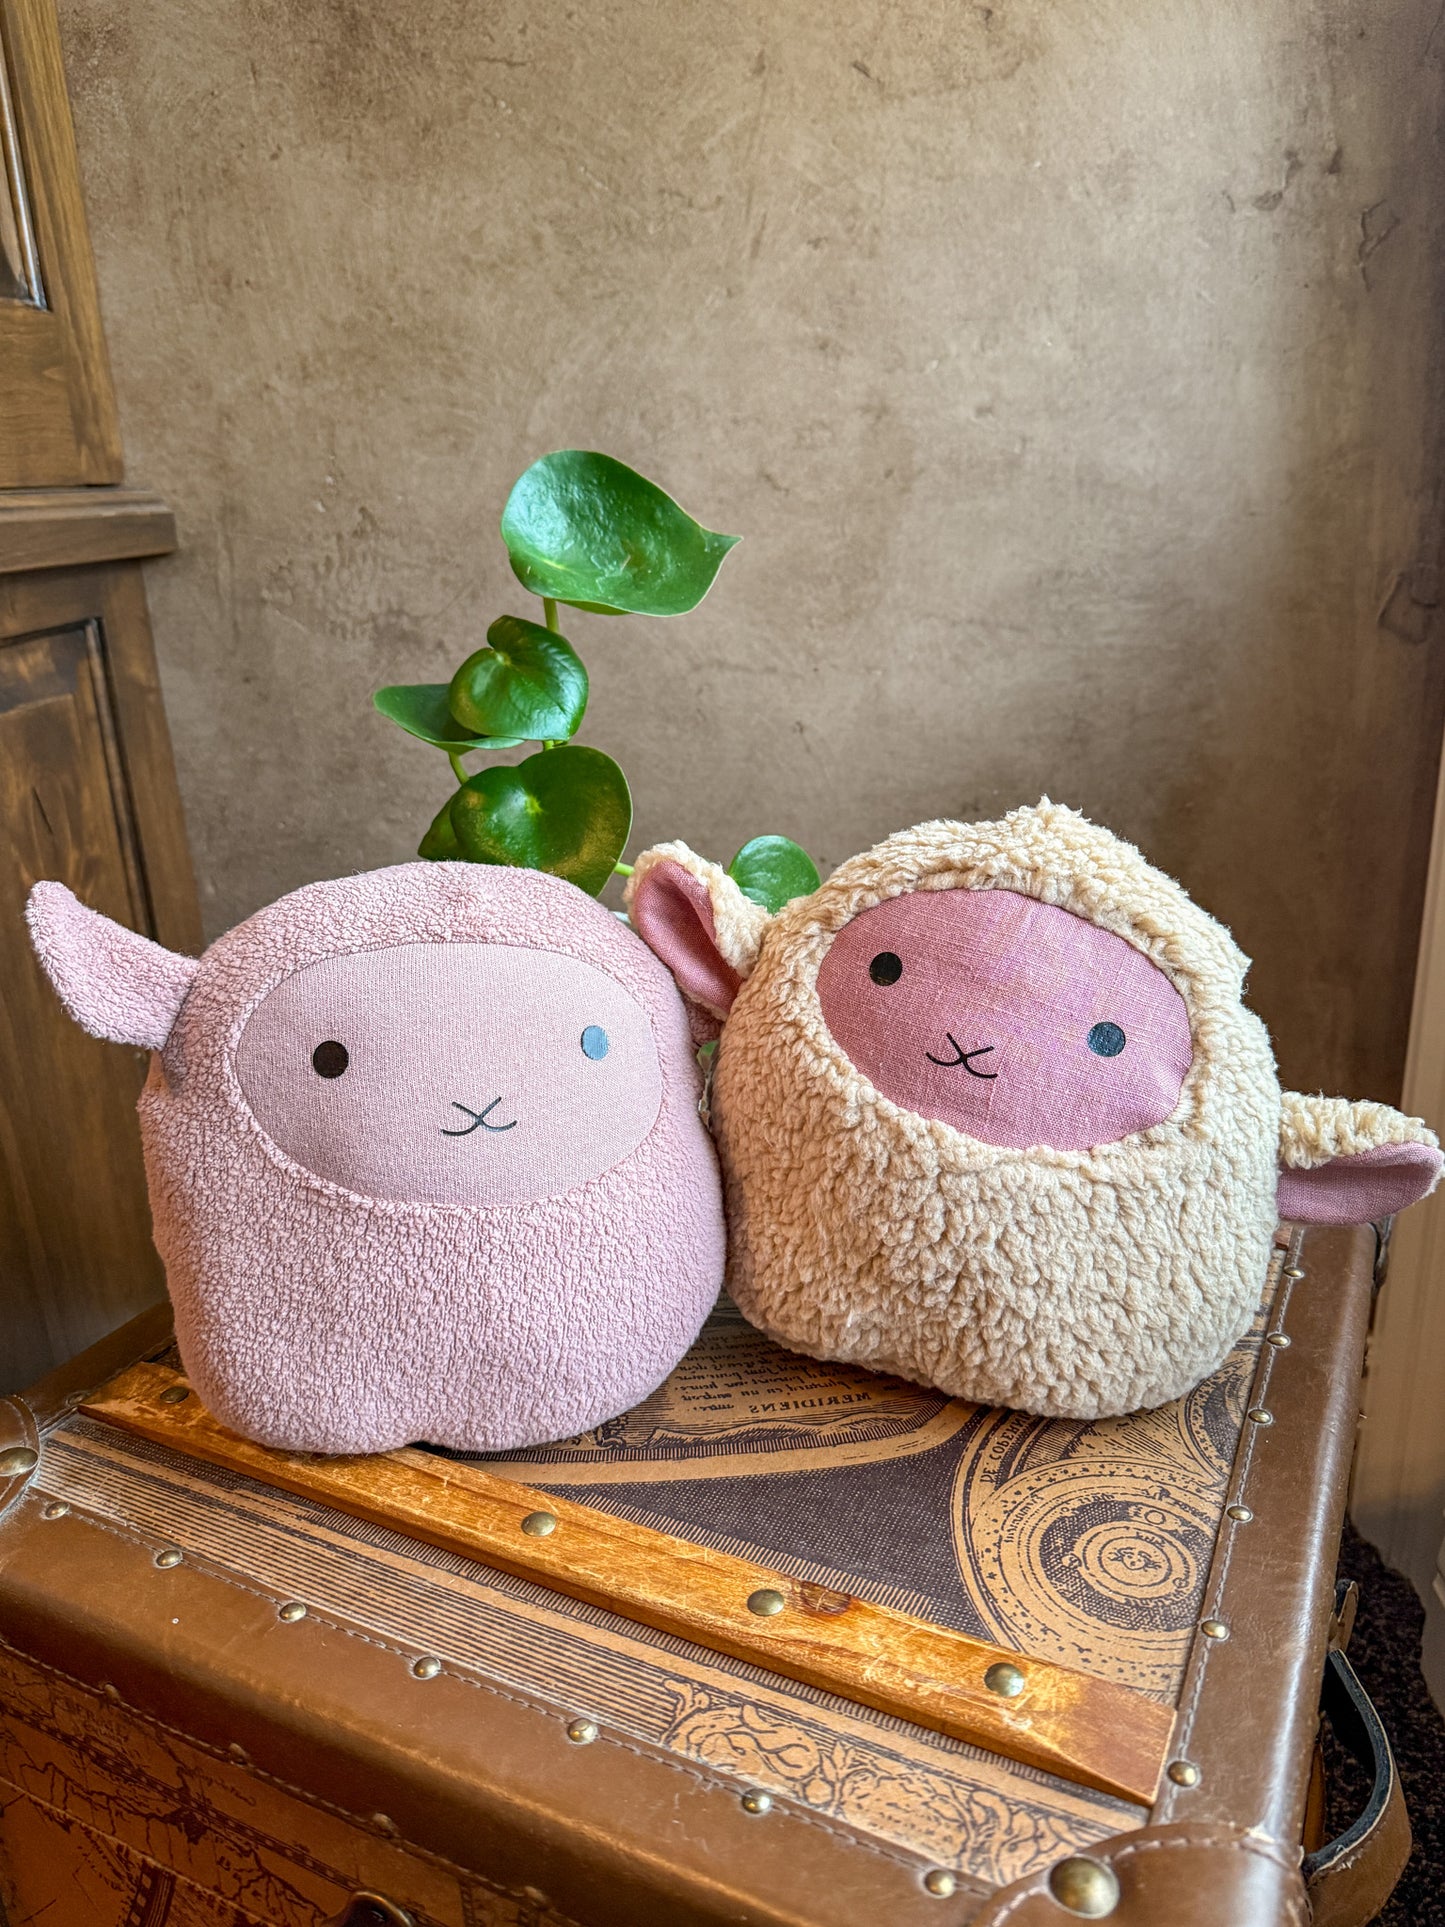
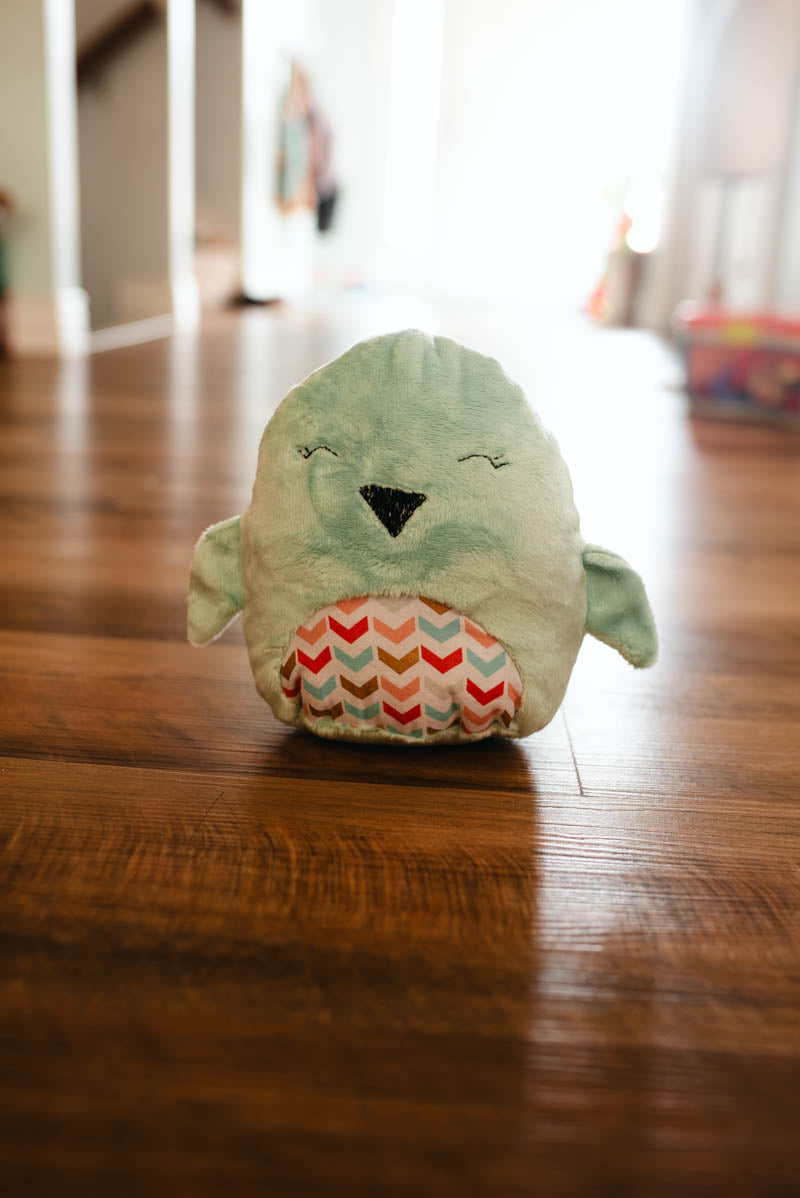
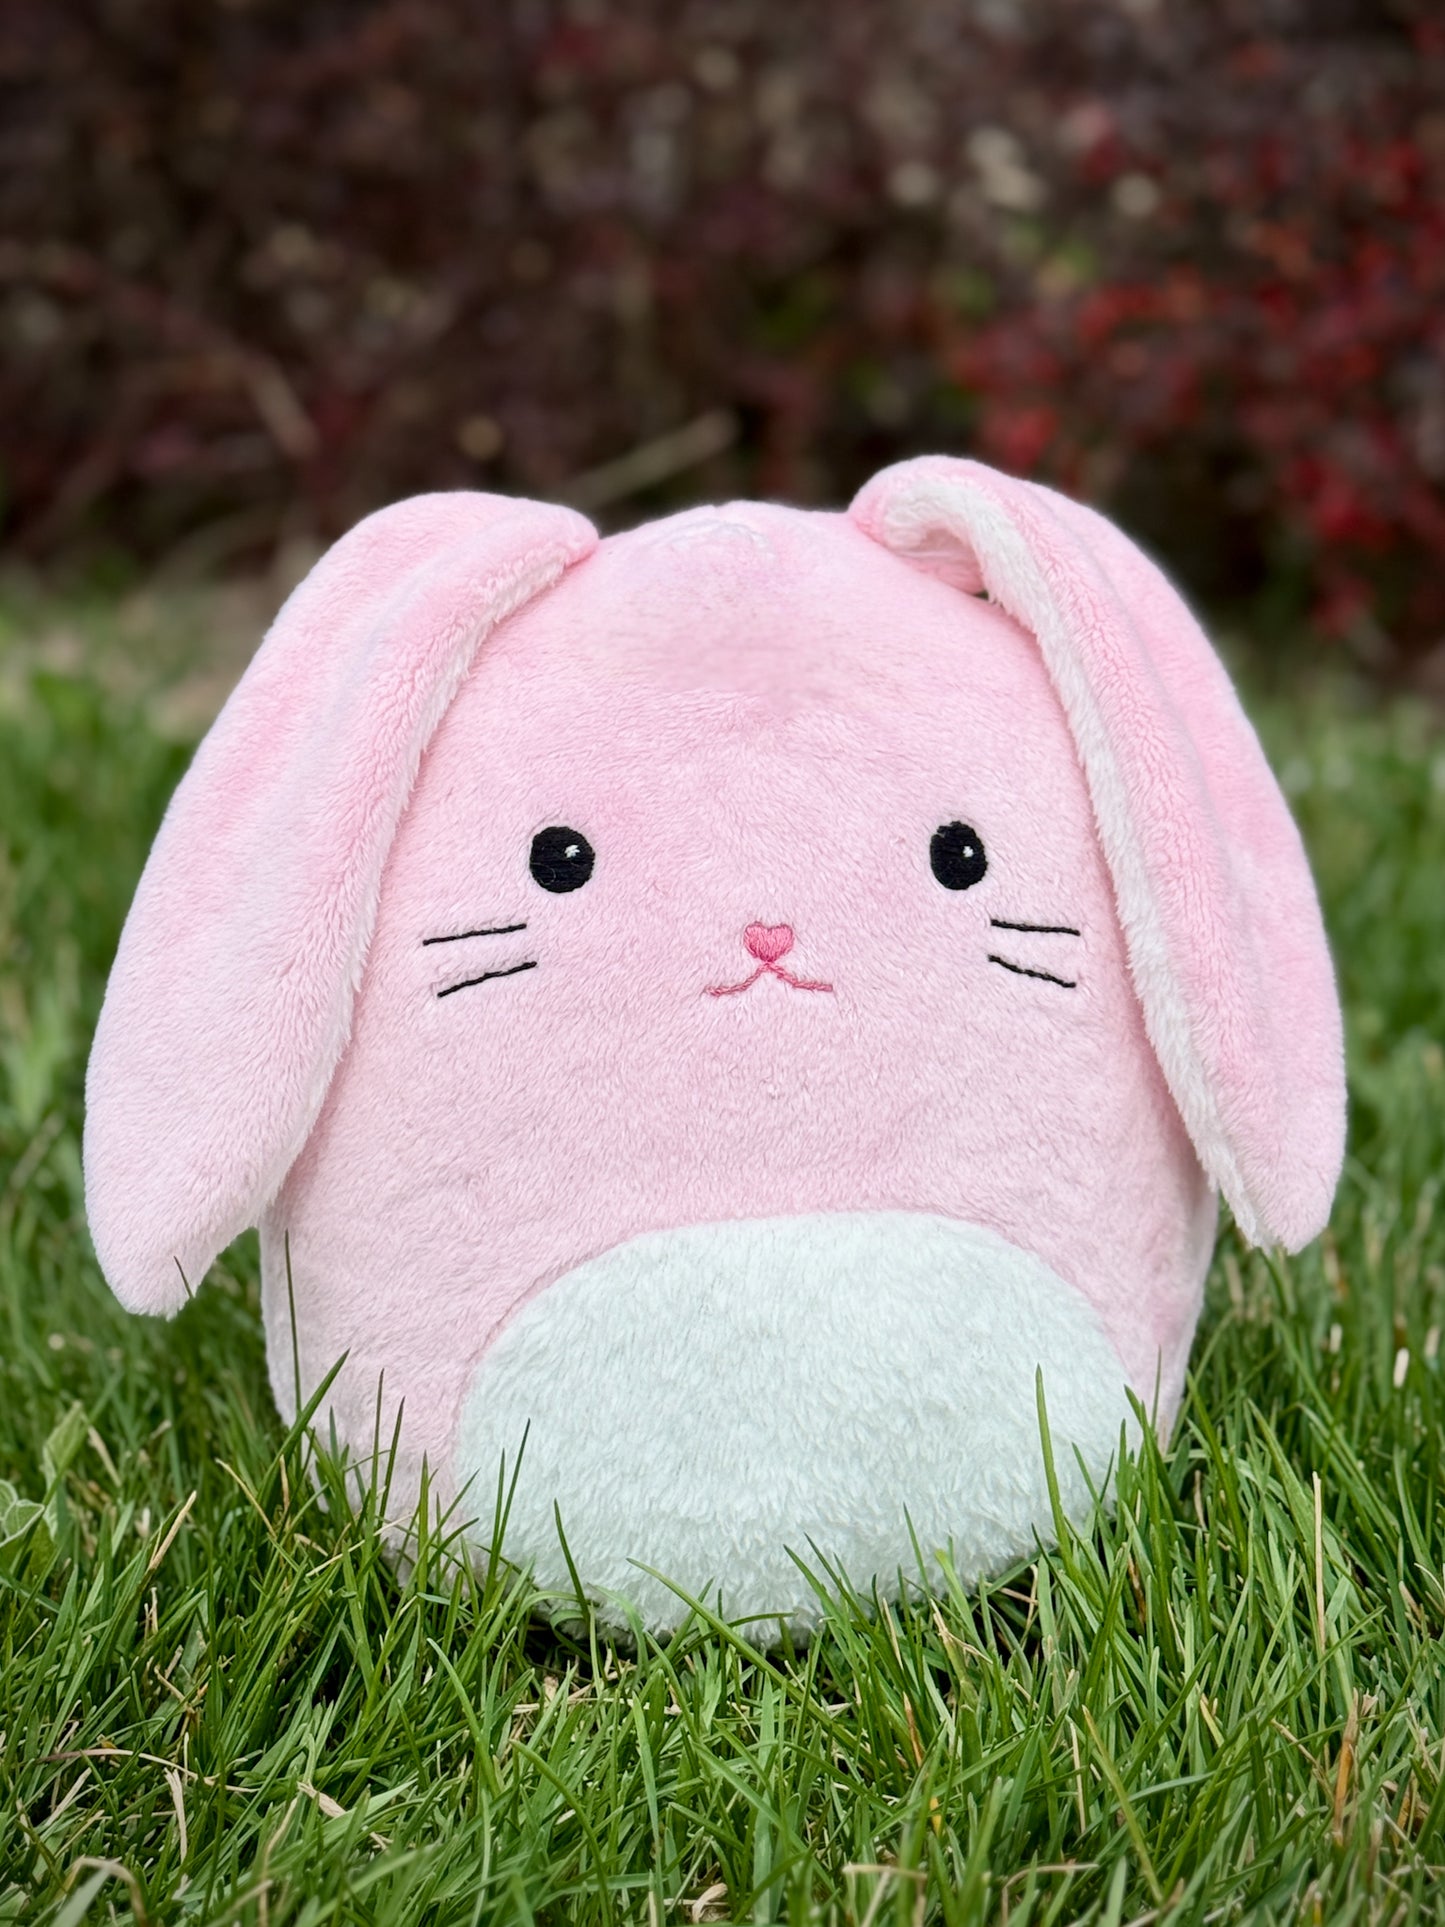
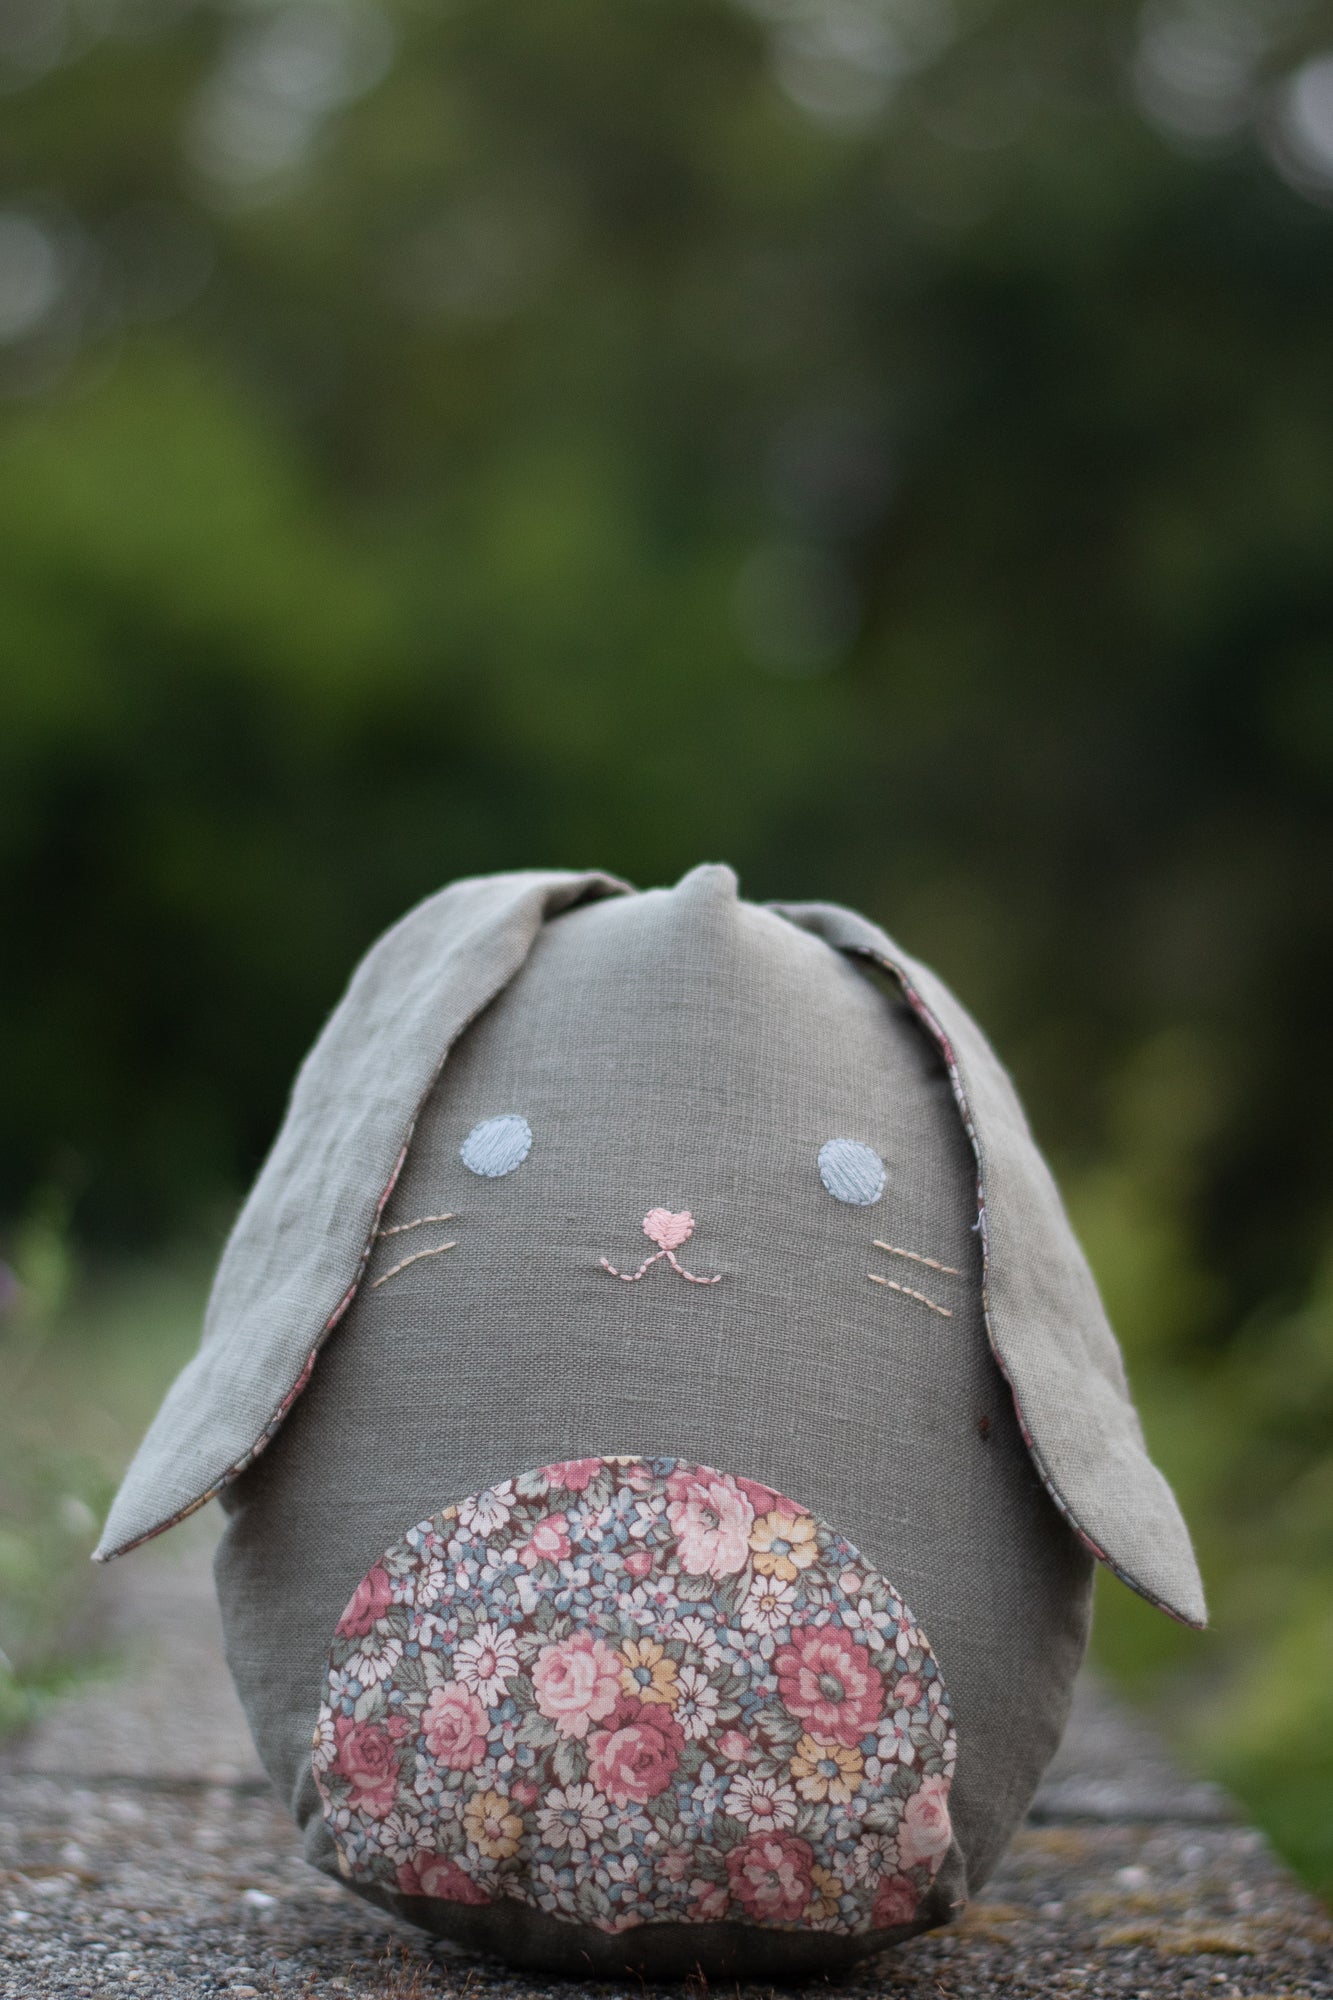
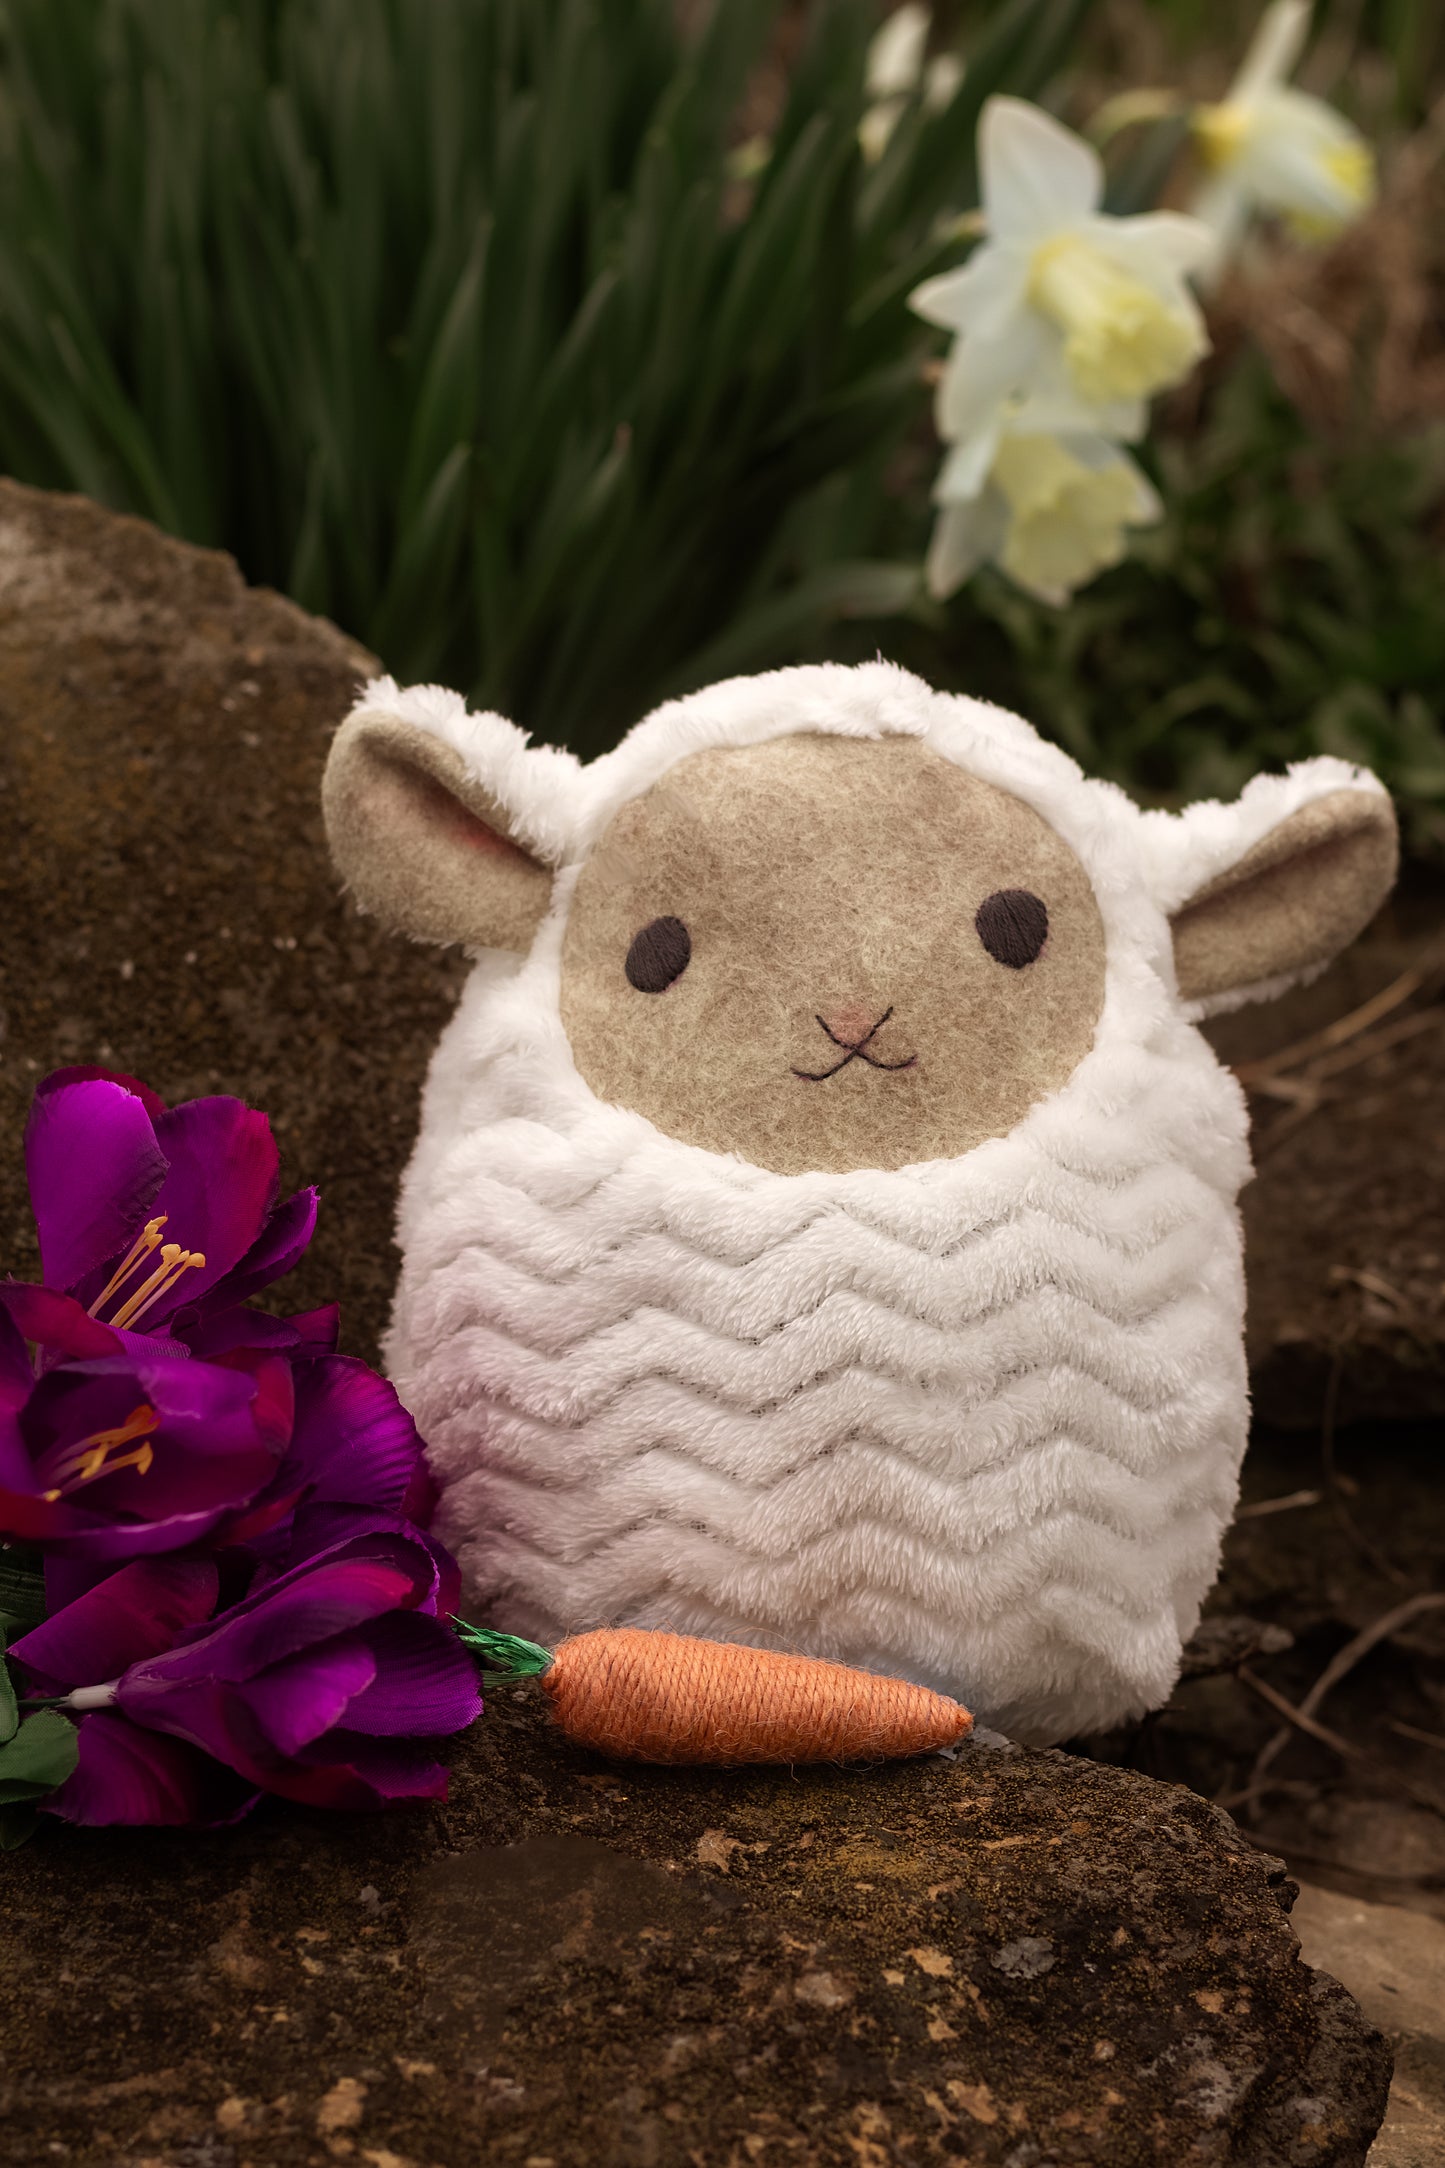
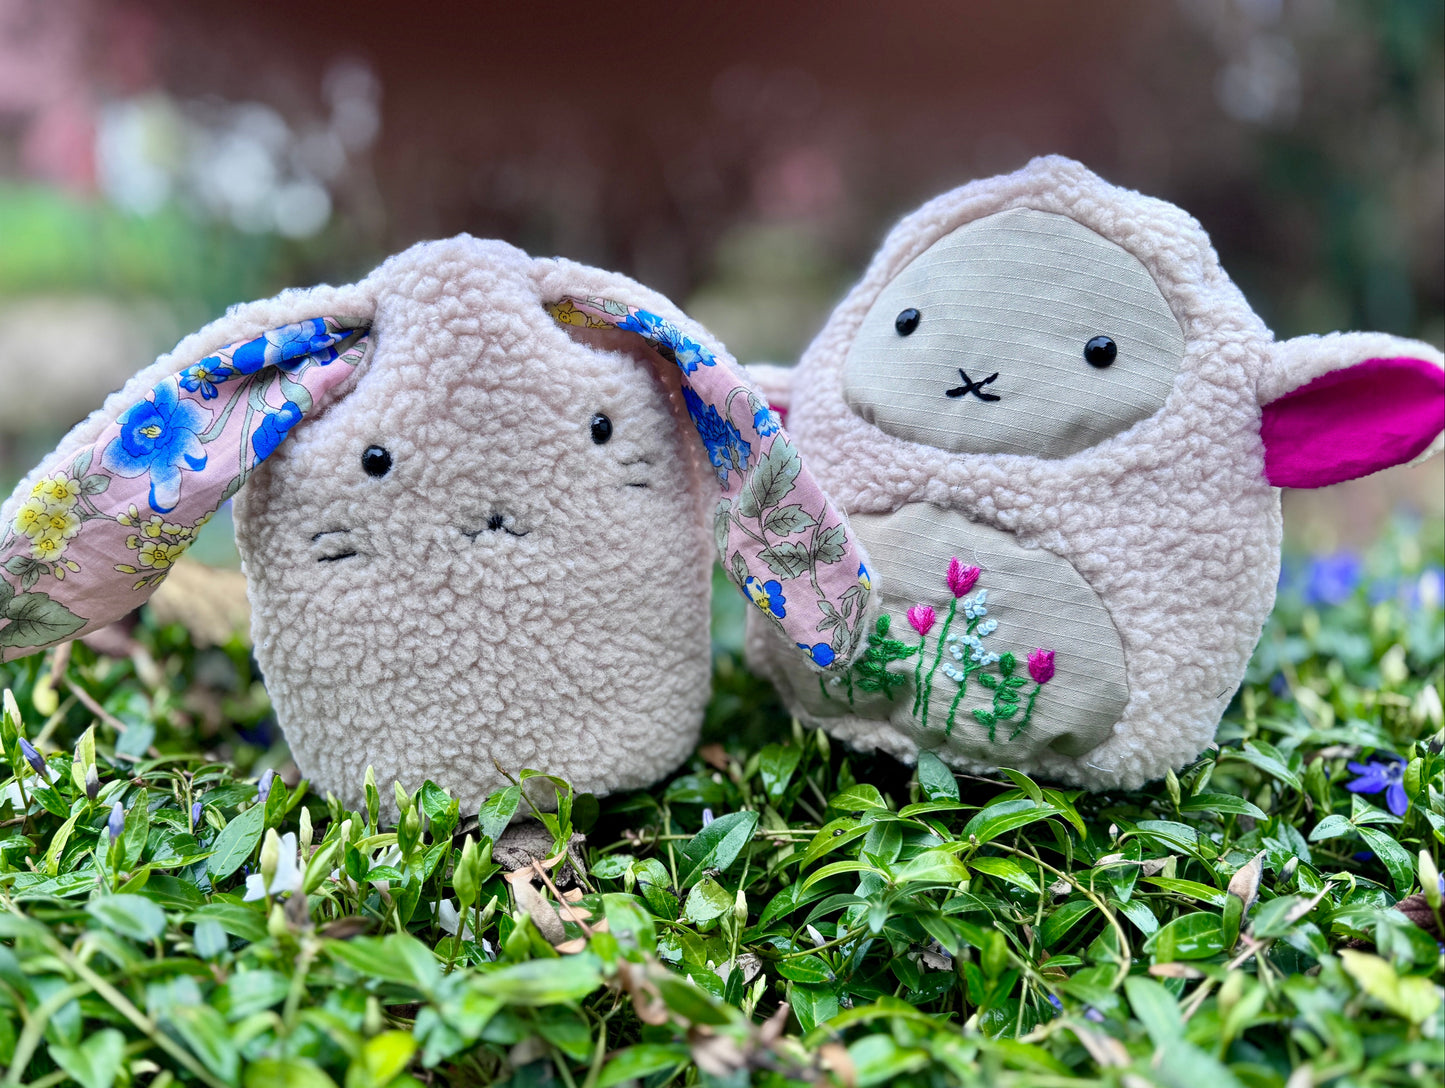
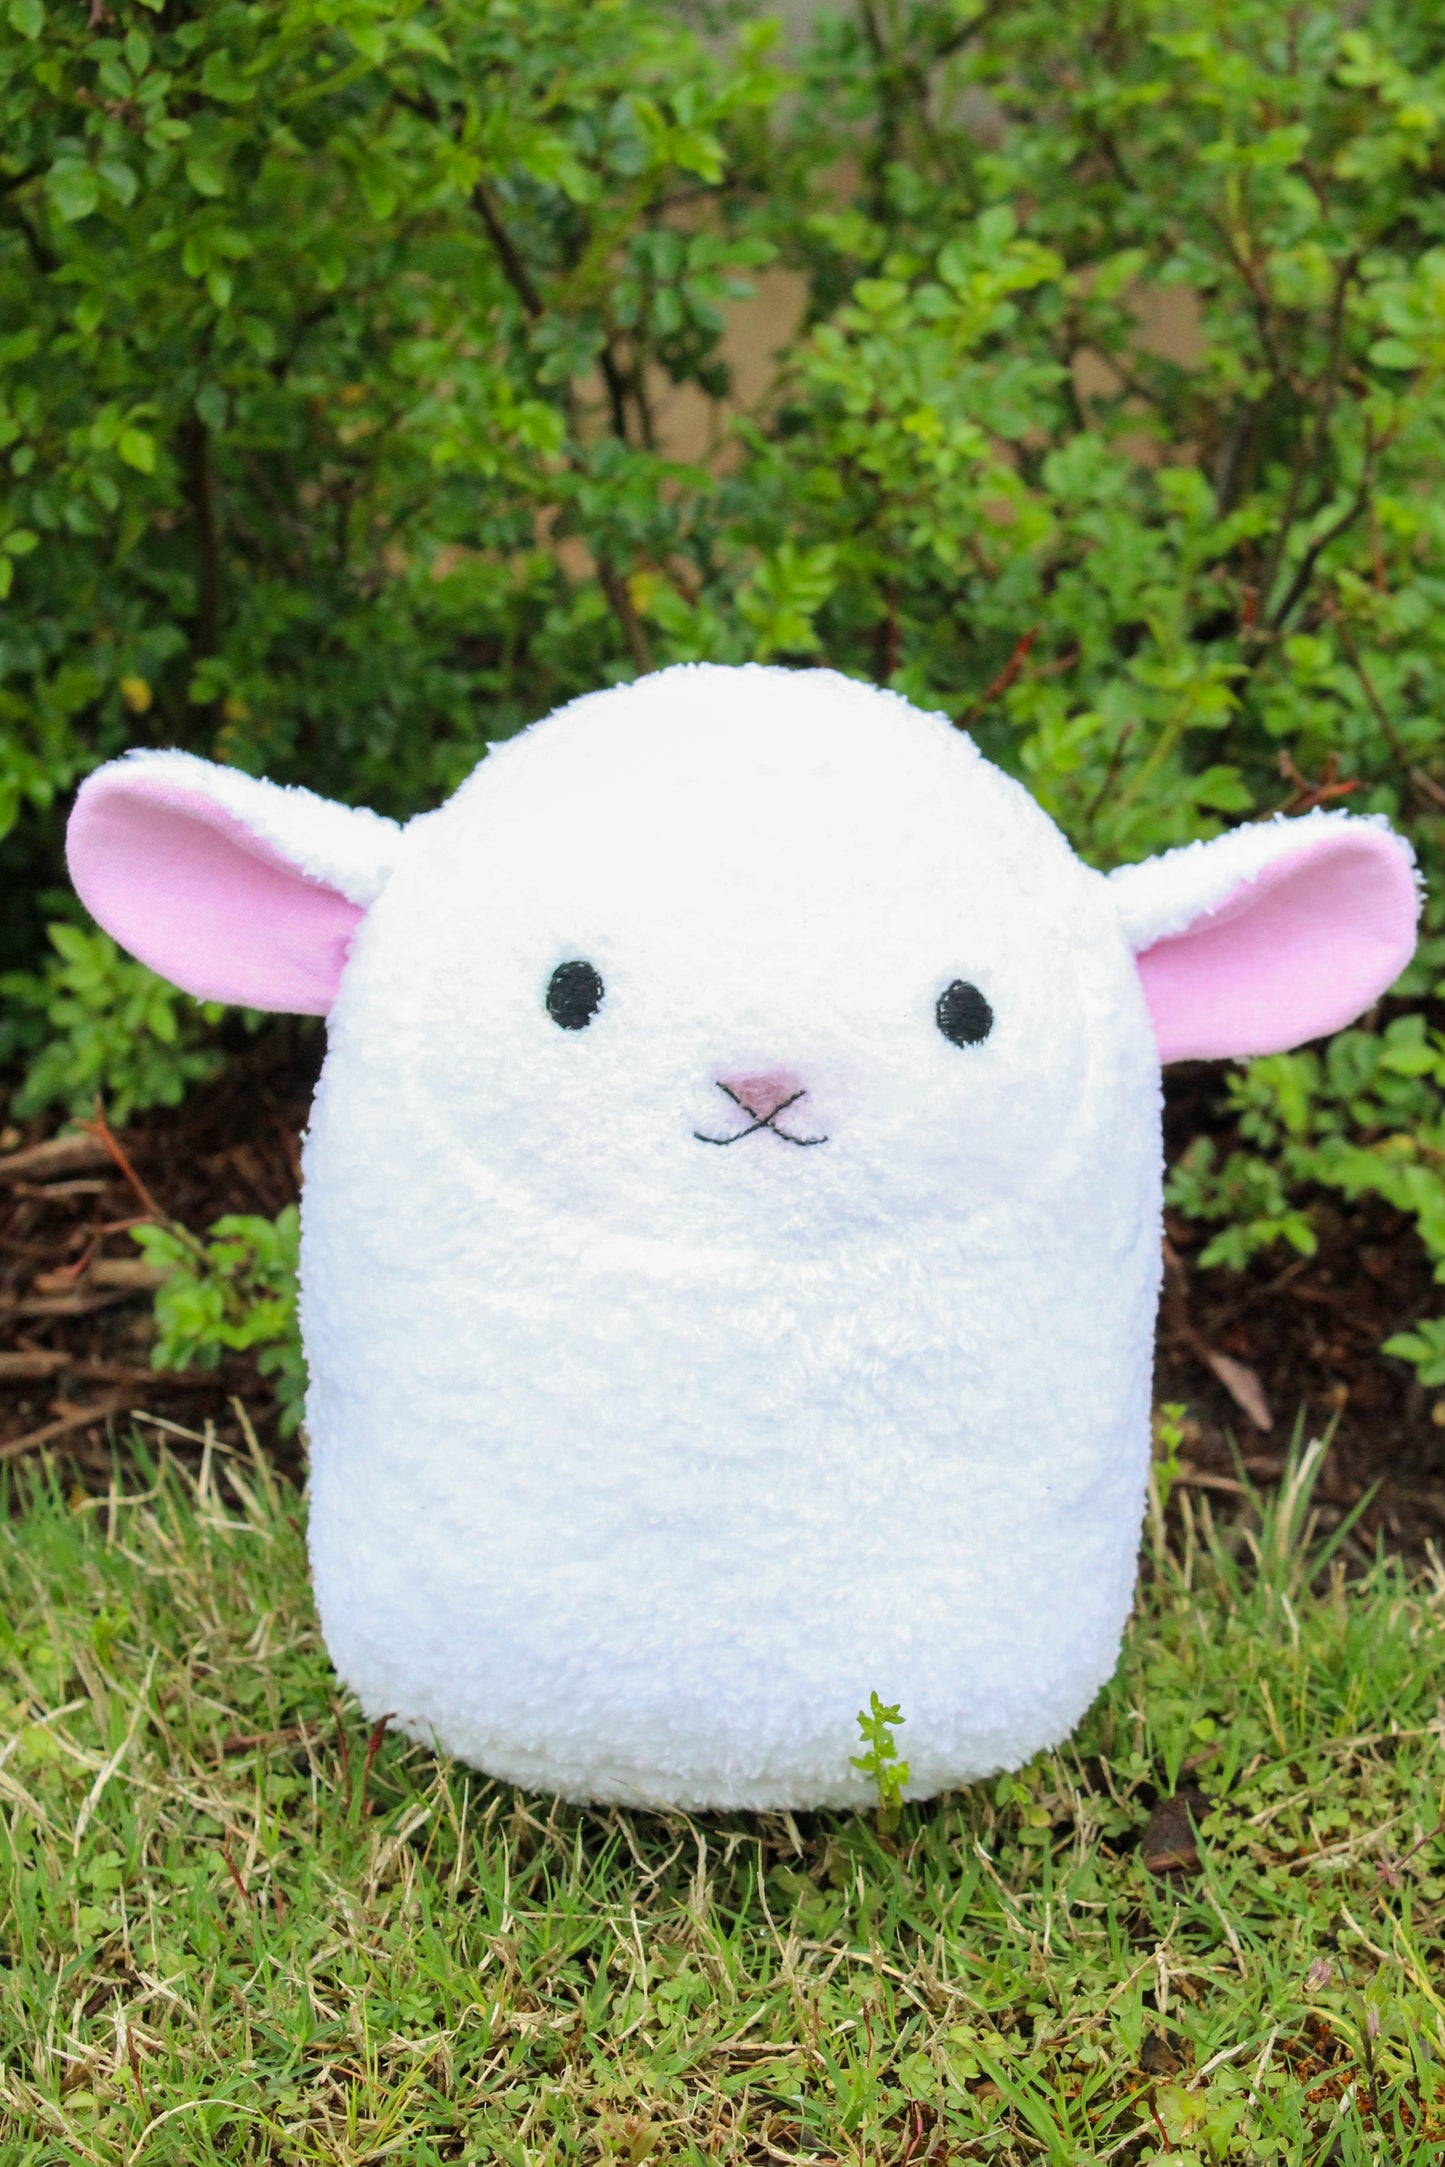
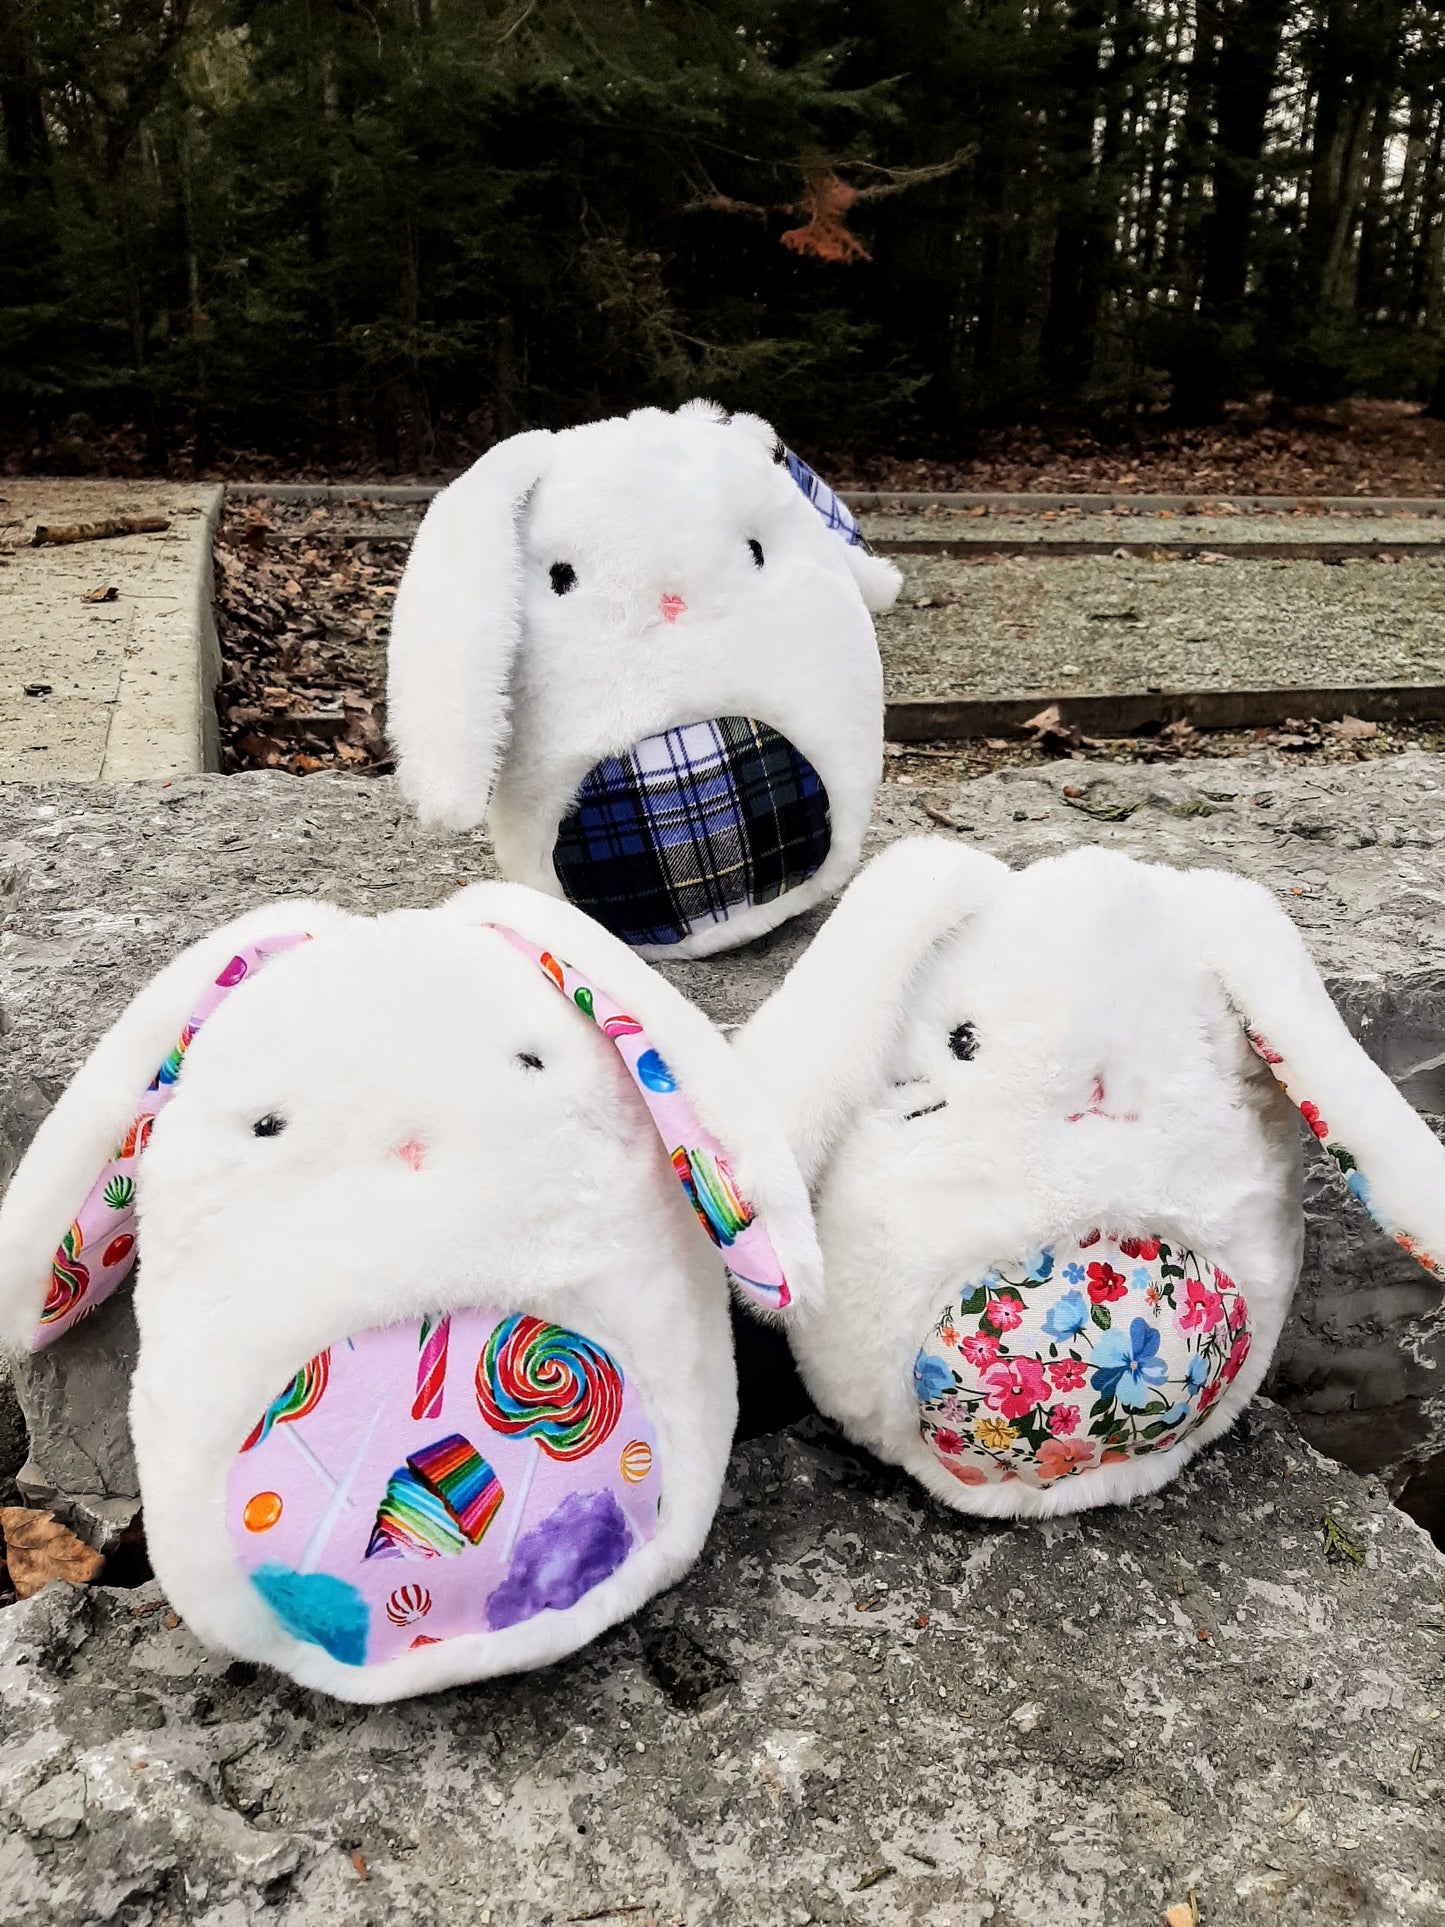
This beginner-friendly pattern lets you sew an adorable plush bunny, lamb, or chick, perfect for Easter baskets, nursery décor, or handmade gifts.
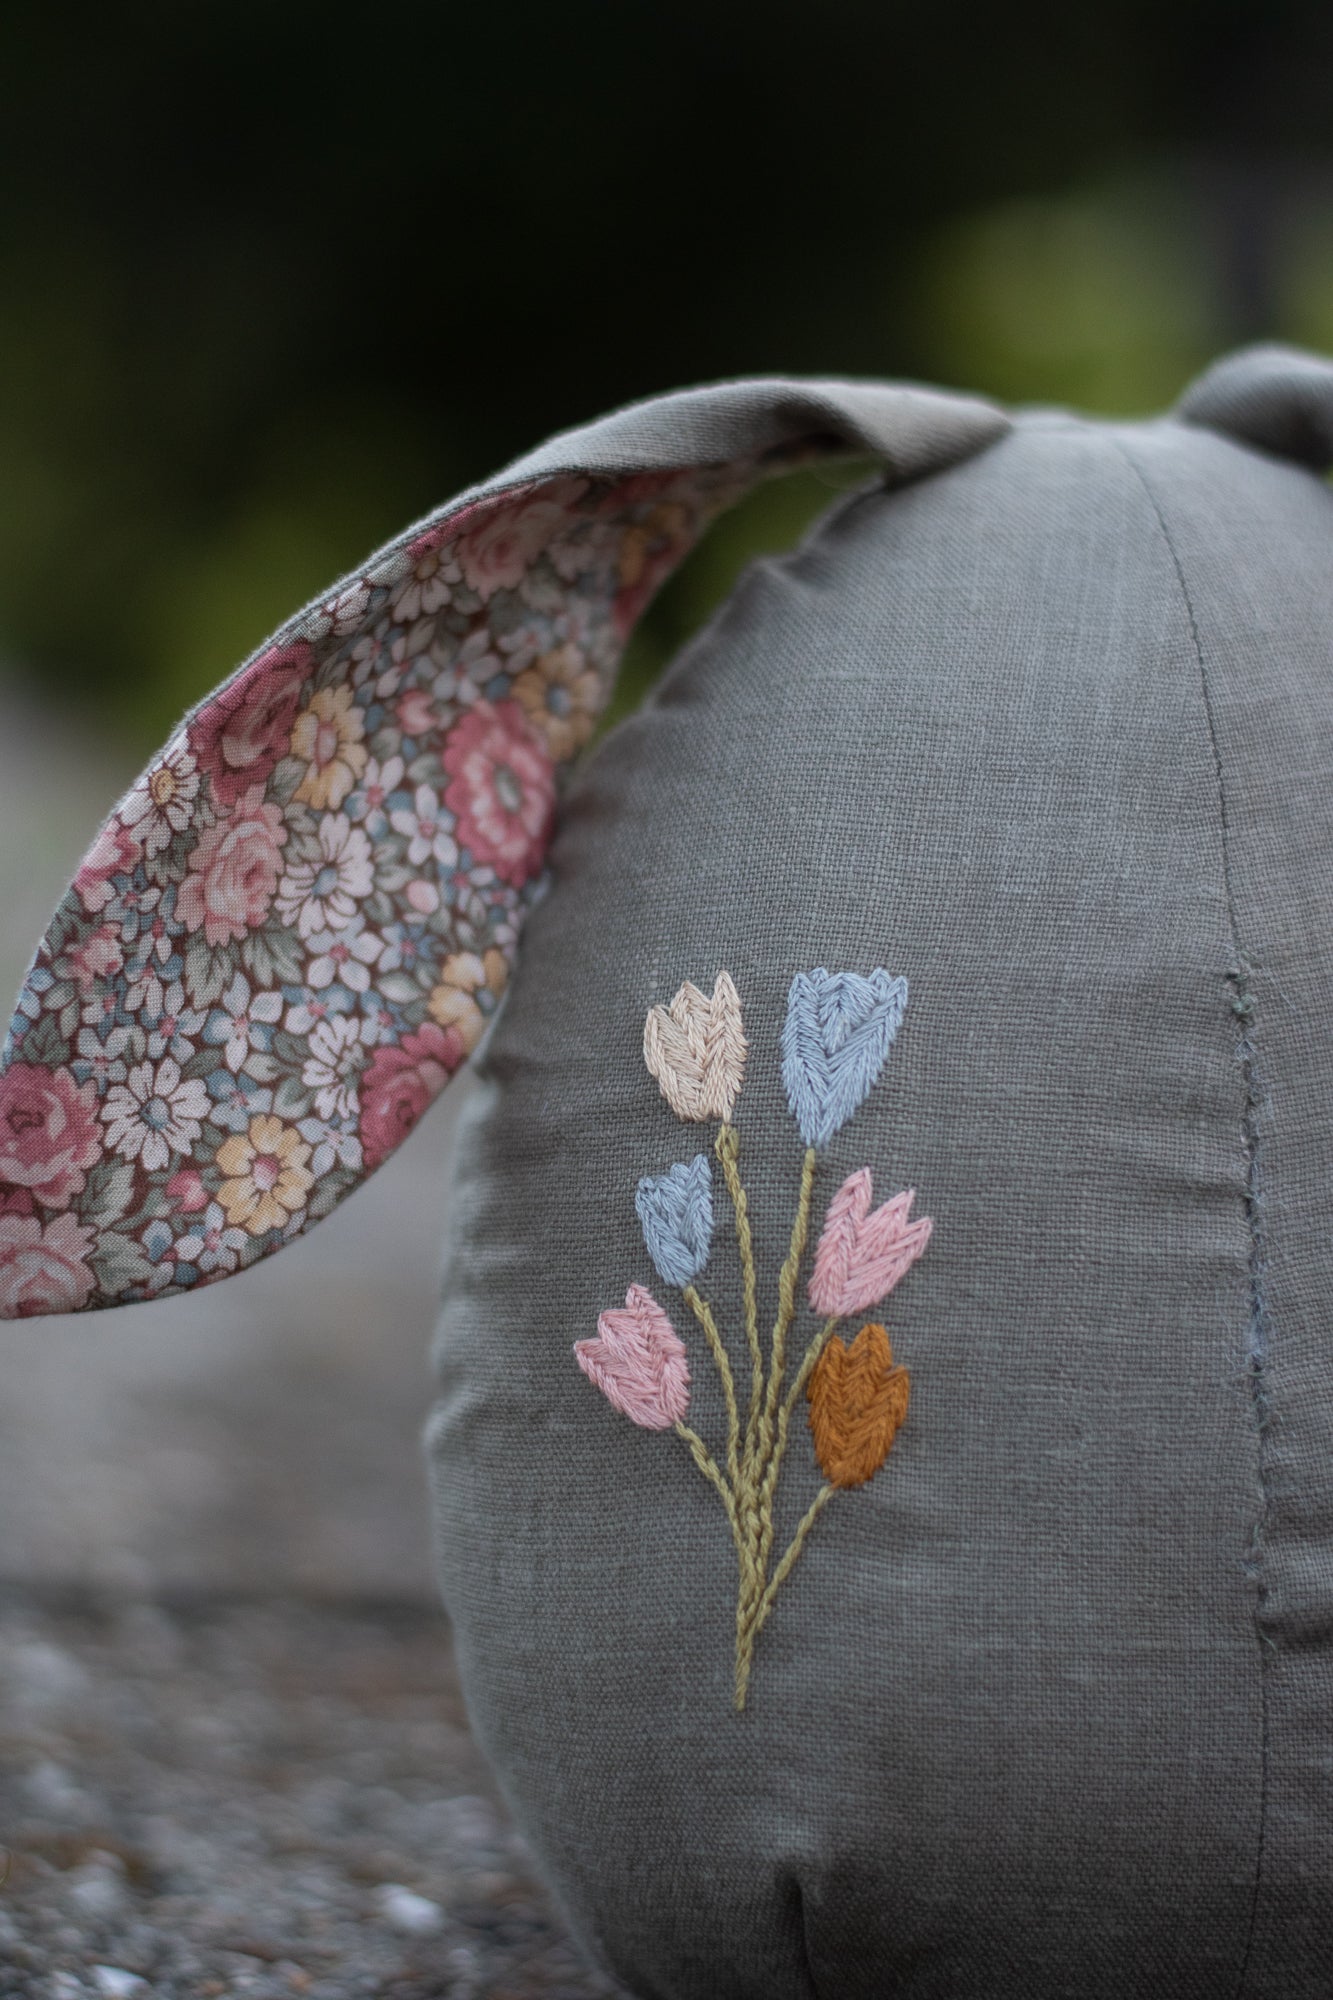
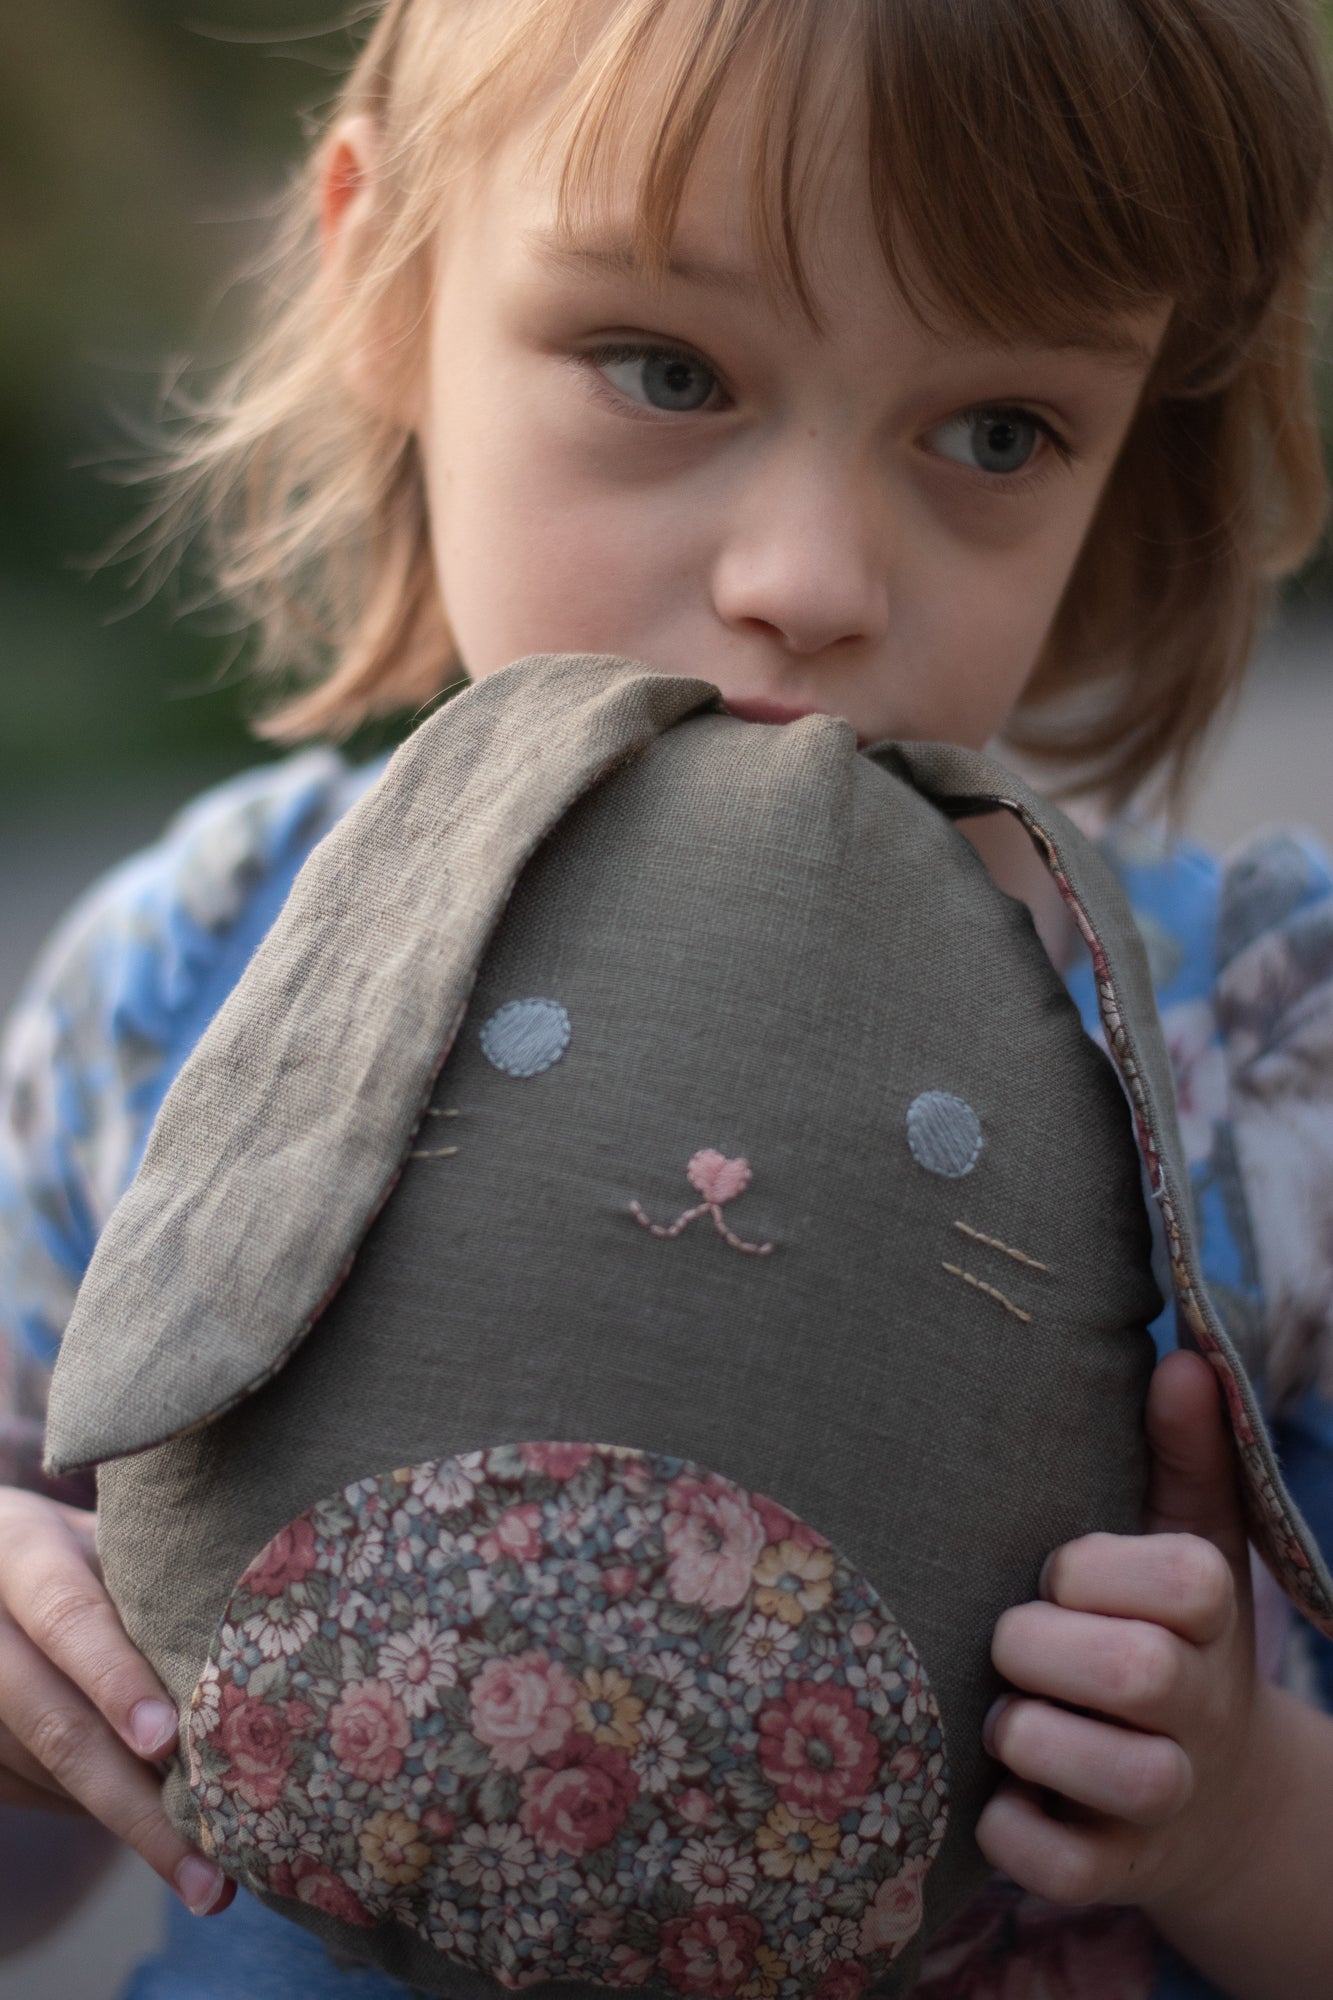
Designed for plush fabrics like minky, stretch velvet, or fleece, these soft toys are irresistibly huggable. The pattern works with both woven and knit fabrics, ensuring versatility while keeping things extra cuddly. Personalise your Cuddly Pal with embroidered or fabric-painted facial features, or use the included SVG files for Cricut or heat transfer vinyl. There’s even an optional embroidery area on the tummy, ideal for adding names, initials, or cute Easter designs.
✨ Bonus: FREE Adoption Certificate ✨
Make your plushie even more special with a printable adoption certificate colouring page - your child can name their new cuddly pal before making it officially theirs!
✔ Three Easter-inspired designs – Bunny, Lamb & Chick.
✔ Face embroidery guide with detailed stitching instructions.
✔ SVG files for the face details to use with HTV cutting machines
✔ Printable Adoption Certificate colouring page.
✔ Multiple print options: A4/Letter, AO Copy Shop & Projector file.
✔ Expert sewing tips + video/blog links for extra guidance.
✔ Beginner-friendly interactive tutorial with step-by-step photos.
Craft a heartfelt, handmade Easter plushie with this easy-to-follow pattern! Whether gifting for kids, grandkids, or making a keepsake, the Cuddly Pals are sure to bring smiles.


What's included?
What's included?
This listing is for a digital PDF file, not a physical product. This pattern is available via INSTANT download. This link will be sent automatically to the email used during the purchase transaction. Refunds or exchanges for Sunshine Pattern Co. are not available. Pattern pieces are all computer drawn with the exception of square or rectangle pattern pieces, which are listed in a cutting chart to save you paper & ink.
Adobe Reader (free) is required to read/print this pattern. A printer is required to print the pages at home.
- Print-at-Home Option: Easily print on standard Letter or A4 paper and assemble from the comfort of your home.
- Projector Compatibility: The Projector File features an optional 1" or 4cm grid calibration for seamless projection. A projector is necessary for this option.
- A0 Print Shop Service: Conveniently send pieces to your local print shop for professional printing on a larger scale. No assembly required.